|
These are some of our guidelines for using glazes in our studio with our glazes. Glaze recipes can be seen in the link below.
Successful glazing is determined by:
1) The pot's design
2) Read glaze behavior by looking at a glaze tile
3) Amount of glaze used and knowing where & how to apply
4) Lakeside Pottery Glazes Cheat Sheet PDF (for printing)
More information:
- Lakeside Pottery's Glaze Recipes
- Mixing and Using Glazes
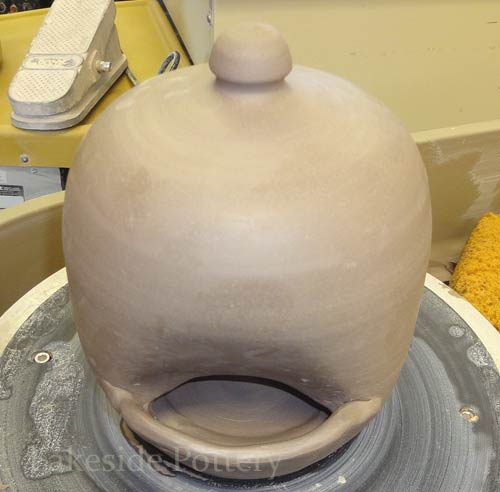
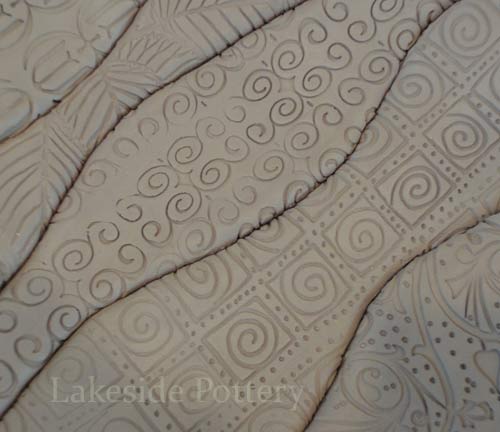
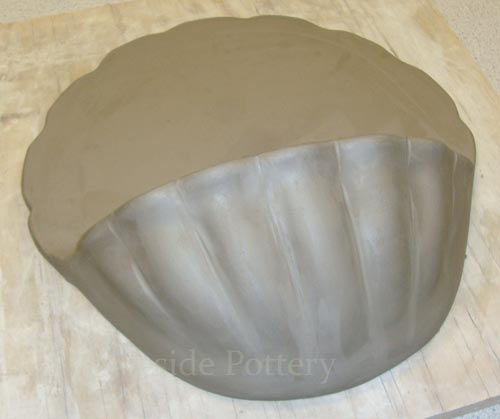
1) Pot Design - Think of glazing as if your pot were covered with honey. When the kiln reaches the glaze melting temperature, the glaze moves down with gravity. Some move more than others (see tile samples to determine glaze movement). Therefore, the surface texture of the pot, it's angles and trimming techniques will determine where glaze will accumulate and where it will run.
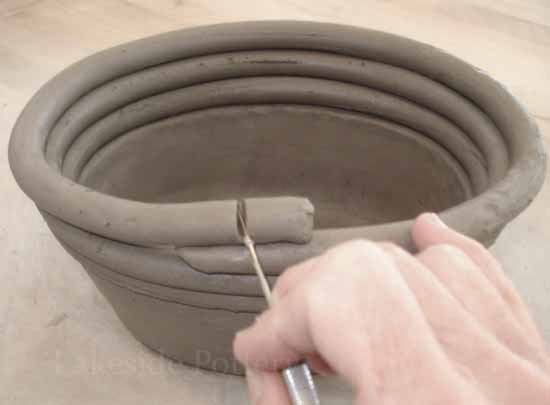
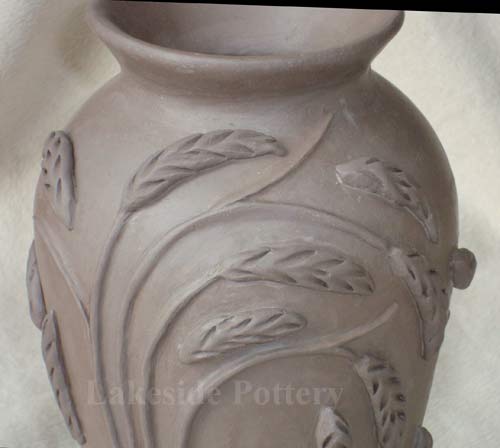
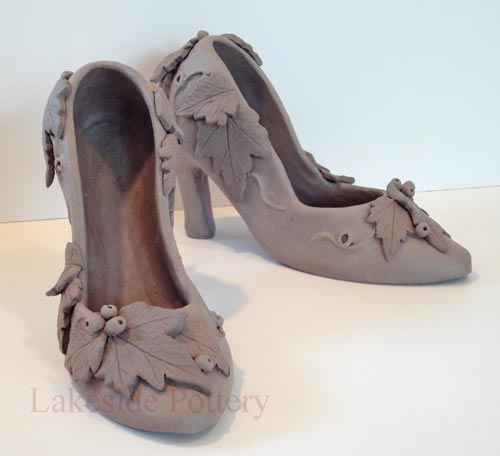
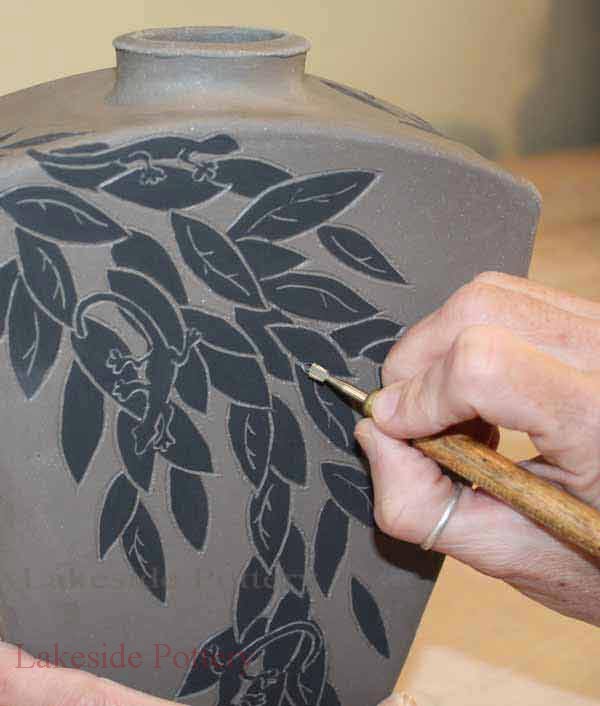
a. Surface Texture - impressions, lines and cavities in the clay will accumulate more glaze than smooth surfaces; on edges; the glaze will be thinner. Therefore, the glaze will be more translucent where it is thin and more opaque where it builds up a thicker glaze. In most glaze types you'll see the difference in color between thin and thick glaze accumulation, and in some you will hardly notice (see sample tile board)
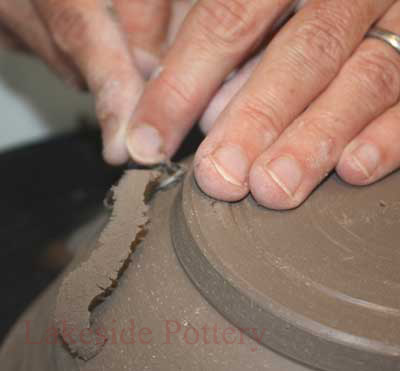
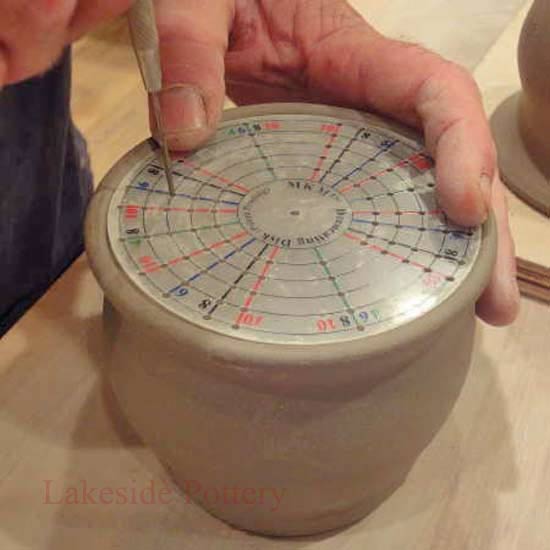
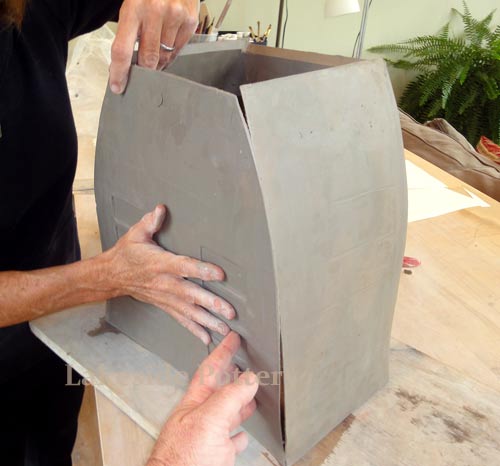
b. Trimming Techniques (more about trimming) - Too much glaze or when glaze is applied too close to the pot's bottom will cause the glaze to drip onto the kiln shelf and ruin your pot and the kiln shelf. The flow to the bottom can be eliminated by applying the right amount of glaze, providing enough glaze "travel" distance before it reaches the bottom, and by creating a break in the surface of the pot. See illustrations below:
A Good Designs Has a Break Point To Stop Running Glaze
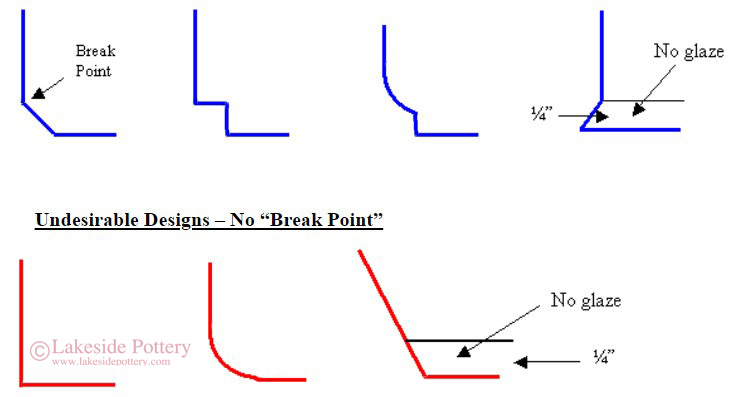
If you made pots with the undesired design illustrated above, please make sure you DO NOT apply glaze at least ¼" from the bottom.
2) How to Read the Glaze Tile - The glaze sample tiles where designed to illustrate what the end result will look like and are divided into three sections: Dipping glazes, brush-on glazes and under-glazes.
a. Determine how much the glaze moves when fired by looking for differences in color between an "edge" and a "valley" in the test tile. The larger the difference, the more it "moves". You can also tell how much it moves by touching the bottom surface of the glaze on the tile sample. More glaze accumulation on the bottom indicates more movement.
b. Dipping glaze sample tiles show results of approximately 5 seconds dipping. For glazes that do not move much, apply an additional 1 second after the first layer has dried if a more opaque effect is desired.
c. Brush-on glaze sample tiles show results of three glaze layers.
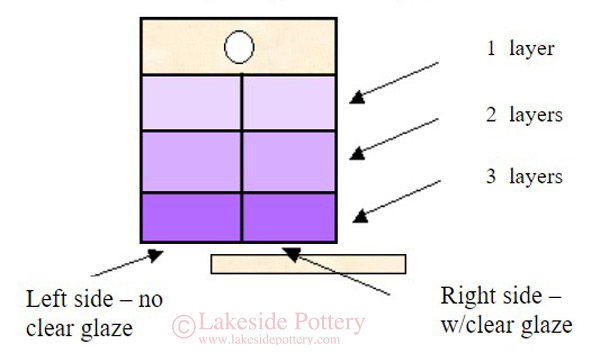
d. Under glaze The sample tiles show one layer, two layers, and three layers. It also shows results with clear glaze and without clear glaze. Two to three brush-on clear glaze coats are required on top of the under glaze. Be careful not to smear your under-glazes.
Underglaze Tile Example
3) Amount of Glaze and Knowing Where & How to Apply
With dipping or brushing glazes, remember to not apply glaze on the bottom of your pot and on a ¼” above the bottom. Not leaving ¼” clearance from the bottom, may result in damaging the pot and kiln’s shelf. Make sure the ceramic piece is clean and free of dust or clay particles. Touch-up with a glaze brush as needed.
a. Dipping Glaze
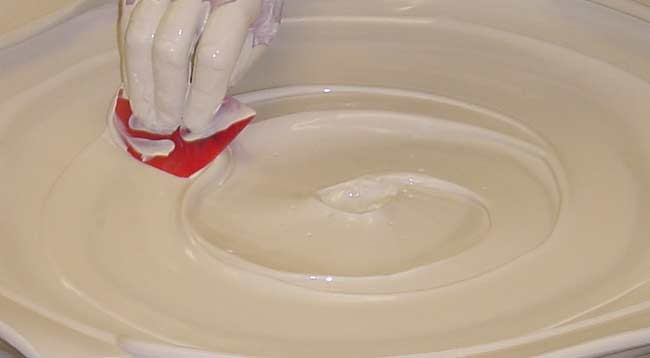
You must first mix the glaze thoroughly. Stir it again before each dip. If the glaze is too hard to mix by hand, use the drill with a mixer blade. Not mixing well will result is disappointing results. Before starting, make sure there is enough glaze in the container to cover the pot and that the container is large enough to allow you to maneuver the tongs and pot.
Typical amount of time for dipping is 5 seconds. For darker colors, dip an additional one second in glazes that do not "move" too much. Using two glaze types dipping is not recommended, being that it is hard to determine how liquidy the combination of the two glazes will be. If you really wish to "double dip", the second dip should not exceed 1 -2 second and the total time should not exceed 5 - 6 seconds. To avoid glaze contamination, wait for the first dip to dry before dipping the second.
Use dipping tongs to hold the ceramic bisque while dipping. Dip with a smooth motion in and out of the glaze, using a wrist action to turn the ware into the glaze. Keep ware from touching the sides and bottom of the dipping container as the glaze coating may be rubbed off by contact areas. As you remove the ware from the dipping container, shake any drips off and back into the glaze. Before placing dipped ceramics on a rack to dry, finger-smooth any drips or runs. Clean the bottom of your piece. It should be free of glaze ¼" from the bottom. Wash the tongs after each use to prevent contamination.
Glaze can be poured into a cavity and poured out after 5 seconds. Do the inside first and then dip the outside surfaces (see illustrations below).
Matte or crackled glazes are not recommended for use on food containers (can build up bacteria and may be hard to clean).
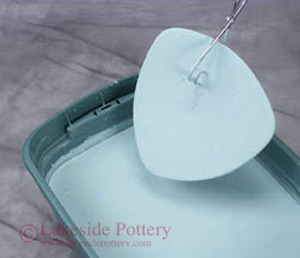
Glazing a Small Pot Using Glazing Tongs
 |
Fig 1.
Grip the pot firmly between the prongs of the tongs. It is important that the grip is not only secure but will enable you to manipulate the pot in the glaze container. Practice the movements needed in the air before actually dipping the pot in the glaze. |
 |
Fig 2.
Lower the pot into the glaze with the rim tilted slightly upward. This will prevent air being trapped in the pot if the neck is narrower that the rest of the pot. |
 |
Fig 3.
With a smooth rapid action push the pot down into the glaze. |
 |
Fig 4.
Hold the pot submerged long enough to build up the required layer of glaze. |
 |
Fig 5.
Remove the pot smoothly from the glaze, tilting the bottom of the pot upward to allow the glaze to run out of the pot as it is lifted. |
 |
Fig 6.
Hold the pot over the glaze container with the bottom tilted upward to allow the surplus glaze to collect at the rim and drop into the container. Gently shake off the last drop from the rim (or touch it with a small soft brush already wetted with glaze) and place the pot on a suitable stilt to dry. |
Glazing The Inside of a Vessel
Lakeside Pottery's Glazing Cheat Sheet
(PDF Version)
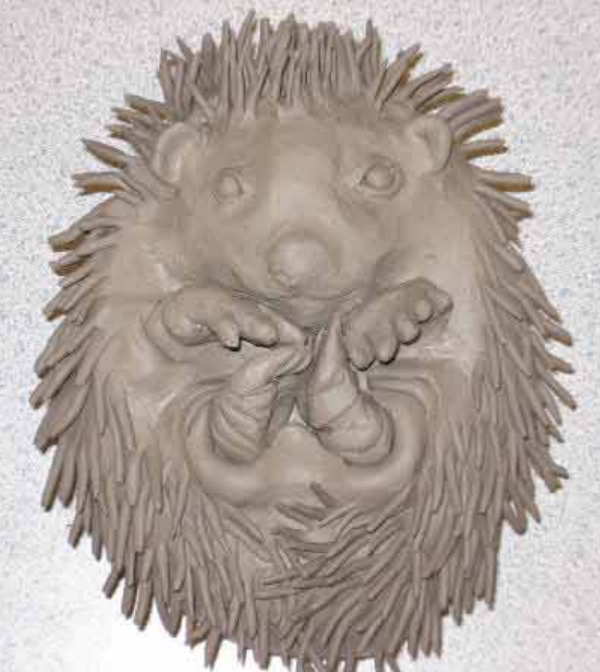
Great for Texture
Celadon #503 – Three second dip. Does not run. Watch for drips that may show (double thickness of glaze)
Golden Rod #508 – Three second dip. Pretty stable, rarely runs when used alone.
Clear Blue – One second dip will get you a lighter more translucent blue. A three second dip will get you a deeper cobalt. Does not run.
Sometimes difficult to get into little textures and rubbing after dry is hard to do.
Z- Celadon – Make sure you stir up all the thicker glaze from the bottom of bucket, you may have to use the drill on occasion. Two-three second dip. Can run if thick enough. Be careful to not allow glaze to drip and deposit a second layer of glaze…it will show.
Antique White – Make sure the glaze is stirred. Check to see if there are clumps. One second dip is recommended for maximum texture effect. A one second dip will get you a more brown color while a three second dip will result in a stark white. Does not run. Temperamental in that it shows drips and finger marks or patches.
Clear Glaze HF-9 – Three coats with a nice big paint brush. Let coats go chalky white before brushing another layer on. If painting on over underglazes, lightly put on the first layer. If you drag the brush over the underglazes on the first coat you will smear the painting.
Olive Green Celadon – This is a new glaze for us. One second dip. The more glaze the bluer the results. Be careful – very runny!
Pretty Good for Texture
Antique Iron #600 – A one second dip will show texture off better. A three second dip is a more creamy brown and may cover up finer texture. This glaze has the ability to run!
Calico #604 – Make sure you stir well!. Do a one second dip and shake or blow off extra glaze as pot is drying.
Eggshell #611 – This is a great glaze in general and a wonderful base glaze for dipping and spraying other glazes on top of. Do a three second dip. This is usually a stable glaze but does have the ability to run, especially in concert with other more runny glazes.
Mottled Blue – A one second dip will give more black and green and show off texture quite wonderfully. A three second dip will go a lovely light baby blue, but will not show off texture. This glaze by far takes the longest to dry. Very stable. Will show drips.
RD Red – Try to avoid getting this glaze on your clothes. Stains very badly. Do a one second dip. The glaze tends to go more red on the inside of pots. This can be a runny glaze!
Blue Shino –Fast fast dip! When drying either shake or blow off as much excess glaze as possible. If the glaze goes on too thick you will notice crack marks start to appear as the glaze dries. Rub them gently as they appear. Very stable.
So-So for Texture
Ultra White #114 – Three second dip. Great to use with underglazes. First do a three second dip, then ONE coat of underglazes over. Very stable.
Sea Spray #607 – Three second dip. Very runny, beware!
Midnight Blue #368 – For use in spray jar only. Looks great sprayed on over RDR or black! For similar results as far as dipping a whole pot in consider the clear blue.
Lapis Satin -- NOT FOOD SAFE! Make sure you stir well! One second dip! Usually stable.
Turquoise -- NOT FOOD SAFE! Make sure you stir well! This is THE SECOND MOST DIFFICULT glaze to stir. If not mixed properly the pot will come out brown. One second dip. Runs a lot!
Peggy’s Blue – Make sure you stir well Three second dip. Usually pretty stable.
Noxema Blue – Only available in a small bucket. See notes about Midnight Blue. Usually pretty stable.
Will Kill All or Most Texture
Grape #362 -- Make sure you stir well! Does not move.
Pink # 623 -- Make sure you stir well!
Black #127 -- Make sure you stir well! This is a great base glaze. It’s one of the only ones that you must dip twice! Three second dip and as it starts to dry dip the pot in again for one second. Does not move at all!
Burgundy #240 – Best to dip twice quickly
Spruce Green #447 -- Best to dip twice quickly
Cherry Blossom #620 -- Best to dip twice quickly
Weathered Bronze -- NOT FOOD SAFE! CAN RUN A LOT – WAX UP AT LEAST ½” or more! Make sure you stir well! This is THEMOST DIFFICULT glaze to stir. If not mixed properly the pot will come out brown.
Glazes that can be sprayed on only
Water Color Green – NOT FOOD SAFE! Spray on only! Very super-dooper runny!
2D Blue – NOT FOOD SAFE! Spray on only!
Crystal Magic – NOT FOOD SAFE! Spray on only!
Fake Ash – NOT FOOD SAFE! Spray on only! Tends to blister when applied too thickly.
Pier Black – NOT FOOD SAFE! Spray on only!
Rudy’s Black – NOT FOOD SAFE! Spray on only!
Archie Base – Spray on only! It’s purpose is to make the glazes used run more.
|