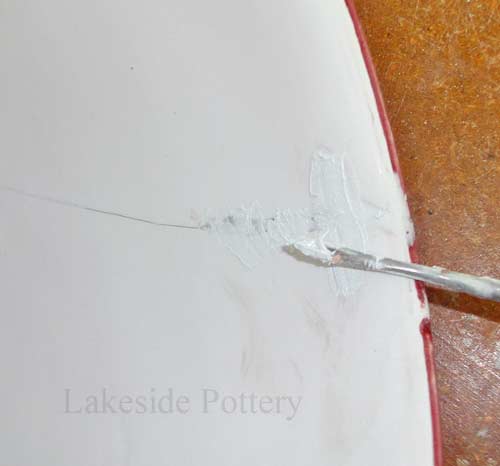
| Choose to grind the groove on the side with less detail. In this example, we used a 5mm diamond rotary disk to create a groove across the crack to embed the peg. We also created a groove along the crack to allow the clear epoxy to pool so that it can penetrate through the crack's wall. |

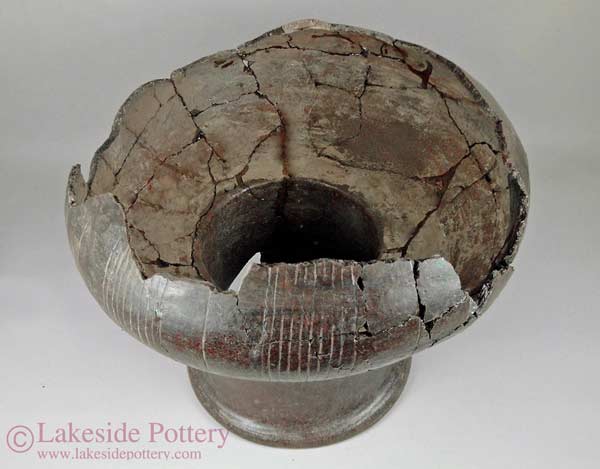
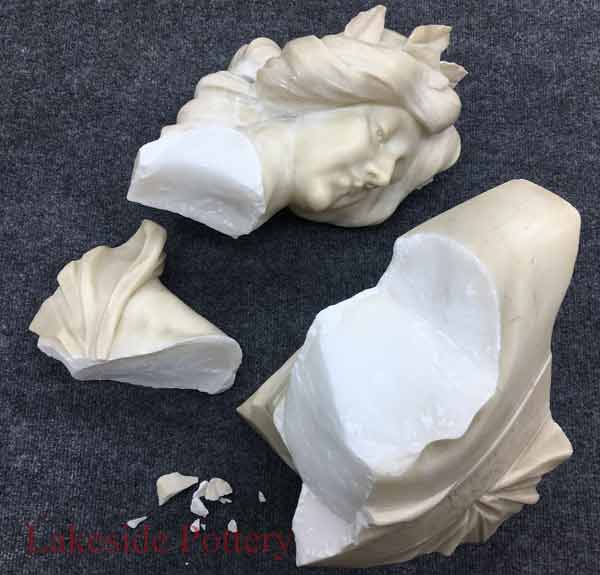
Broken antique jug |
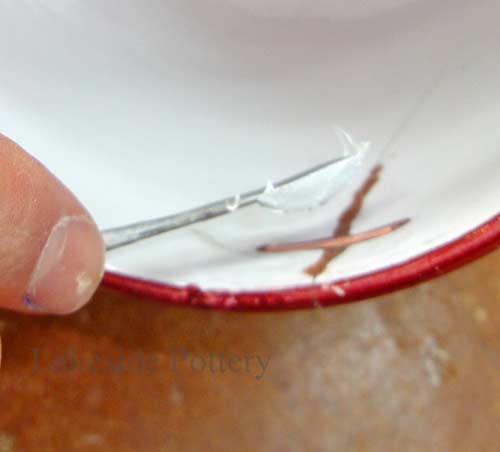
 Long hairline crack
|
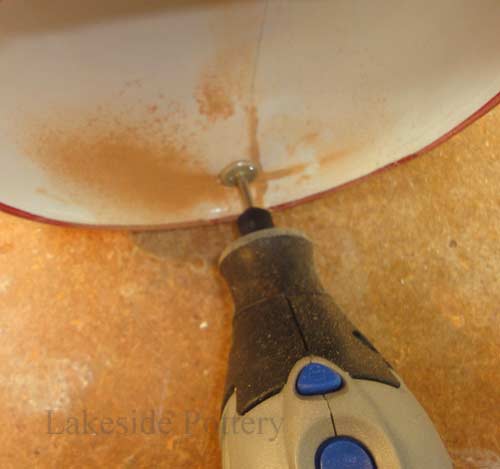
Grind channel across and along crack |
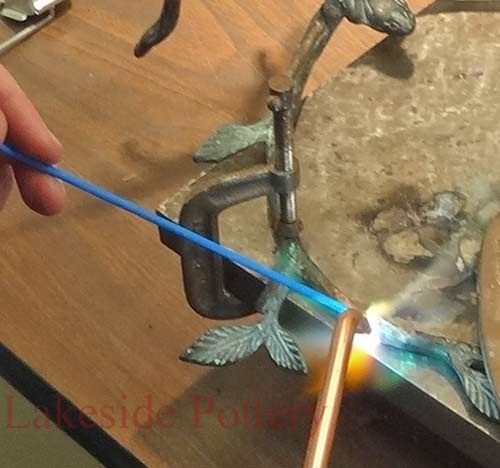
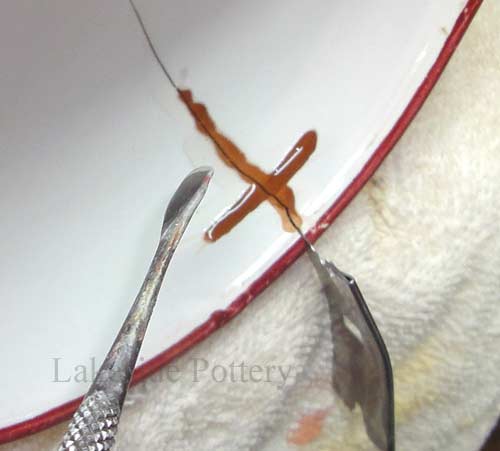
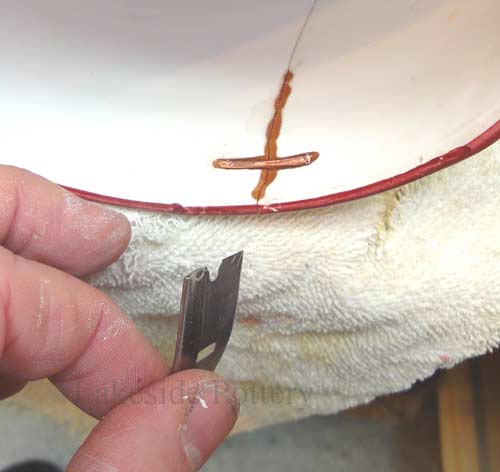
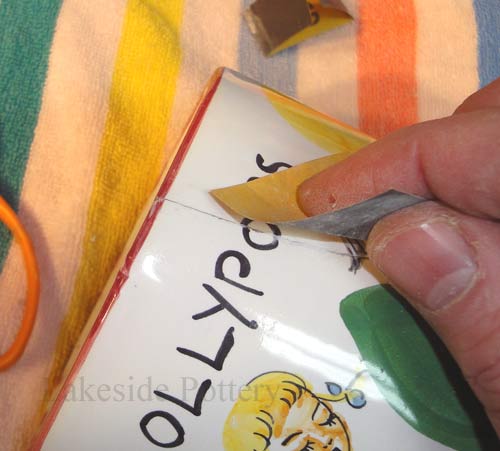
In this case, we used 12-gauge copper wire. We textured the surface to better bond with the adhesive. The razor blade is inserted in the crack to widen the gap for better epoxy penetration into the walls of the crack. |
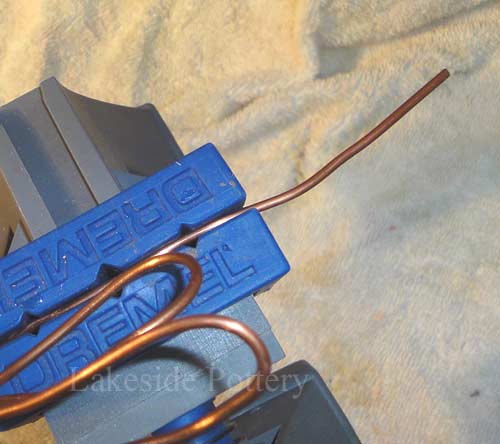
Gauge 12 copper wire in a vice |
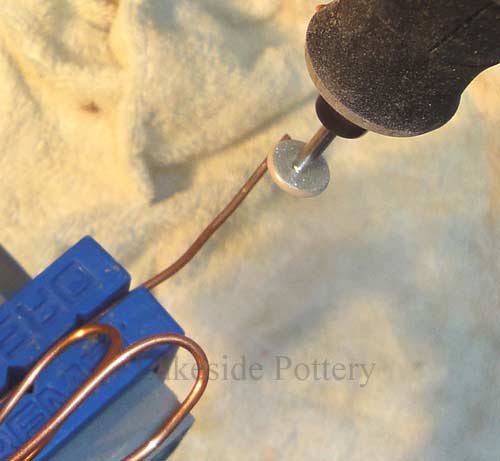
Grind surface for better adhesion |

Cut copper to size (peg) |
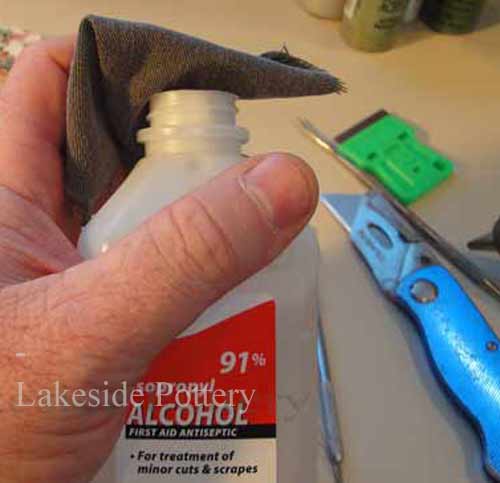
Clean surfaces with alcohol (91%) |
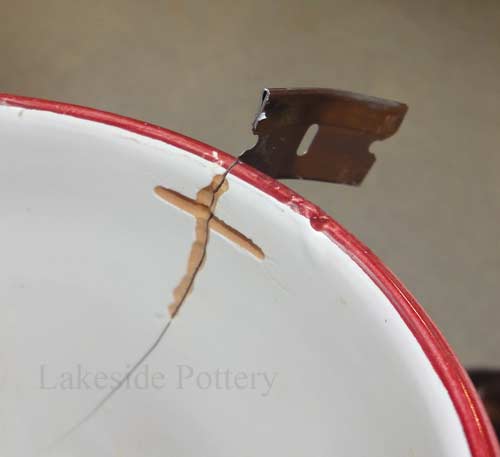
Wedge a razor blade to widen crack |
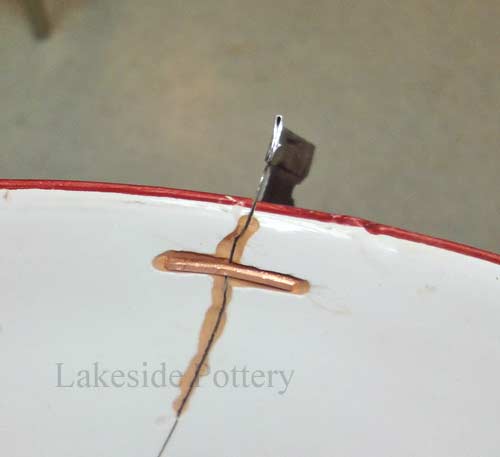
Shape peg and try for proper fit |
Heating the mug and the epoxy to 120-140 degrees F will make the epoxy more liquid and enable it to penetrate through the crack. Warm the epoxy before mixing it and make sure the two parts do not touch each other to avoid cure time from starting (we use a microwave oven to warm epoxy). 120-140 degrees however, will reduce epoxy cure time from 5 minutes to about 2 minutes, so make sure all you need is near you. |

Heat mug for optimum epoxy cure |
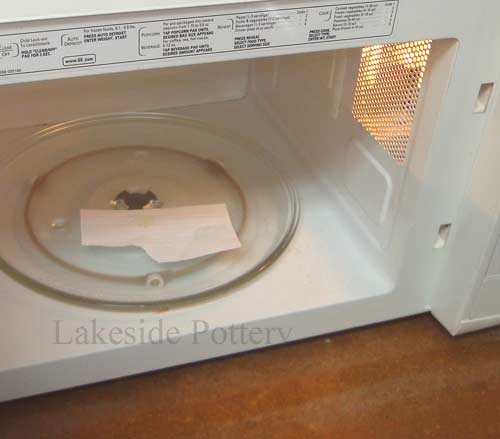
Warm epoxy to be thinner (microwave) |
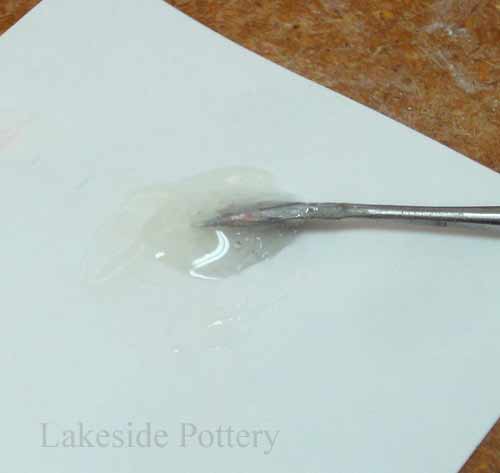
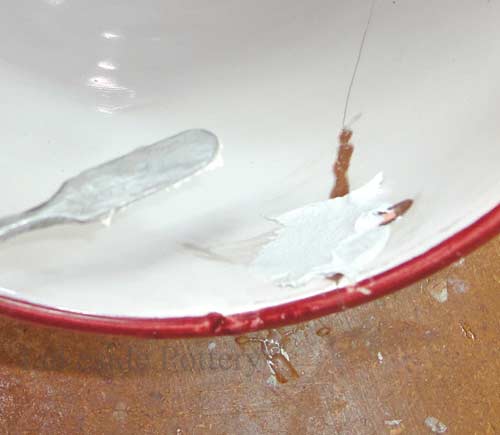
Mix the warmed 2-part clear epoxy |
Place the mug so that the crack and the grinded channels are on the bottom before placing the mixed 2-part epoxy. After applying the epoxy, inspect the other side of the crack to verify that the epoxy went through the walls of the crack. Remove the razor blade while the epoxy is still very liquid. Place the clamp before the epoxy hardens and put back in the oven (120-140 degrees F) for optimum cure strength. |
Fill channel with epoxy |
Remove razor blade |
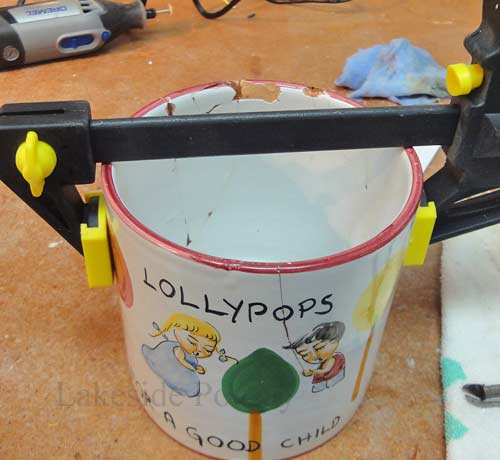
Clamp for better fit |
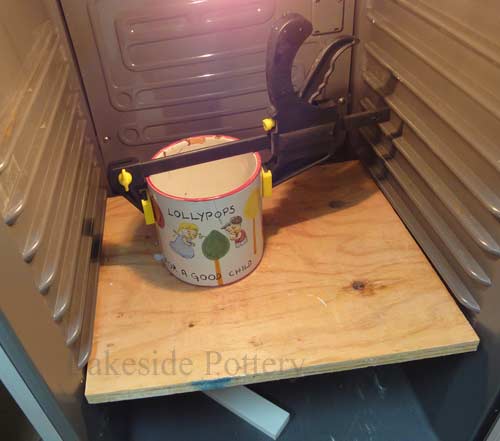
Heat to 140 degree F for optimum cure |

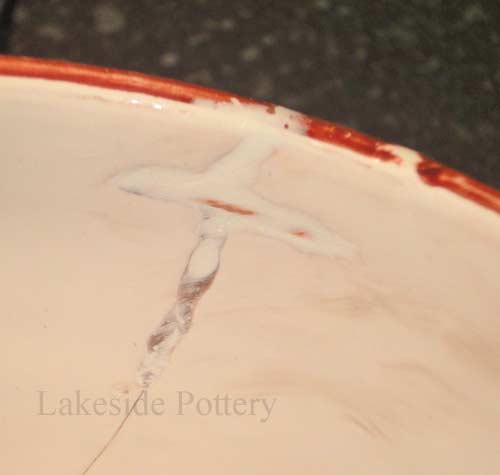
Mix filler epoxy |
Fill gaps after removing excess epoxy |
After cleaning the excess epoxy with a razor blade, fill all gaps with 2-part filler epoxy and sand with a Dremel and than by hand graduating to a very fine sandpaper. |
Push filler epoxy well in gaps |

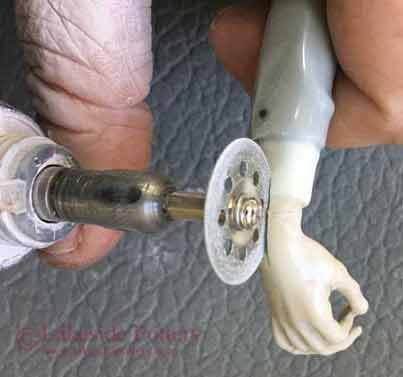
After curing over night, sand |
Peg areas sanded |
Fill with finer epoxy filler |
Sand finer & finish sanding by hand |
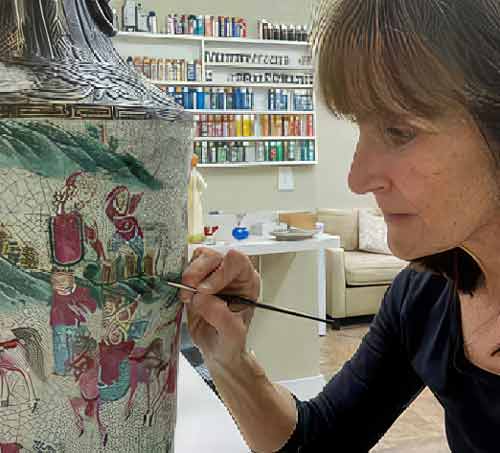
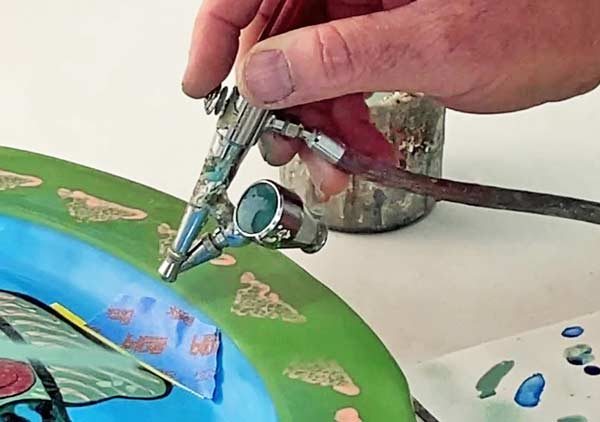
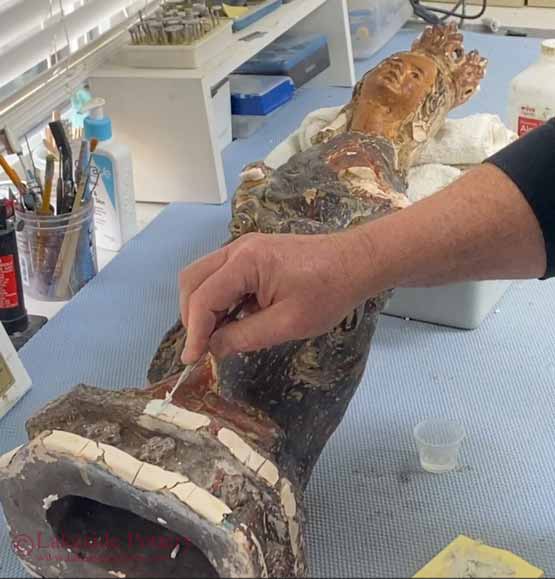
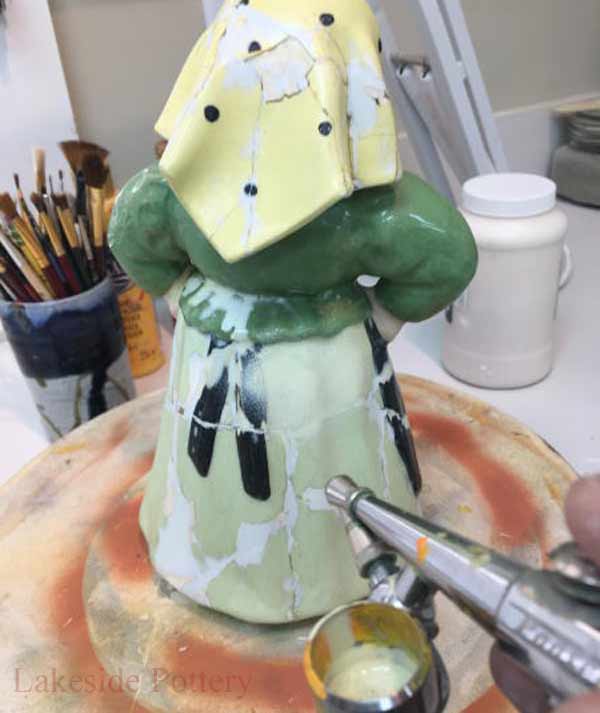
Mix colors, paint and cold glaze How to paint repaired ceramic |
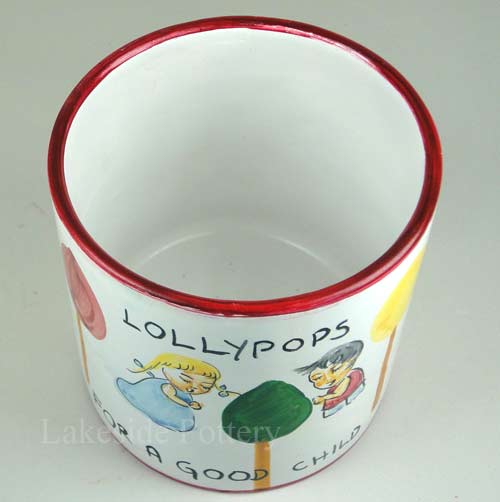
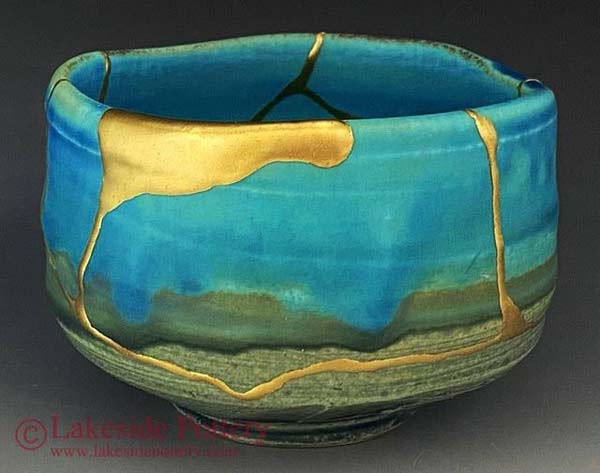
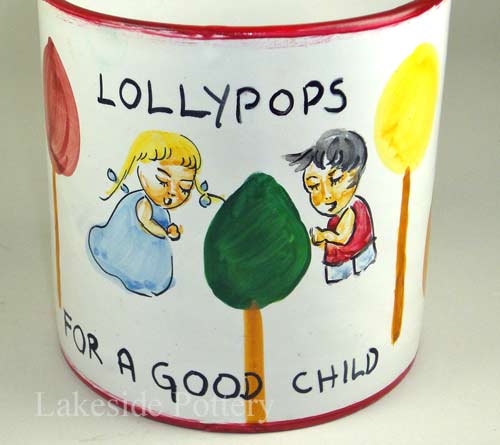
Lollypops jug restored - click for closeup |
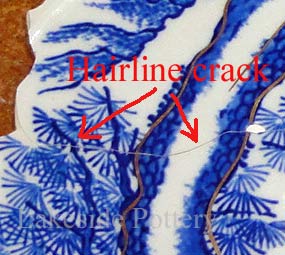
Another example of hair line crack in a Chinese ceramic platter |
|