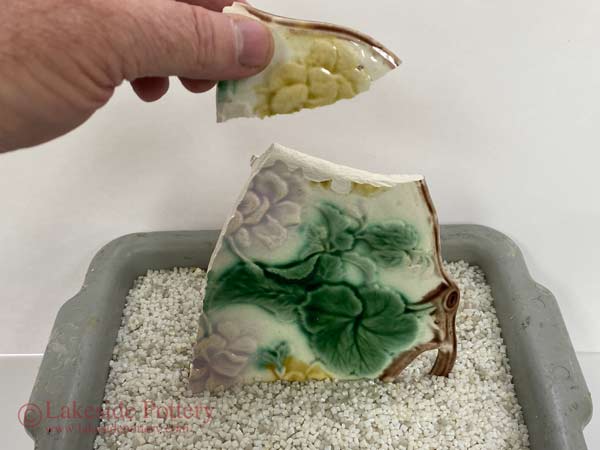
We have received inquiries with regard to our repairing pottery basic lesson asking how to repair more complex broken pottery when some pieces are missing. This tutorial showing the use of fiber resin reenforcement technique, hiding the repair lines and restoring the antique aging look.
Pottery repair video tutorial
Some of the answered questions below are:
A) How to fill in missing pieces?
B) How to give the repaired item strength?
C) How to hide repair line?
D) How to restore color, luster and recreate the antique look?
To illustrate the process, below we show a recent restoration projects. Some steps such as "antiquing" and "recreating glaze look" are touched on briefly but more detailed knowledge is required. Before you get started, note that for an experienced person with all the proper tools and material, this repairs took 3-4 hours beginning to end (not counting "waiting to cure" time). So, make sure you budget your time and do not have to stop in the middle of some important time dependant tasks. To see the previous and more basic lesson, visit: Repairing Broken Pottery Lesson 1.
If you wish to use our Ceramic Repair and Restoration Services, please visit our Restoration Main Page
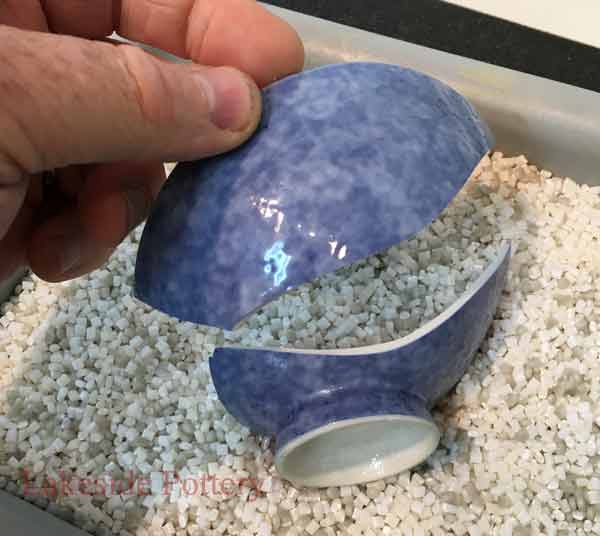
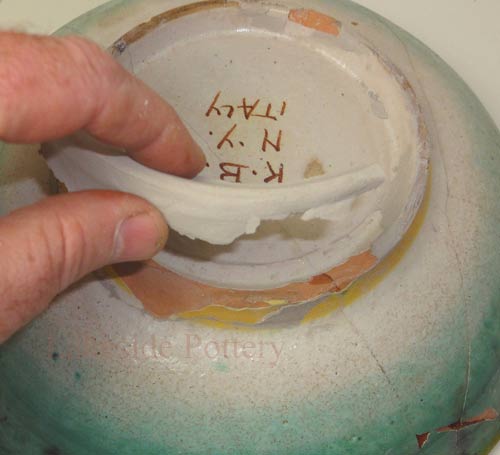
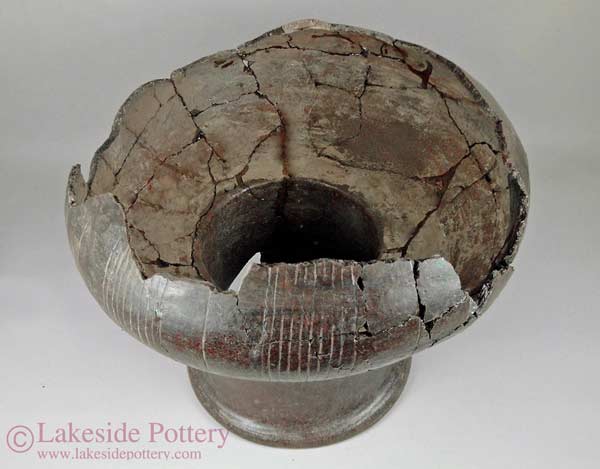
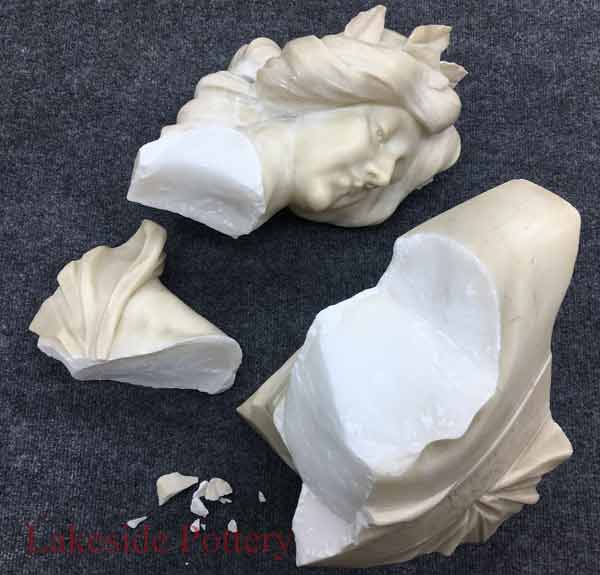
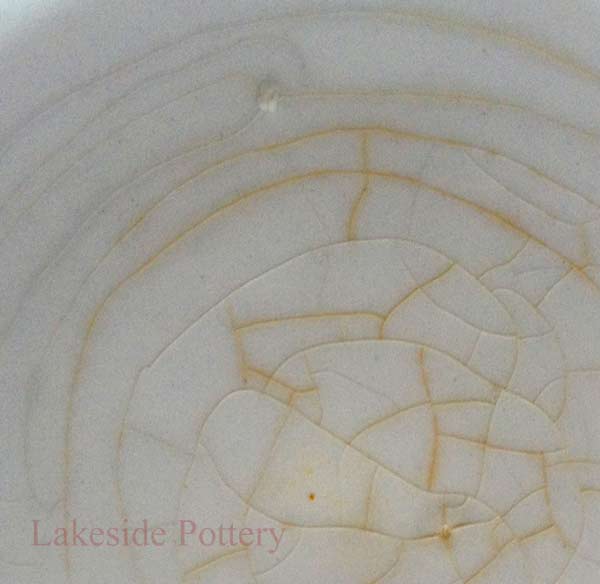
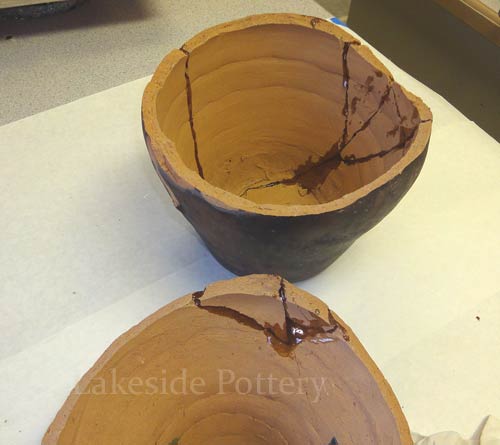
Broken Antique Vase Repair; Filling in For Missing Pieces & Coloring
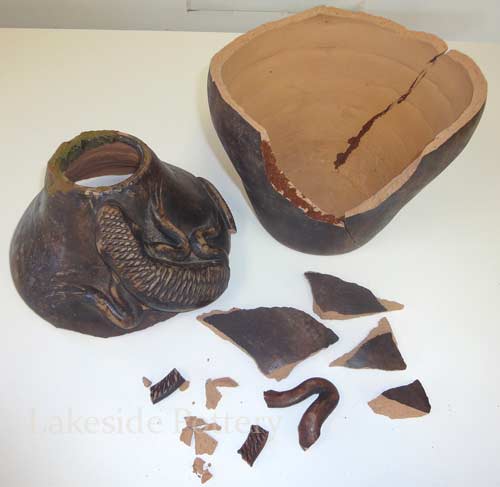
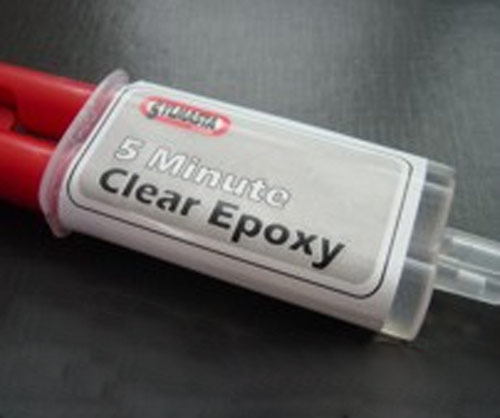
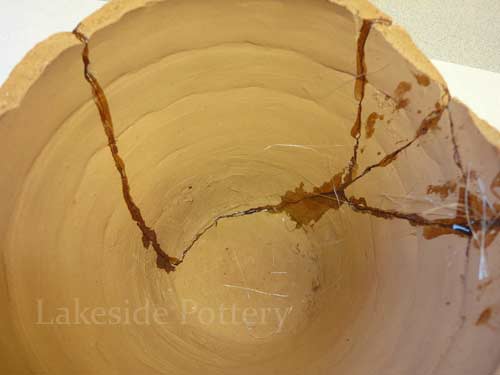
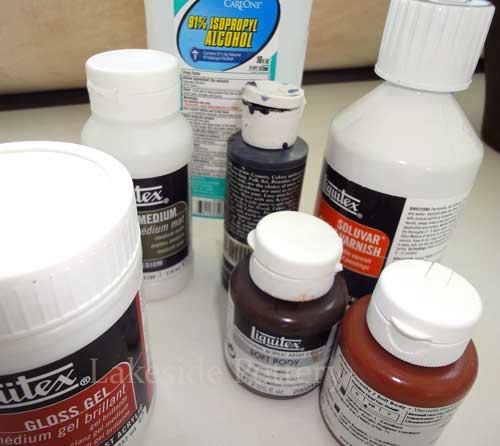
Before starting, remove any old glue attempts, clean thoroughly and remove all loose particles. Before starting the repair, make sure parts are 100% dry! Cover working area with sheets of paper to avoid damage to your table with the various epoxies used in this tutorial. The two-part clear epoxy is a quick dry type and you have about three minutes to apply and adjust pieces. "Dry run" the order of cementing the pieces to determine to order of gluing them together. For step by step explanation of using the two parts clear epoxy, see Lesson 1
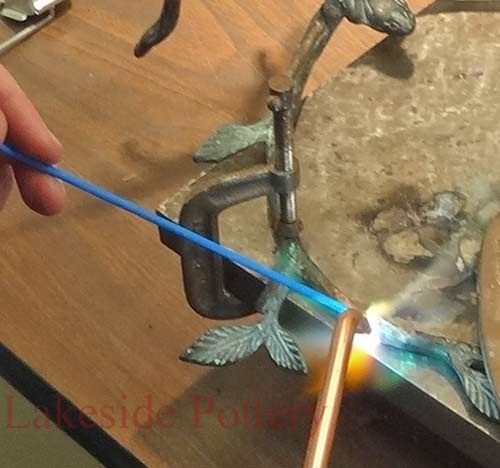
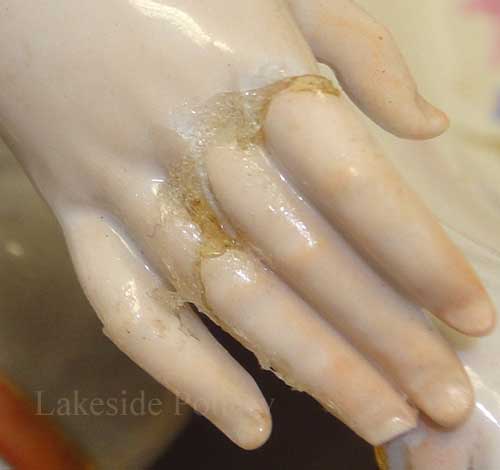
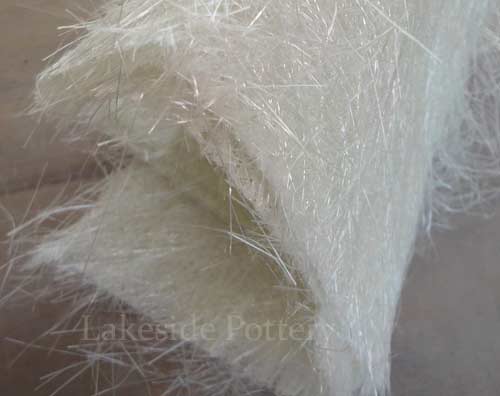
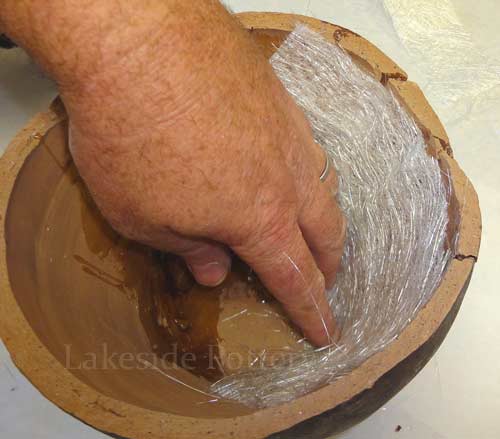
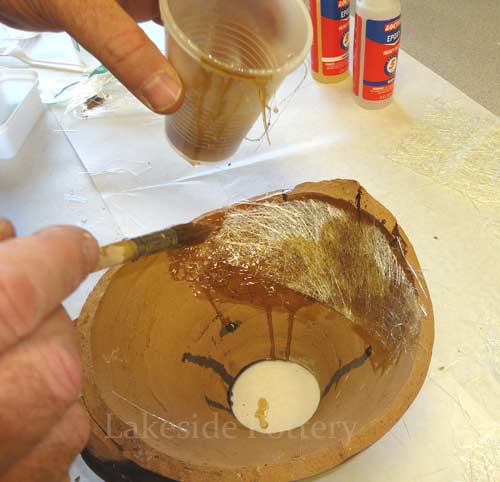
Fiberglass repair is required to provide the strength needed when the repaired object material is brittle or too many pieces are missing. The process is very similar to boat repair methodologies. When cutting the fiberglass sheet, be sure to cut pieces large enough to cover all the broken area plus an additional 1" on each side of the joints. Use a respirator mask when working with the fiberglass resin as recommended by the resin manufacturer and work in a room with good air ventilation. Don't bother cleaning the brush - use a low cost one and dispose when done.
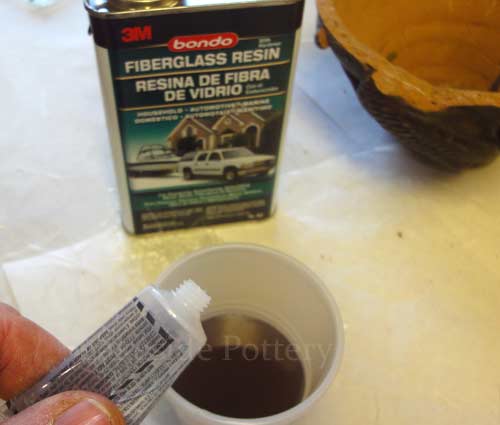
Mix quick dry fiberglass resin
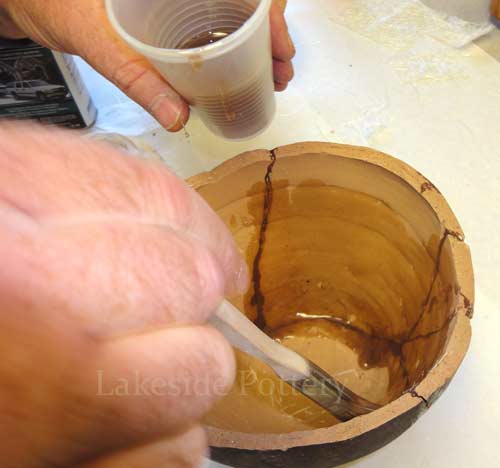
Apply resin over glued area
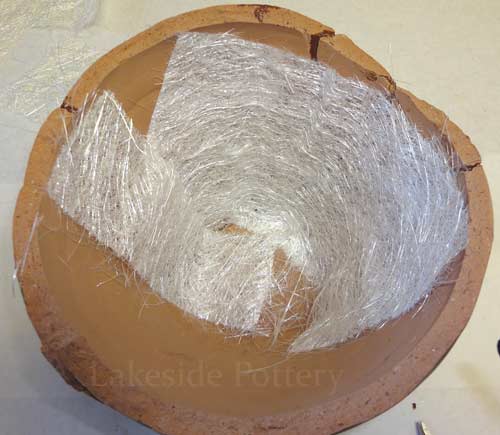
Fiberglass over 1st resin coat
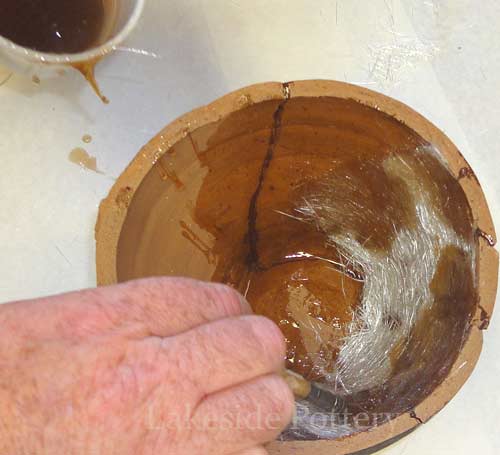
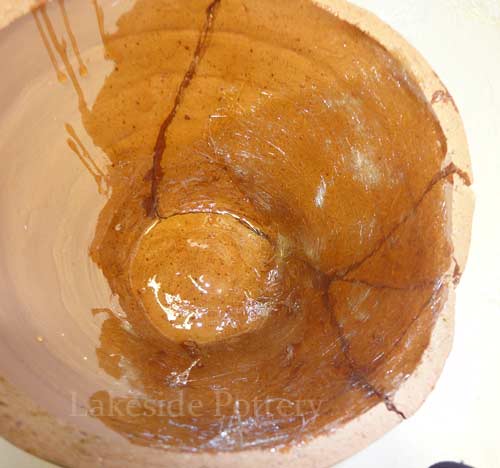
The fiberglass resin is applyable only for about three minutes, once it starts to get "jelly like" do not apply anymore - it will not cure properly. Note that the fiberglass resin will generate heat as it cures. Once cured, it is very hard to work with (e.g.., sanding) and it is not paintable unless the surface is roughened.
Brush a 2nd resin coat
Repeat on second vase part
Cured fiberglass repair
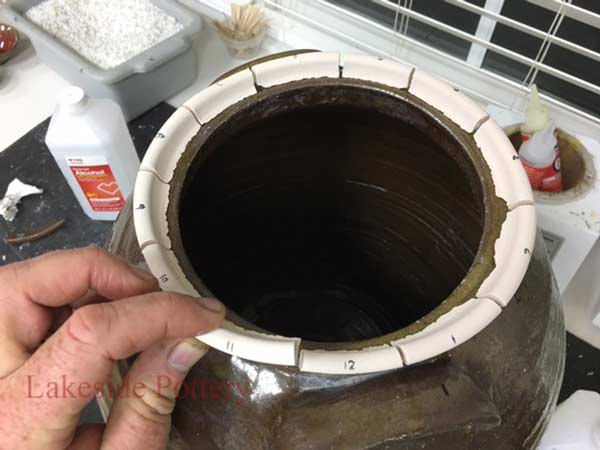
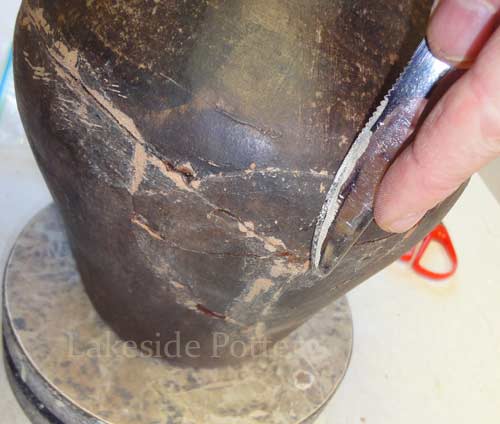
Once the resin is cured, repeat the two-part clear epoxy process above to connect the larger parts. Note that each broken pot has it's own puzzle attributes and the steps shown here will probably be different for each situation. When the two-part epoxy is settled (about 20 minutes later), use a sharp knife to scrape the glue that squeezed out to the surface. If you wait too long, and the epoxy is completely hardened, scraping the extra cured cement will become a more difficult task.
Glue two vase parts with epoxy
Vase all glued together
Scrape all excess epoxy glue
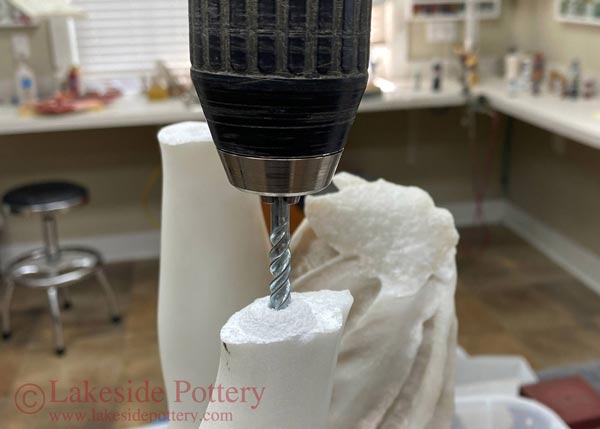
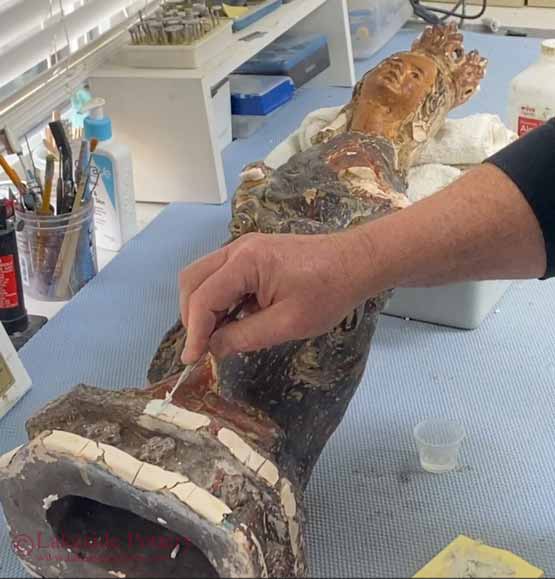
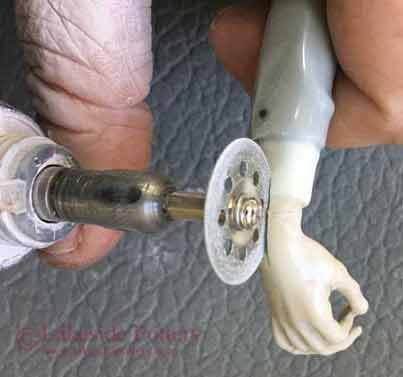
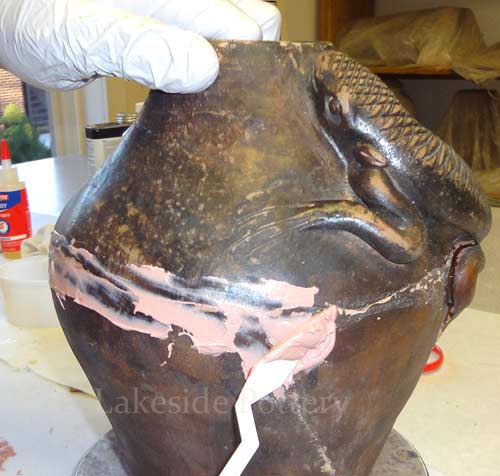
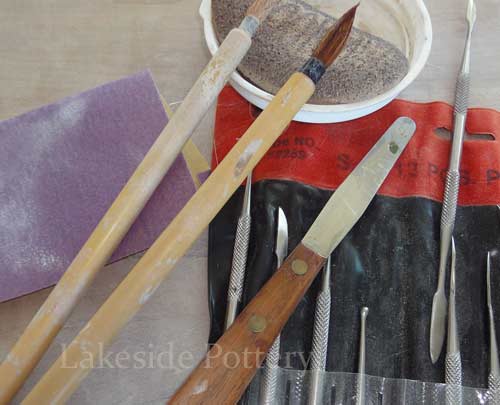
Use 2-part epoxy filler to fill cracks and missing parts. Use gloves and a respirator mask when applying and sanding. The epoxy filler will be ready for sanding within 20 minutes. When sanding, graduate to a very fine sandpaper to insure no sanding marks are visible. The best way to verify surface smoothness is by gently running the tips of your fingers over the worked areas. Clean all surfaces thoroughly with a damp cloth.
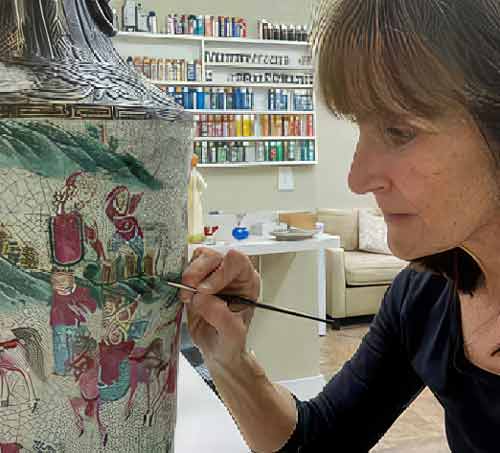
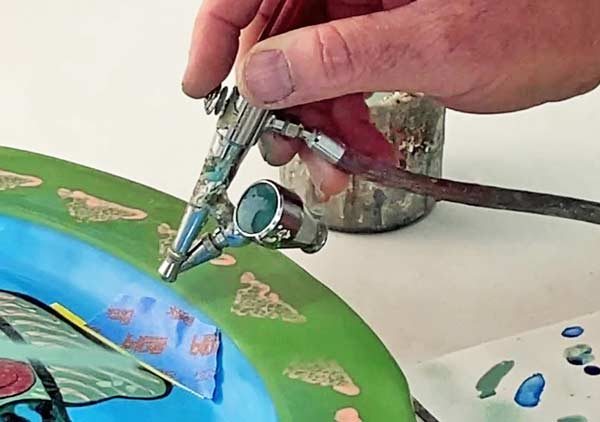
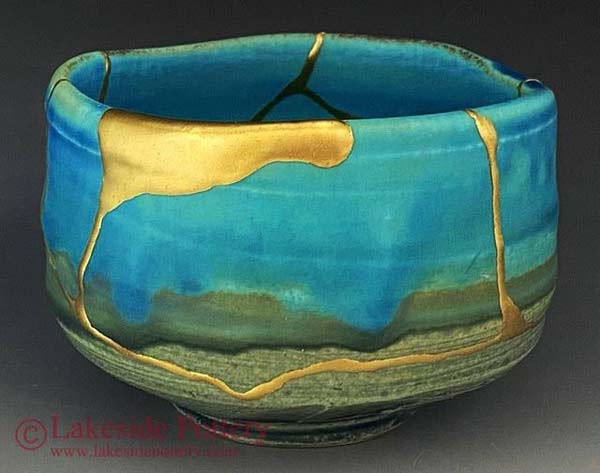
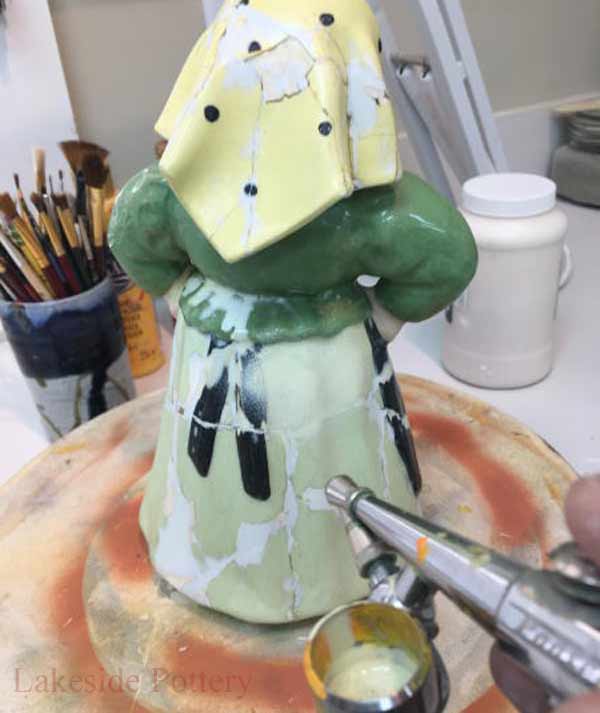
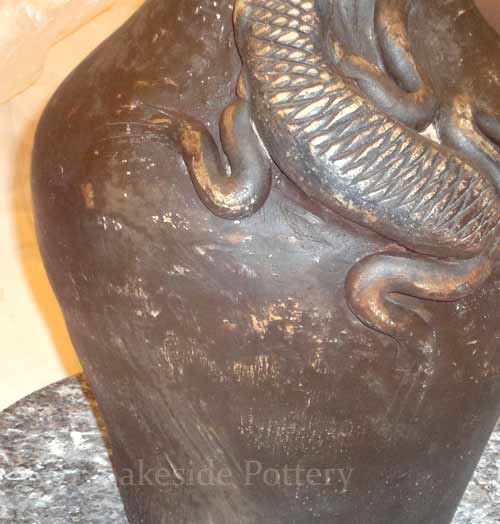
Wait until surfaces are completely dry and wait at least 10 hours before applying color. Mix colors and additives until satisfied with color match and luster. Wait until applied color (s) are completely dry before starting the "antiquing" process.
Use antiquing tools / techniques
Antiquing process
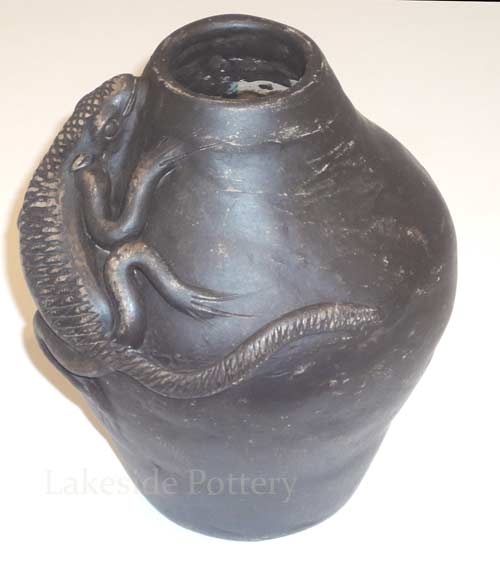
Finished restoration
IMPORTANT: Ceramic restoration materials are not food safe, liquid or heat proof (over 190 degree F) and repaired items should not be used on cooking or food serving ware more...