|
|
|
|
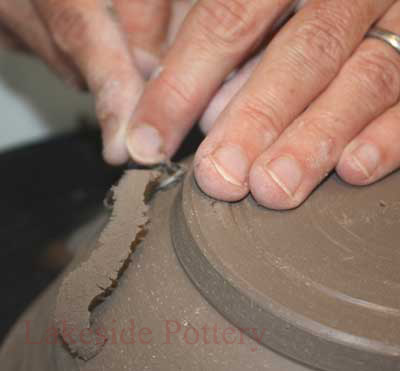
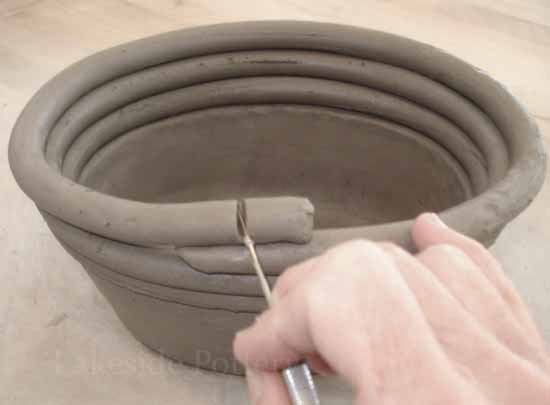
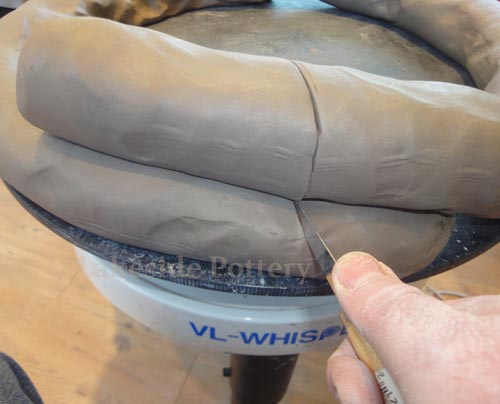
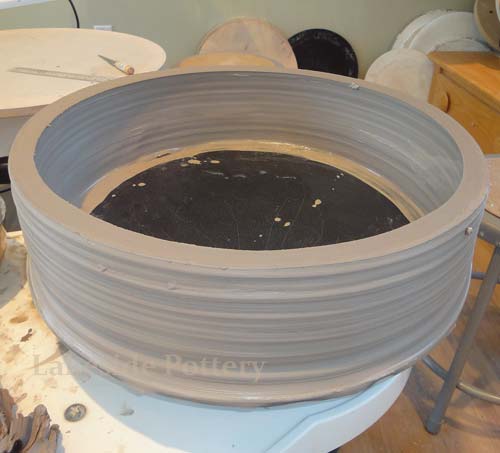
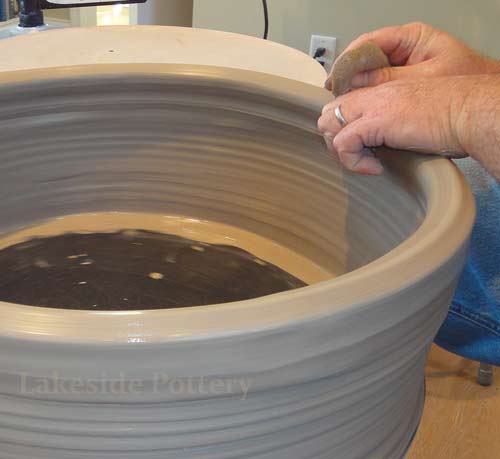
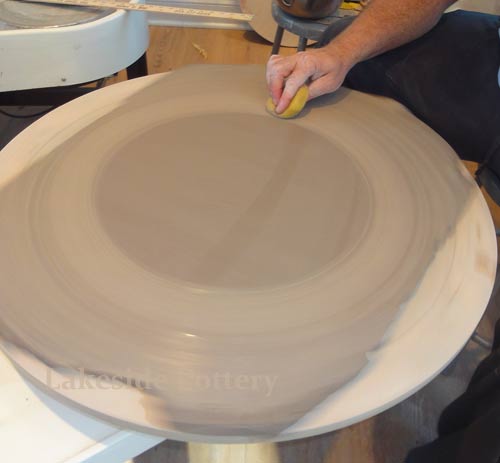
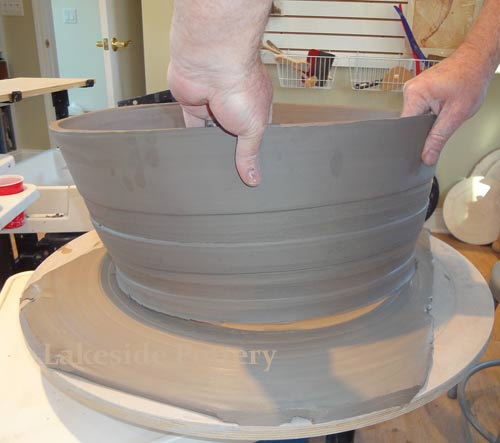
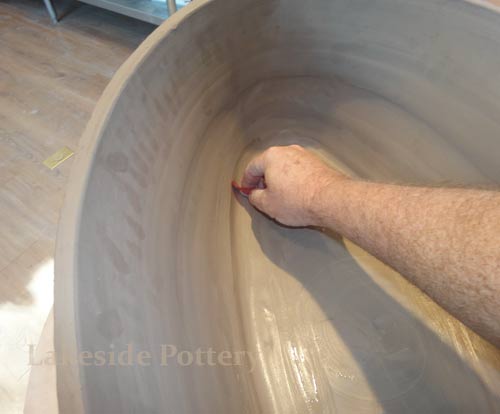
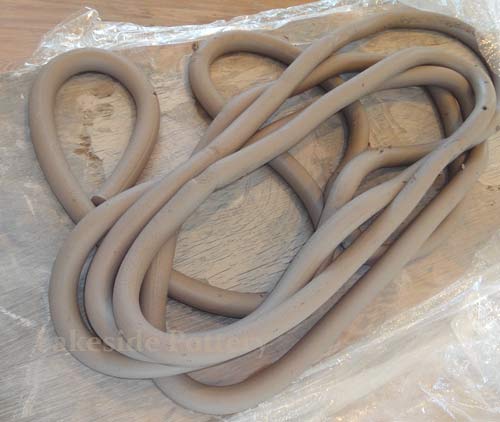
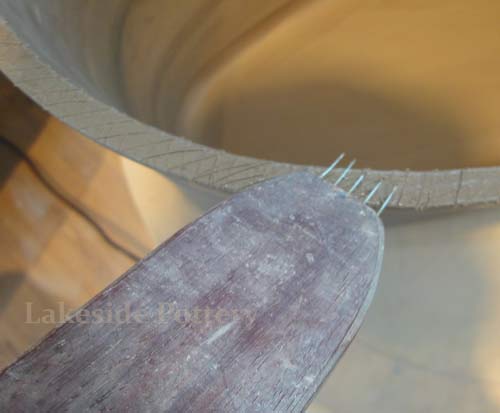
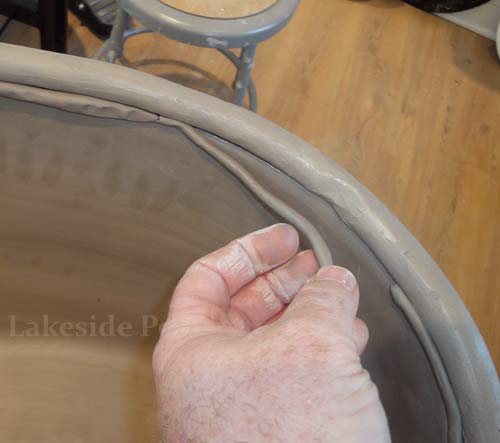
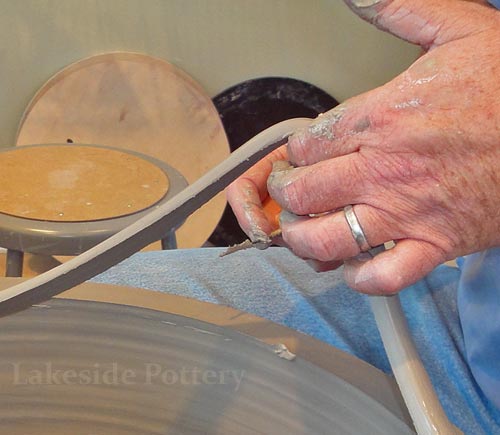
3) Because the coil is rolled by hand and it not perfect, some unevenness will travel to the top. Remove it by cutting the very end of the rim off with a pintool while the wheel is turning slowly. This cut will also provide a solid platform for the next coil. Make sure you do not raise the wall too tall and leave a thick rim to accept the next coil. If too thin, the pot will collapse with the extra height.
Remove the uneven rim
 |
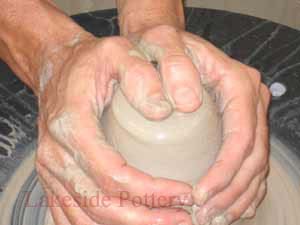
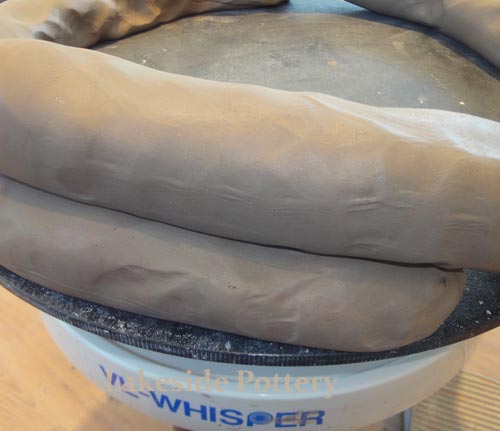
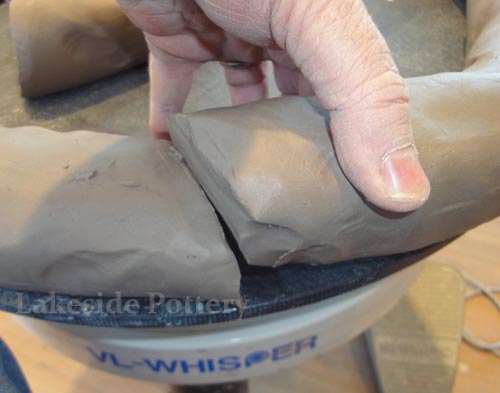
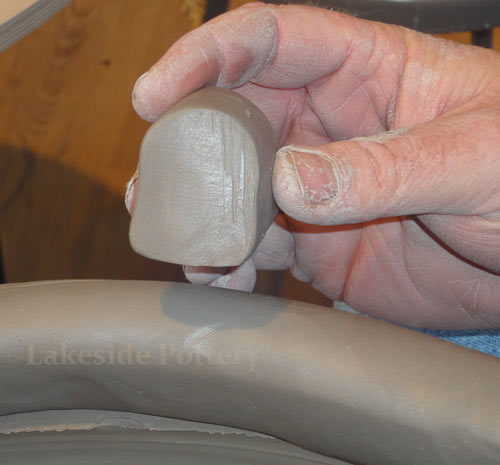
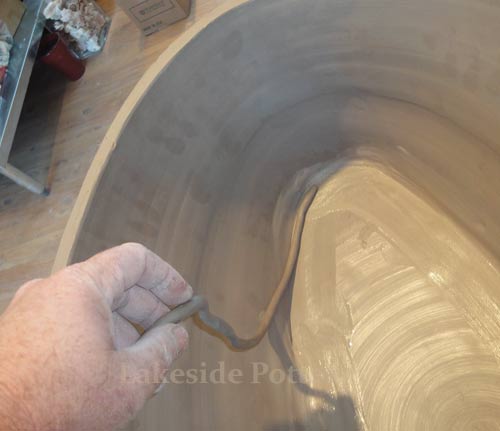
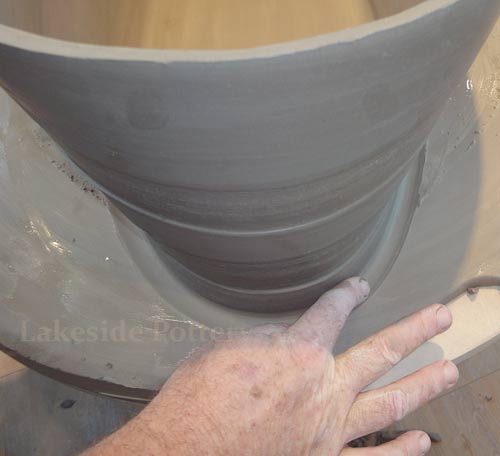
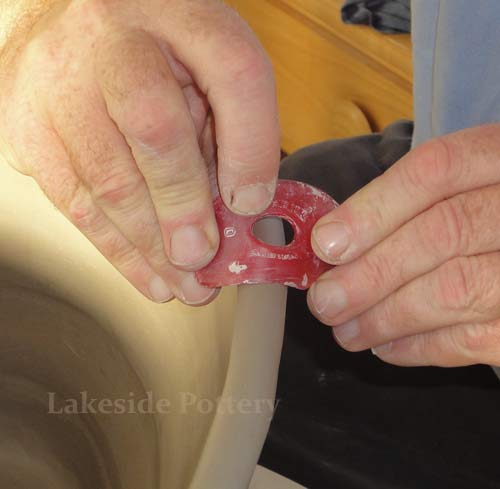
Place next coil (no water yet)
 |
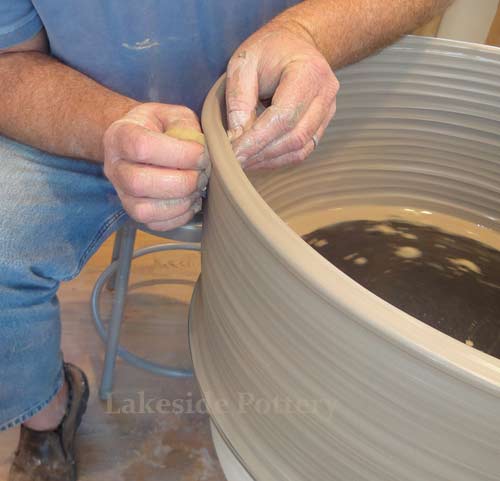
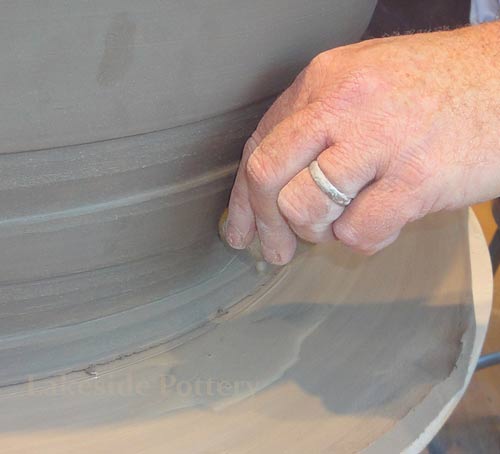
Use the same coil fitting technique
 |
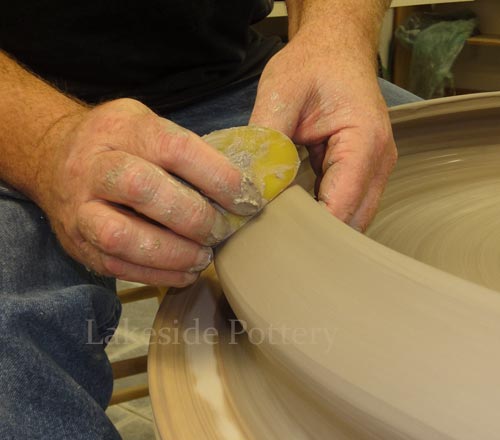
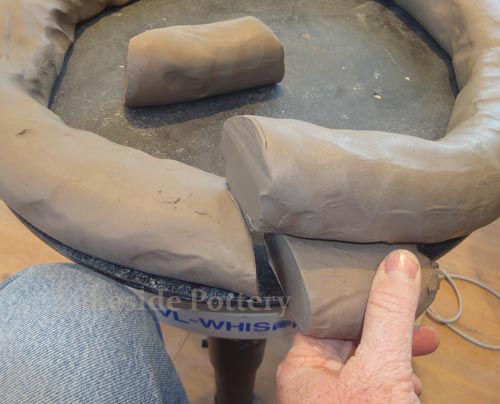
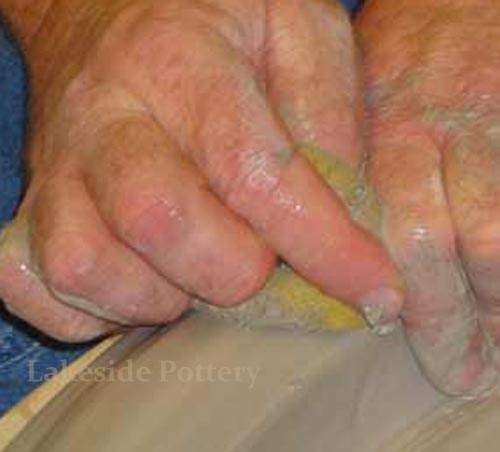
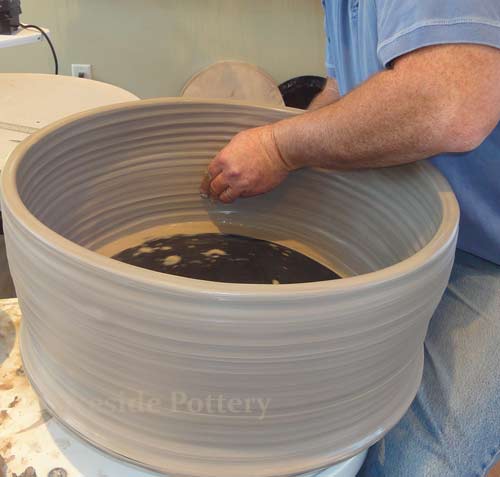
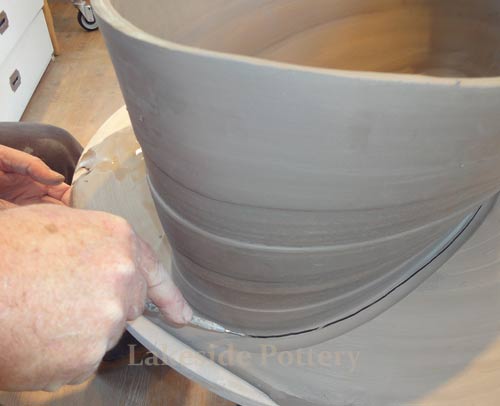
Push coil down tightly
 |
|
|
|
|
|
|
|
|
|
|
|
|
|
|
|
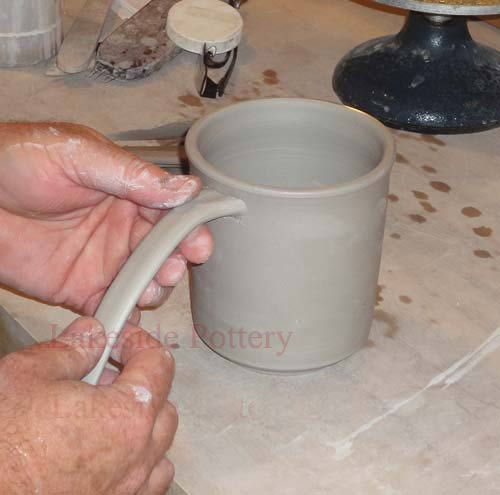
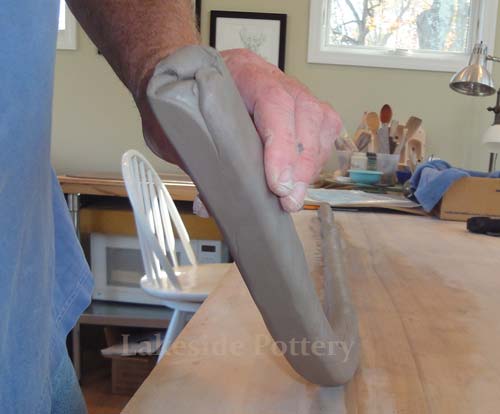
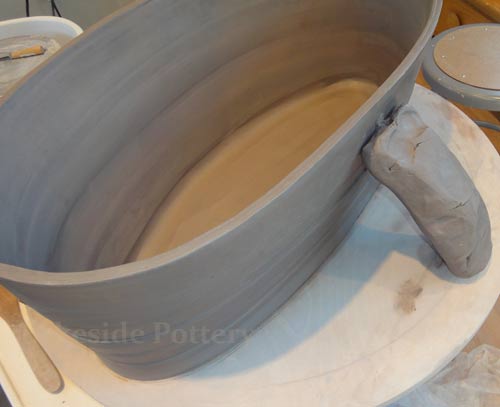
11) Make the handle thick and strong enough to carry the pot's weight.
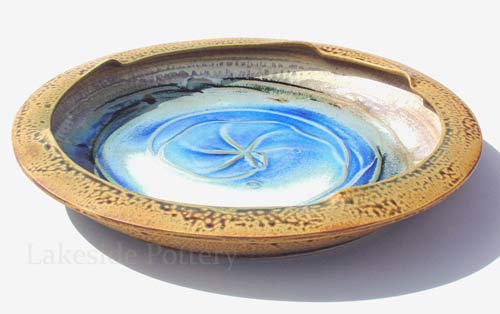
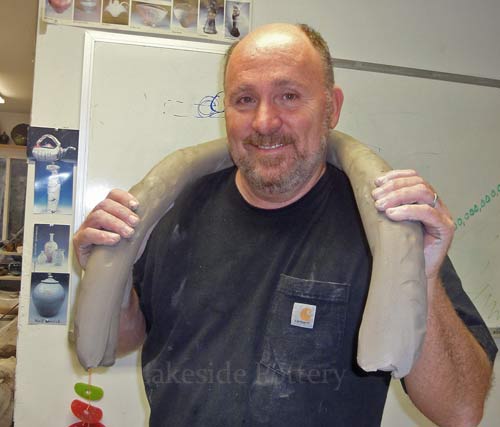
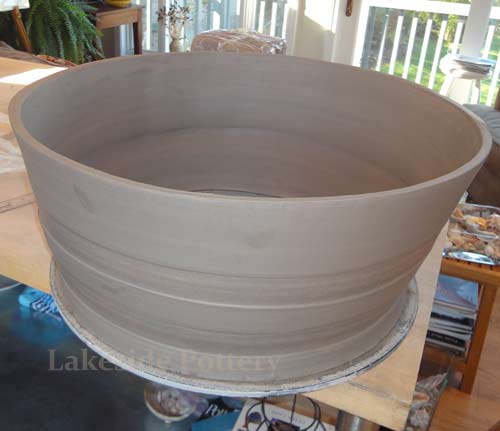
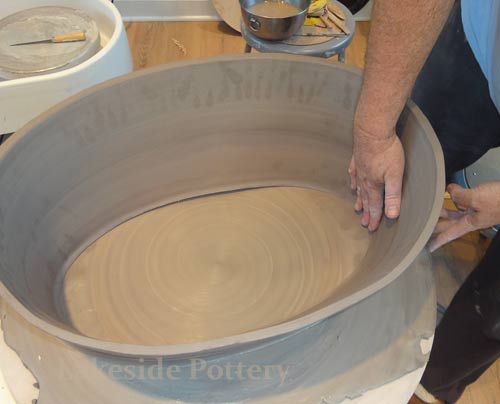
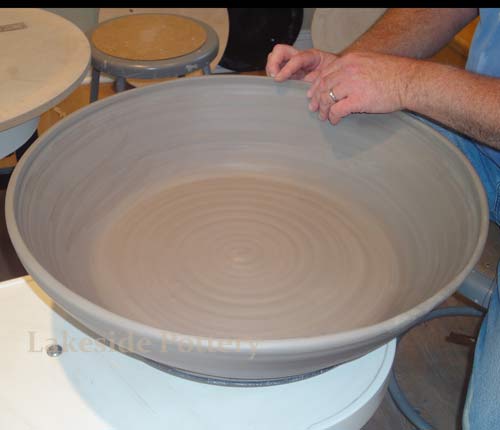
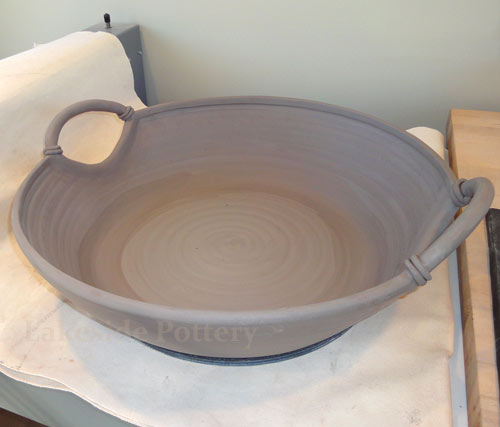
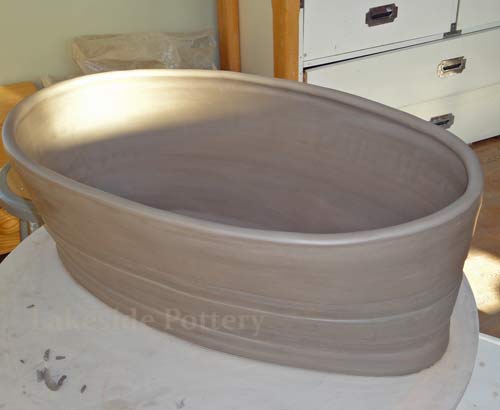
A 28" long, 17: wide and 12" tall
 |
Placing the handles
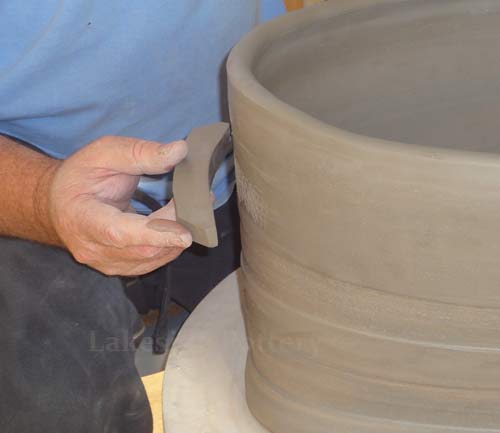 |
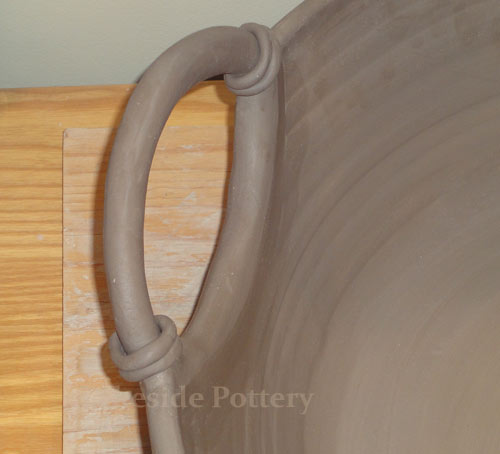
Handle - close up
 |
|
|
|
|
Drying
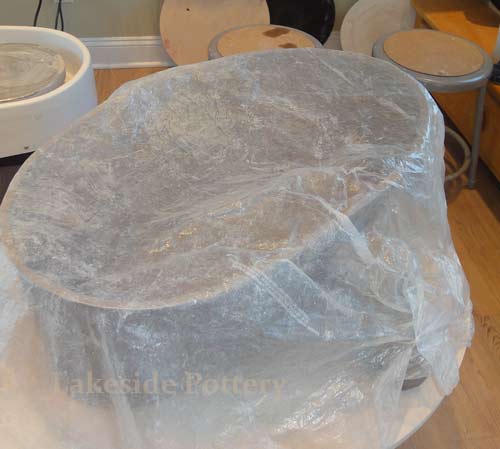
1) Cover tight and let the clay moisture content equalize for 2-3 days.
2) Cover the whole pot loosely for 1-2 weeks and make sure the rim does not dry first. If the rim drys first on such large bowl, cracking at the rim's is very likely. Drying Tip: Flip the plastic cover once a day while drying. The moisture that accumulates on the plastic surface will be facing up after flipping, thus, removing water a bit faster from the enclosed large pot.
3) Before trimming, make sure the pot is on the harder side of "leather hard" to insure the pot does not warps when it is flipped over for trimming. See trimming over a foam tutorial.
|