#lakesidepottery
|
|
Step-by-step Hand Building Soft Mold Sculpture
Using soft hump molds is a fun and unique way to create sculptures, masks, wall art or tiles. Whether the sculpture is planned or "found" in the resulting drop form (**see below!), by adding slab pieces, coils or decorative clay designs, a three dimensional sculpture takes form. Below is a step by step on the "drop" method using soft hump molds. Have fun trying it!
|
|
|
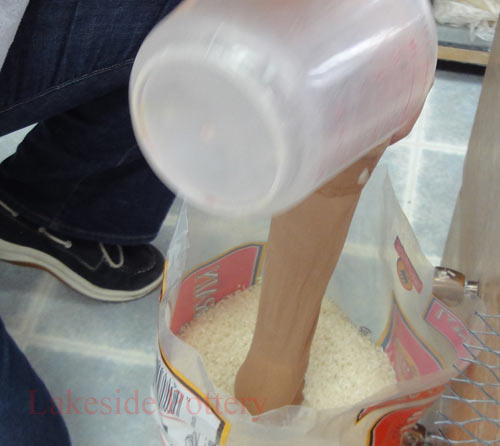
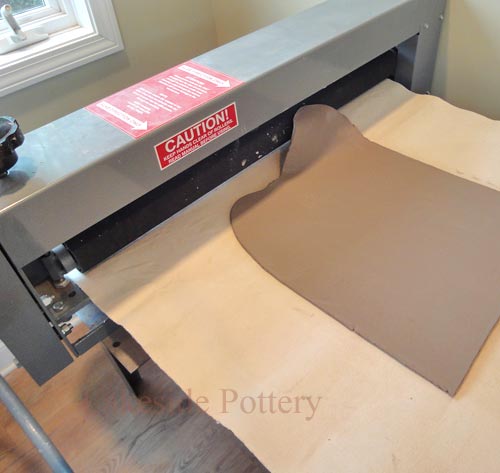
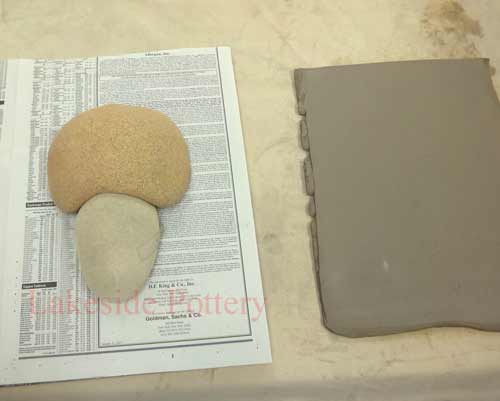
Once your mold is in place, you can then determined the size of the slab of clay you will need. Measure the soft mold and allow at least 2 inches of overlap on all sides. Roll slab, at least 1/4" thick, compress and add texture, if desired. Carefully place slab over soft molds (again, make certain you have newspaper under the clay).
Use slab roller or rolling pin to make slab at least 1/4" thick.
|
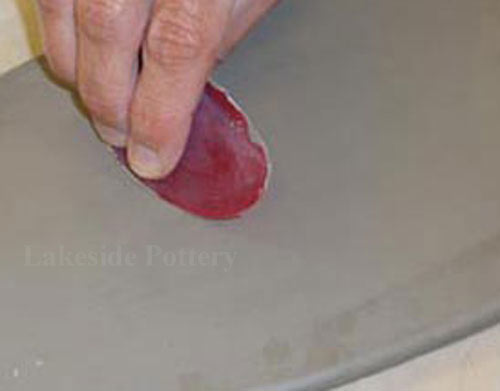
Smooth and compress slab. You can add texture.
 |
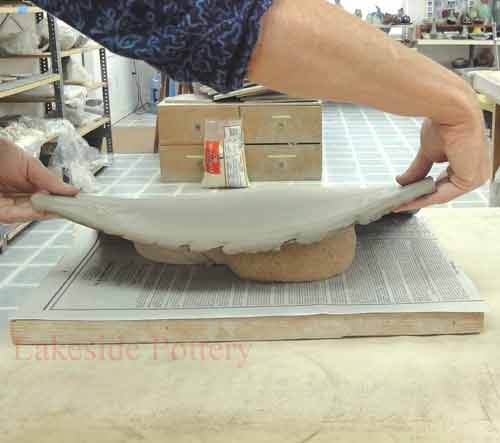
Double check that slab is large enough to wrap around the forms.
 |
Carefully lay slab over soft mold, newspaper and board.
 |
|
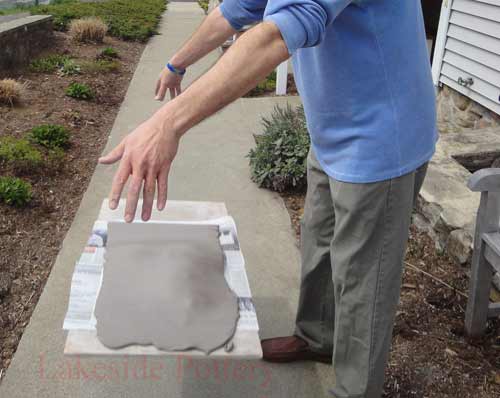
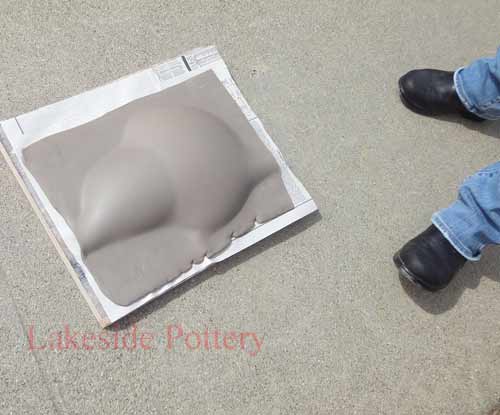
Now for the drop! We usually go outside for this because it makes a lot of noise! Hold the board in the air, keeping it level and release it allowing it to drop freely (do not toss it!). When it hits the ground, the clay will form around the soft molds. Sometimes, you may want to drop it a second time for a more dramatic effect, but don't do it more than twice as the clay may tear. See APPENDIX below for more. **Sometimes best made plans take some fun twists and turns! You may "find" a different idea in the resulting drop shape.
Release (don't toss) board and let it drop to the ground.
|
You can drop it a second time -- try to stay level!
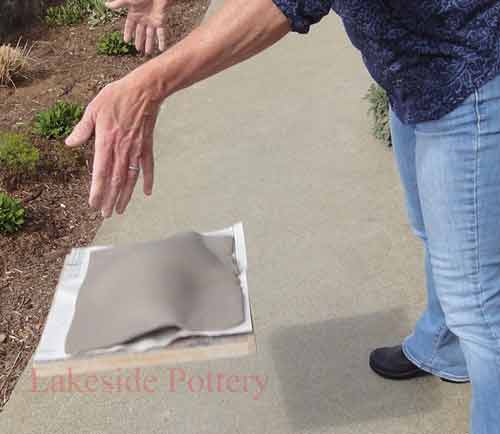 |
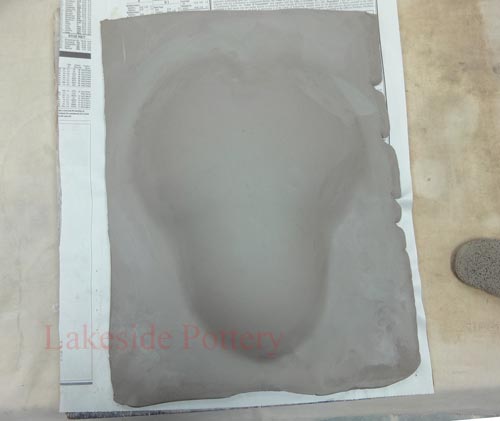
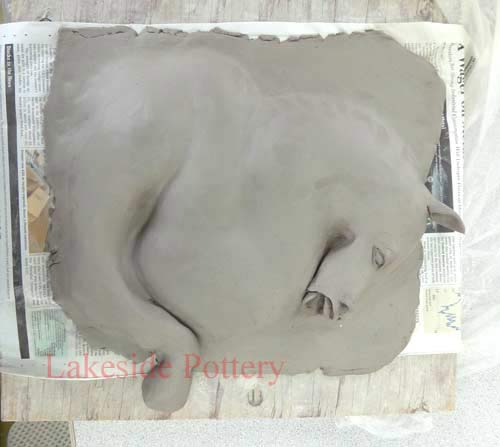
The clay slab takes on soft mold shape. Maybe it appears to be
somethingother than your plan!
|
|
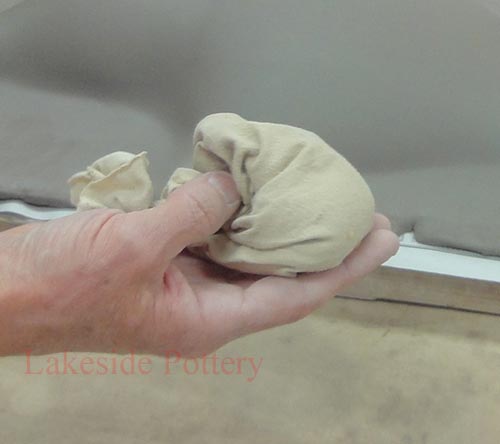
Using a cornstarch pouch, sponge and/or fingers, tap the slab with the soft molds still underneath, into your desired shape. Look carefully, as another shape may appear (or be "found") that is more interesting than the initial plan!
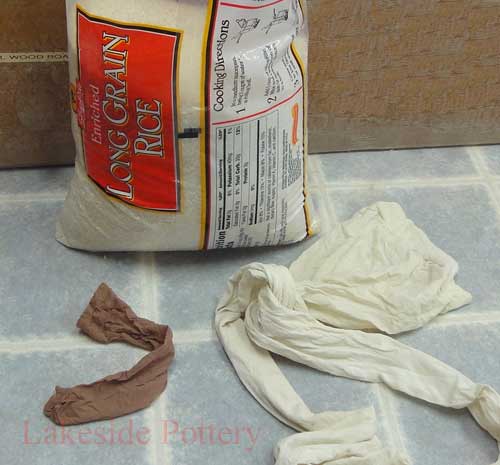
Stocking or cloth filled with cornstarch used for shaping.
|
Gently, tap the slab to find shape around soft molds.
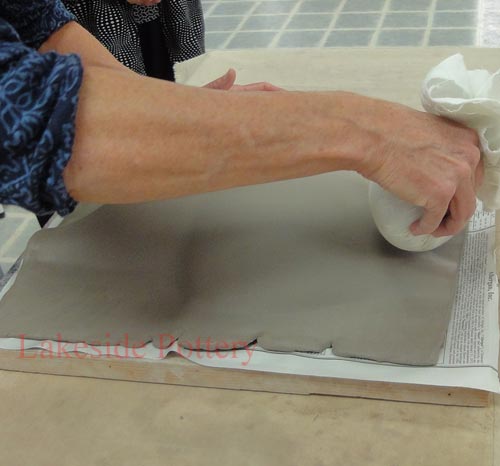 |
Be careful, pushing too hard can move soft molds underneath.
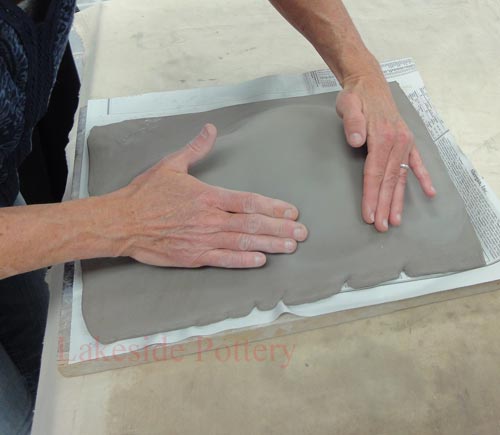 |
Continue until you are satisfied with your shape.
 |
|
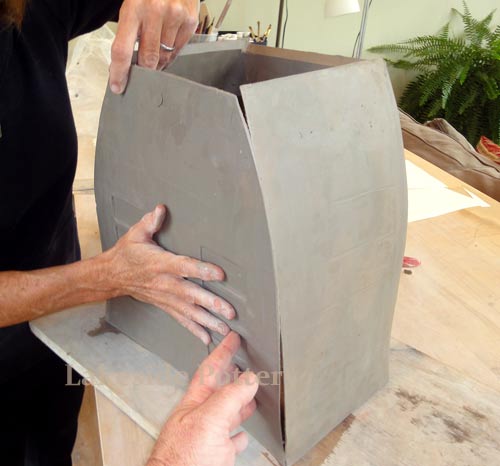
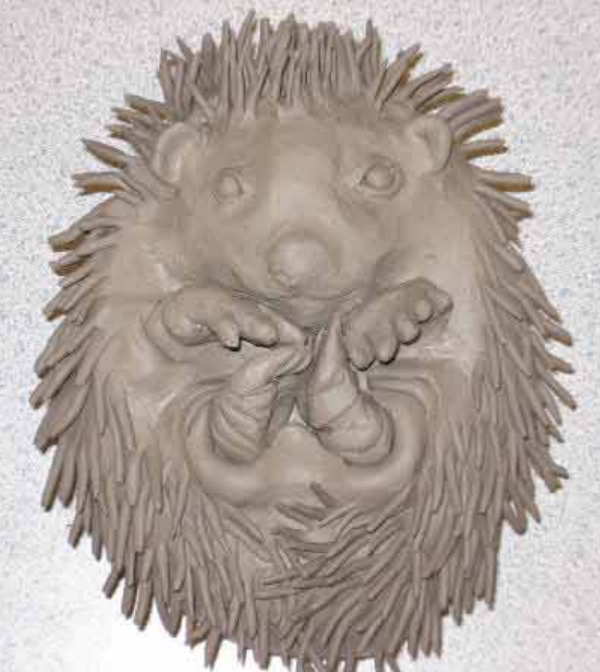
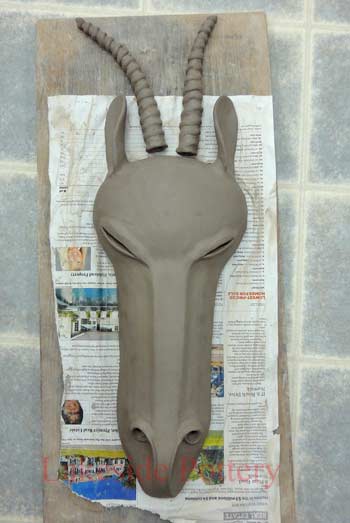
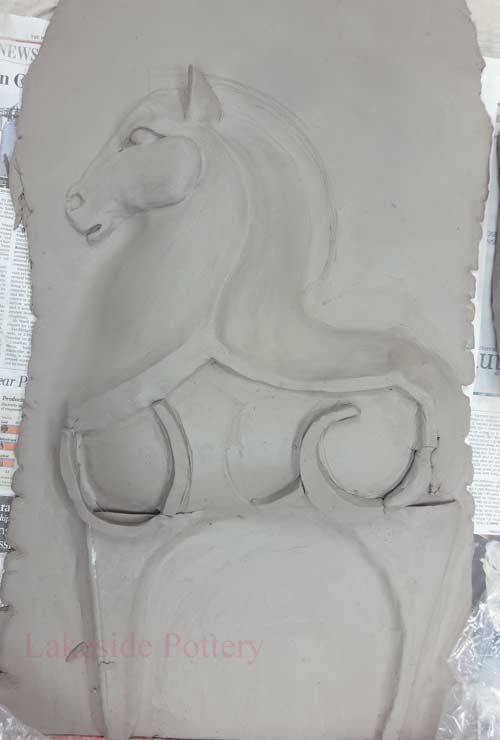
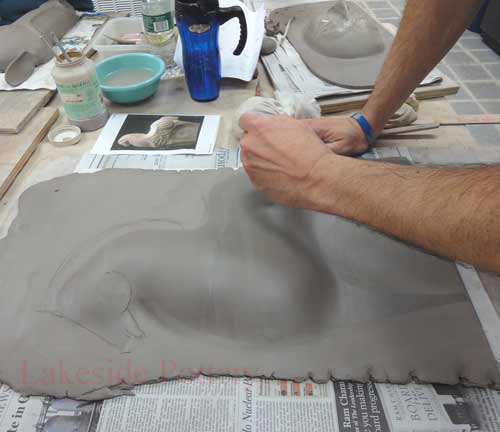
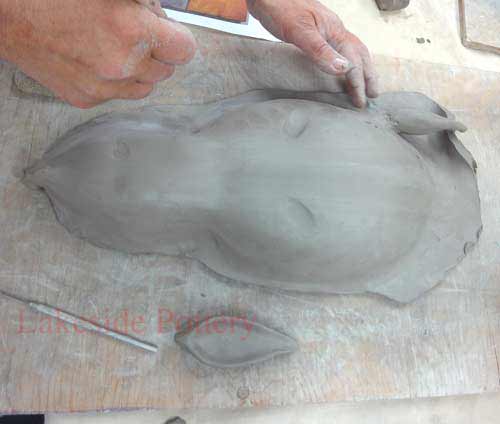
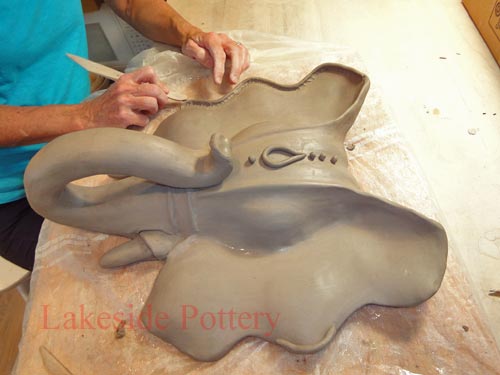
Once you have the shape determined for the foundation, the sculpture can begin. Add definition and design by indenting into the slab pushing the soft form beneath the clay. Slip and score structures onto the form using slab, coils, pinch pots or other hand sculpted pieces.
Refine your shape and plan your design before adding clay or cutting.
|
Begin to add clay, slipping and scoring onto the form.
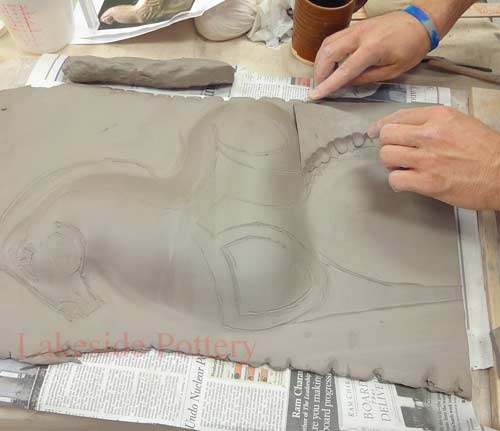 |
Indent into the form and remove excess clay if desired.
 |
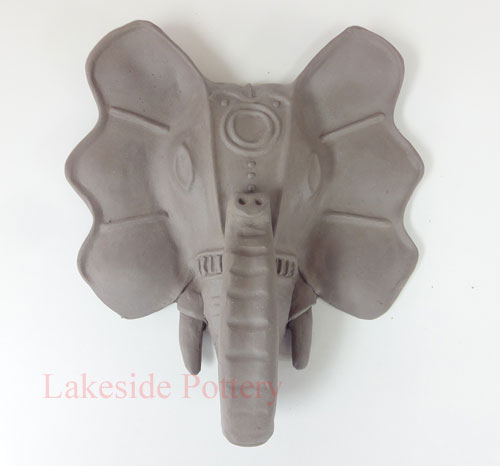
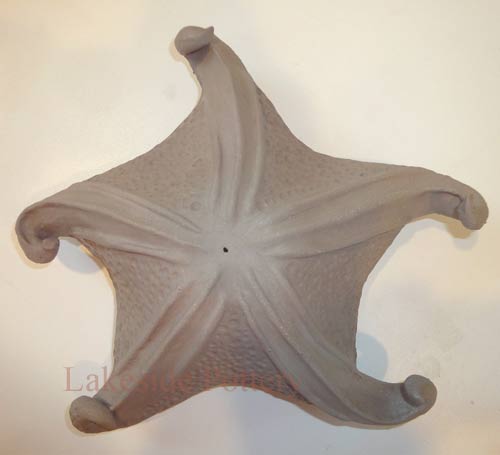
This is a good example of "finding" a subject in the form.
 |
|
|
IMPORTANT NOTES:
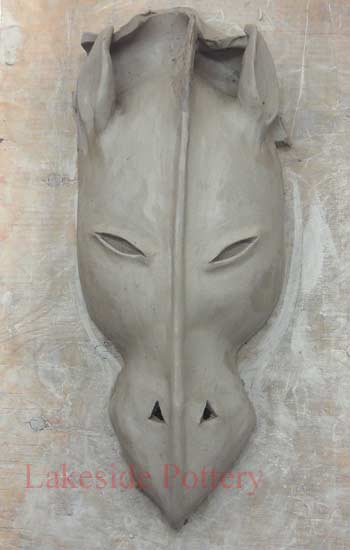
1) As you continue to refine your sculpture, make sure it does not get too dry. The soft molds are absorbing water from underneath and when your form is firm enough to be lifted off the soft molds, carefully do so and place a piece of plastic between the soft molds and the clay before gently replacing your sculpture on the soft molds. This will create a barrier between the clay and molds and you can continue to build on your sculpture while regulating the drying.
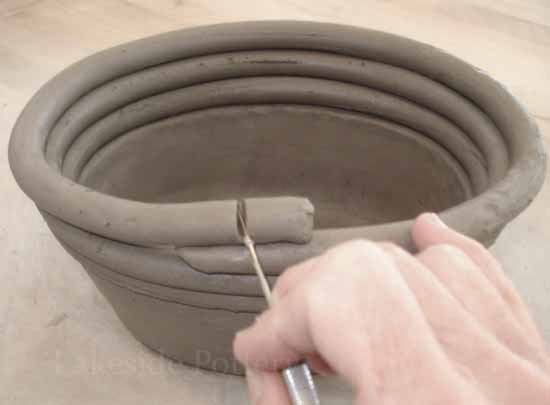
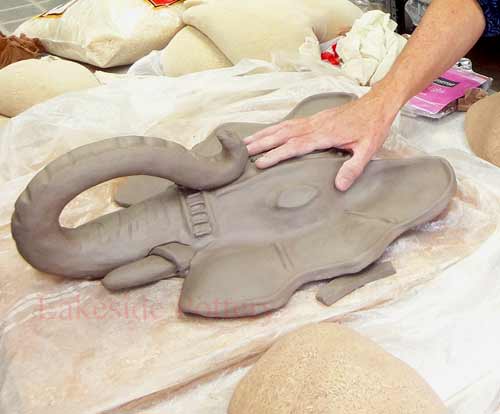
2) Remove excess clay around your sculpture, if desired. There may be times when you want to add onto the sculpture, (e.g., large ears of elephant). It is better to leave extra clay around the head for support for the add-ons in this case.
When adding large pieces, slip and score onto excess clay.
|
Monitor dryness, spray water occasionally to prevent cracking.
 |
When firm enough, place plastic between molds and clay sculpture.
 |
Allow finished piece to dry slowly, under plastic.
 |
|
|
APPENDIX
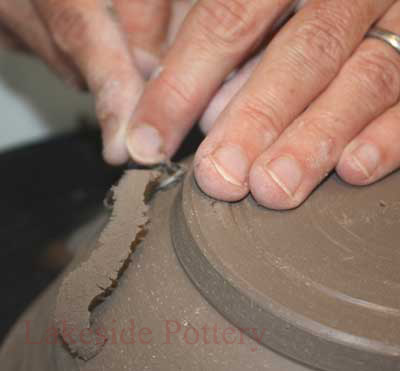
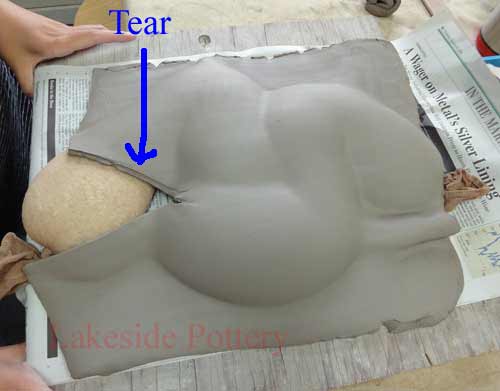
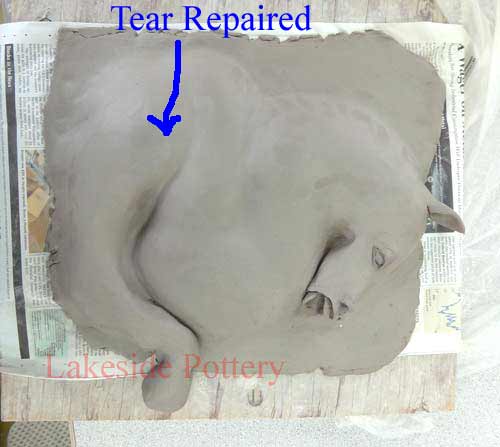
1) If the clay slab tears during the drop process, you can use extra slab to "repair" by slipping and scoring it into place. When blending, be careful not to press too hard as the soft molds will move underneath.
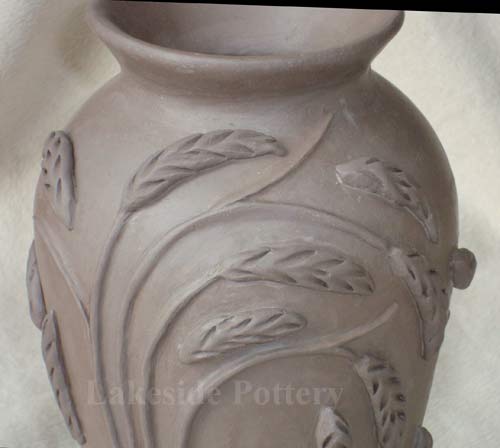
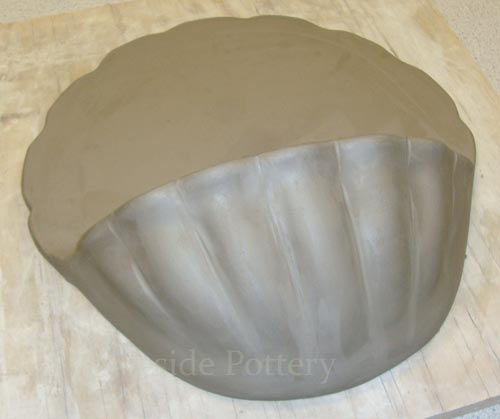
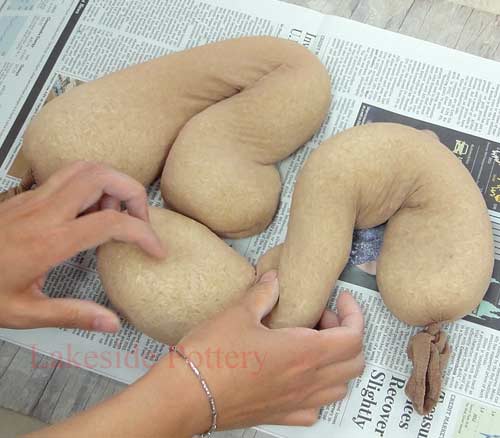
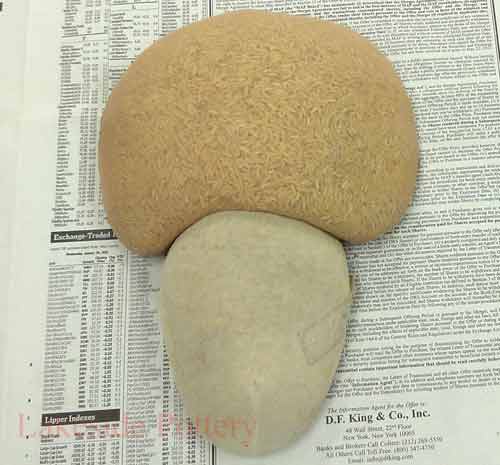
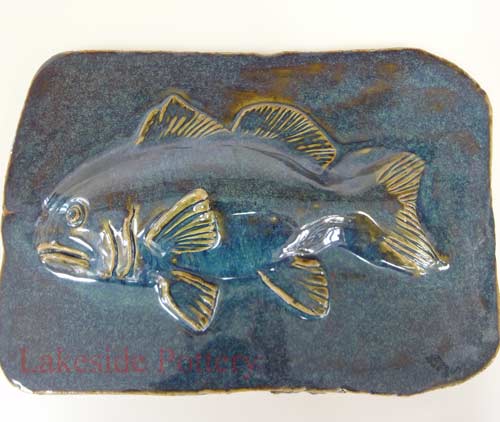
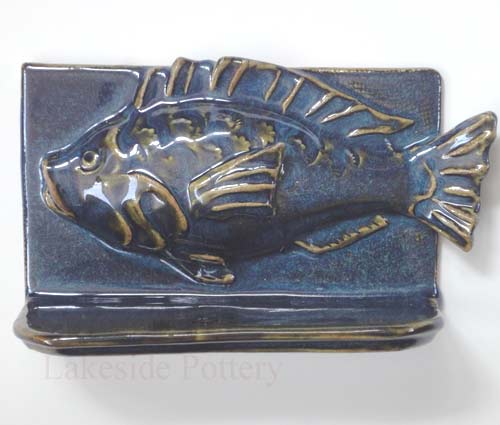
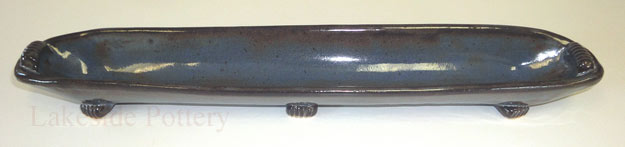
2) Though not discussed thus far, this method produces interesting sculptural designs on the underside. Depending on what stocking / soft mold filler you've used, you will see the texture in the clay. Interesting functional pieces can be created as in the olive tray example below.
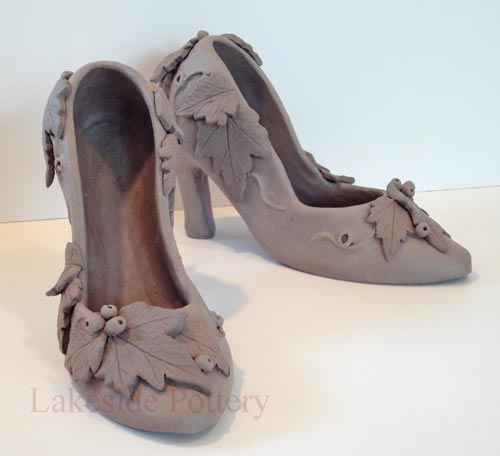
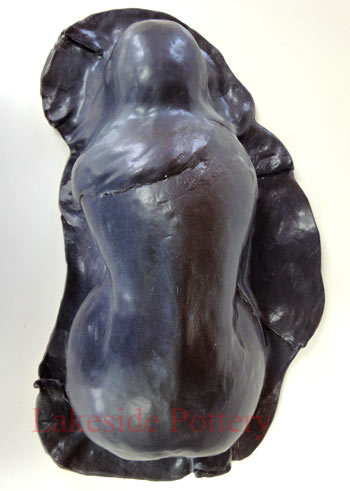
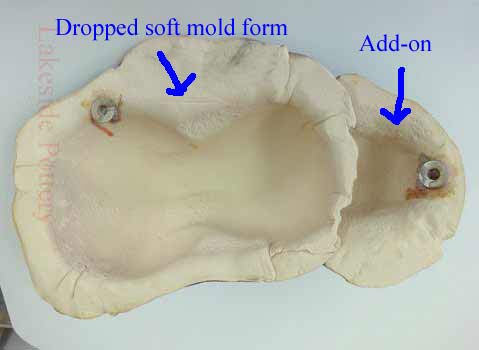
3) You can add soft molds to your sculpture without the "drop" method (see figure of woman above and below right). The woman's head was an "add-on" in which slab was draped over an additional soft mold and "slip and scored" in place.
|
Tear in slab from too many drops or slab that is too thin.
|
Repair tear with slab, slip and score and blend into position.
|
Additional soft molds can be used, without the drop method to create more structure.
 |
|
|
|
This method will also give interesting and even functional pieces by using the "inside" of the drop sculpture as shown in this olive tray below.
|
|
|
|
|