"Handbuilding" is working with clay by hand using only simple tools, not the pottery wheel.
Before potters had the wheel, they were creating beautiful pots and clay forms using clay, their hands and fingers, and basic hand tools. Below are the three most common forms of creating hand-built pots: pinchpot, coiling and slab techniques. Most do not realize the infinite world of hand building and the artistic possibilities it opens.
See some adults class hand building projects and some Children's Handbuilding Projects done in our studio.
|
1. Pinch Pots
|
|
 |
|
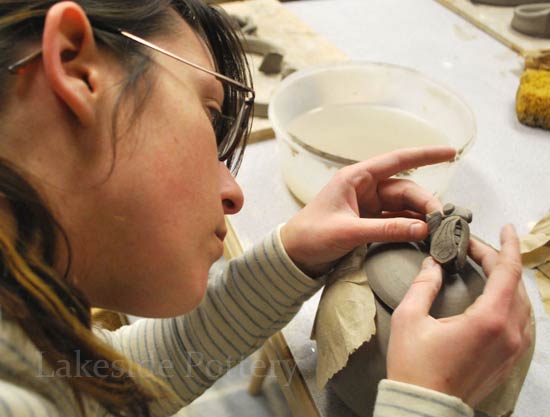
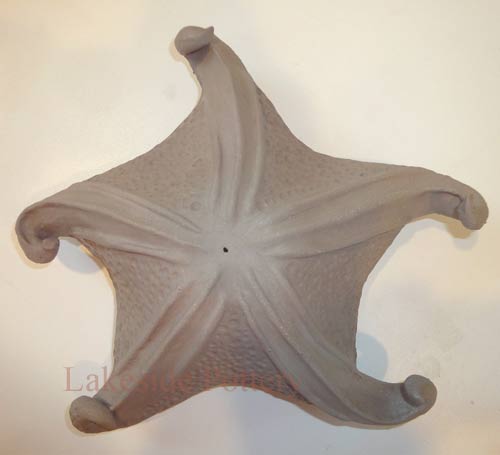
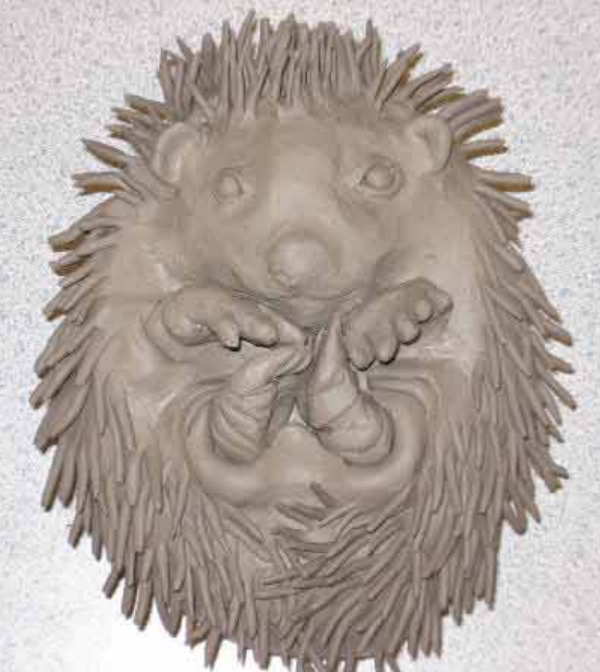
Begin a pinch pot by forming a lump of clay into a smooth sphere that fits the size of the hand. This method is similar to the way Native Americans shaped clay into useful pots. While holding the sphere of clay, press the thumb into the center of the ball, half-way to the bottom. While revolving the ball in one hand, press the walls out evenly with the thumb into the inside and the fingers on the outside. Smooth the surface with a damp sponge. See detailed step-by-step pinchpot project
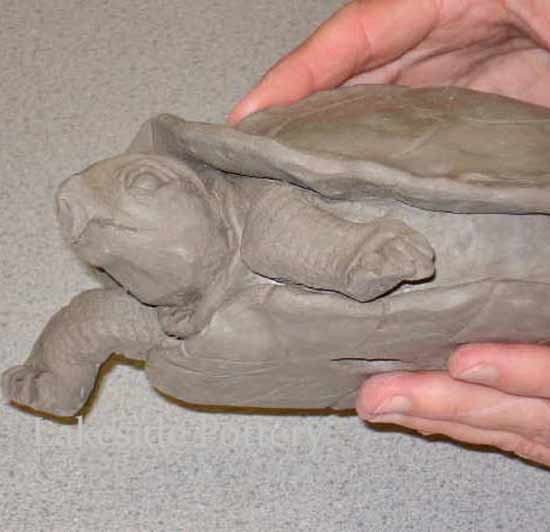
Clay Turtle |

Clay Hedgehog |
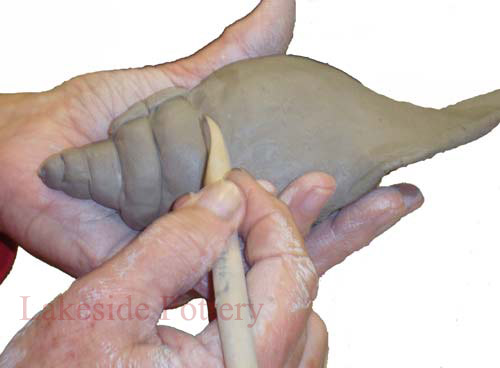
Pinchpot seashell |
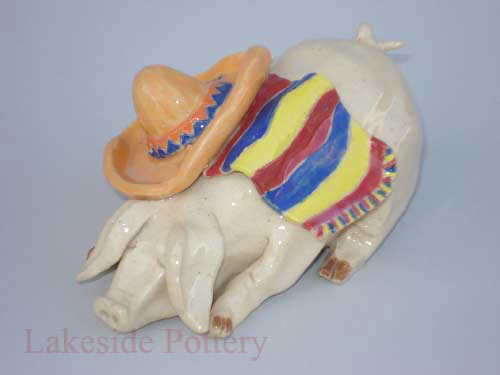
Pinch pot clay pig |
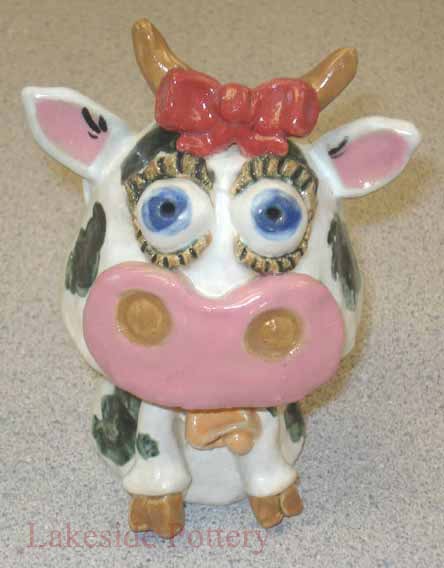
Bobble-head |

Pinchpot fruits |
|
2. Coil Method
|
|
 |
|
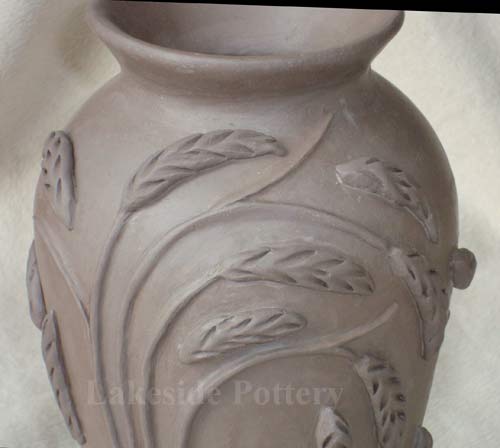
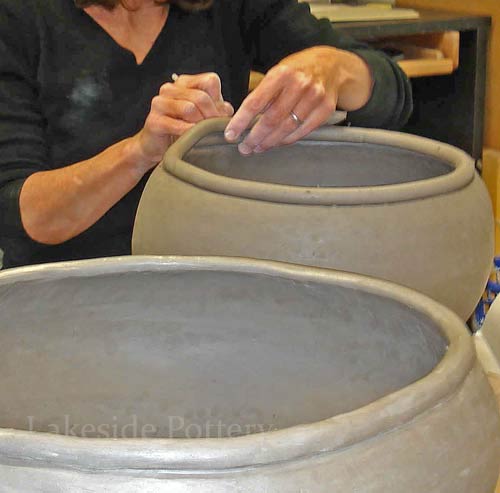
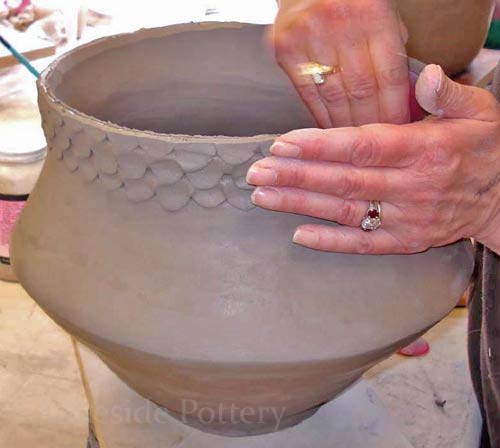
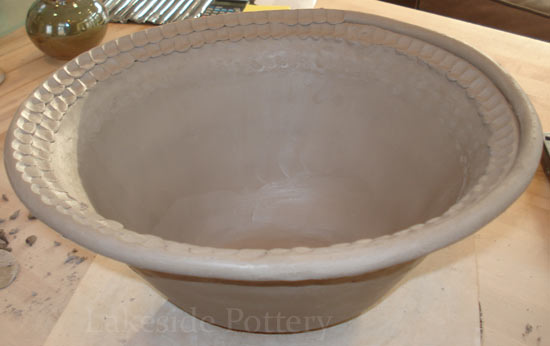
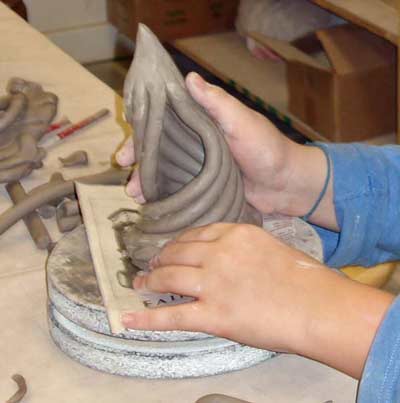
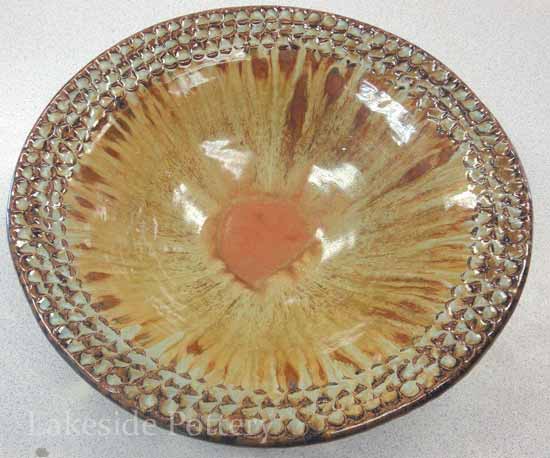
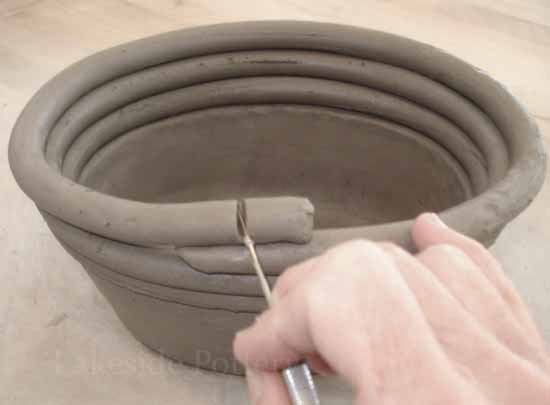
Coils of clay can be used to build bowls, vases and other forms in various shapes and sizes. Keeping the fingers flat, form the clay into sausage shapes, then roll into ropes 1/4 to 1/2 inches thick. Make a shallow dish with the pinch pot method and turn up-side down to serve as a foot of base. Place a coil along the edge of the foot. Dampen the fingers and join the next coil to it, with a little pressure. Keep adding coils . Coils may be pressed with the fingers or a tool on both the inside and outside to create interesting textures. See detailed step by step coiled pot project
|
3. Slab Method
|
|
 |
|
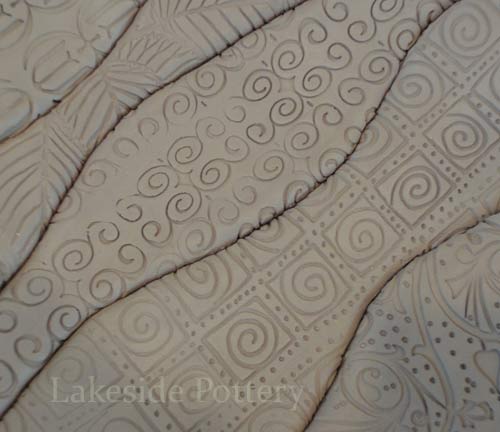
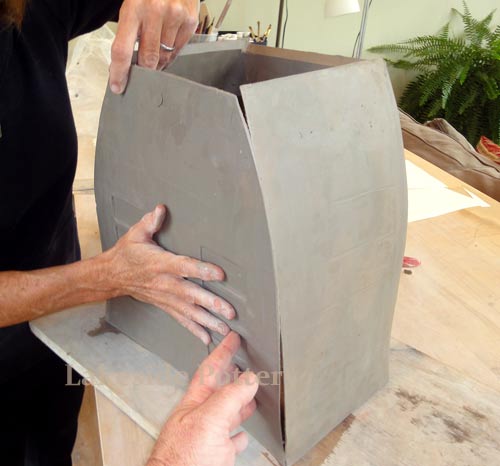
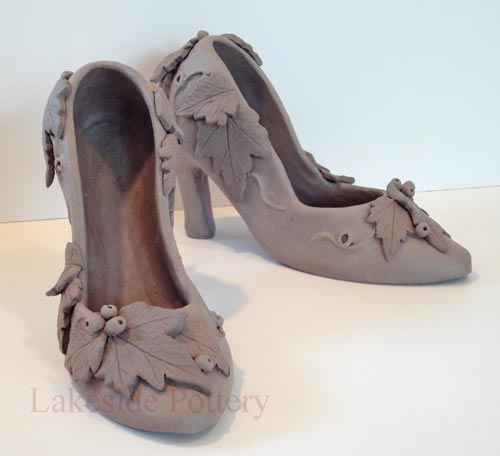
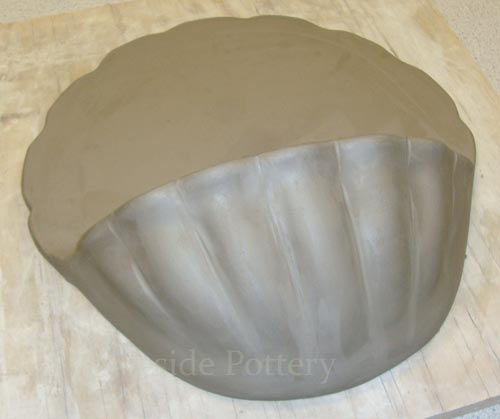
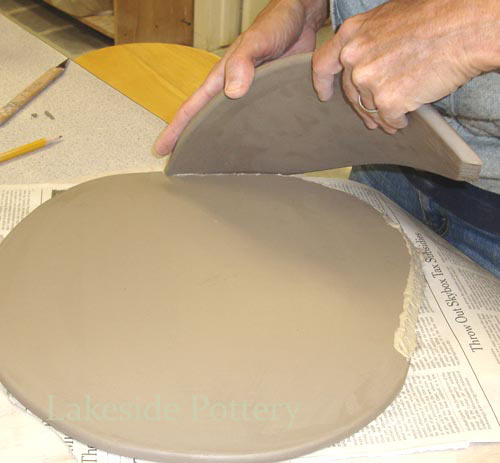
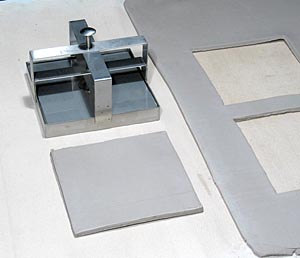
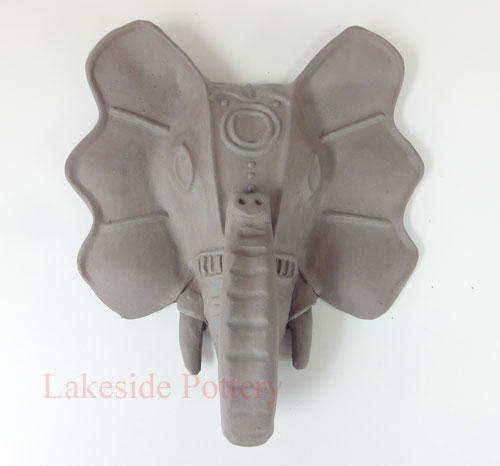
Place two strips of wood on canvas a little further apart than the width of the finished slabs. Working on a textured fabric will leave imprints on the clay slab. Place clay on the cloth between the strips of wood and roll out. Use a pointed tool to trim the slab of clay to the desired size. You may make paper patterns to follow if a form that has a number of sides is desired. Rub a wet finger over the edges to be joined, and score with a tool. Roll out a thin coil of sticky clay and place it along one edge. Press the two edges together. Slabs of clay may be placed over rocks, bowls, plastic forms etc. to create interesting shapes. As the clay dries, it shrinks away from the form, but retains the shape of the form. See detailed step-by-step slab project sample
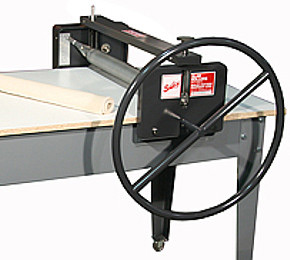
Slab Roller |
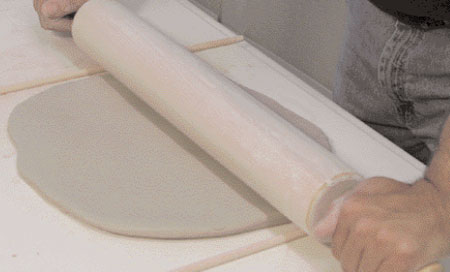
Rolling pin |
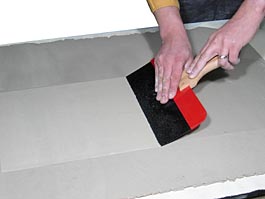
Smoothing slab clay |
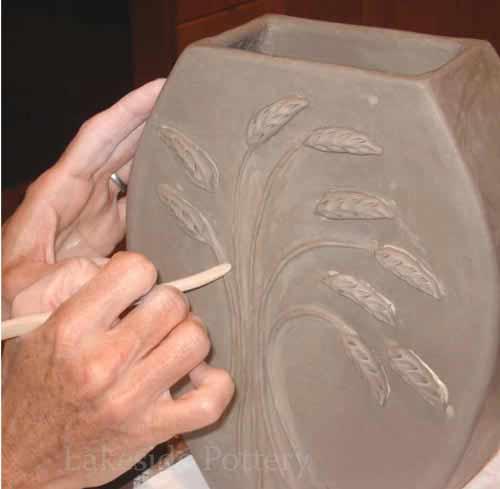
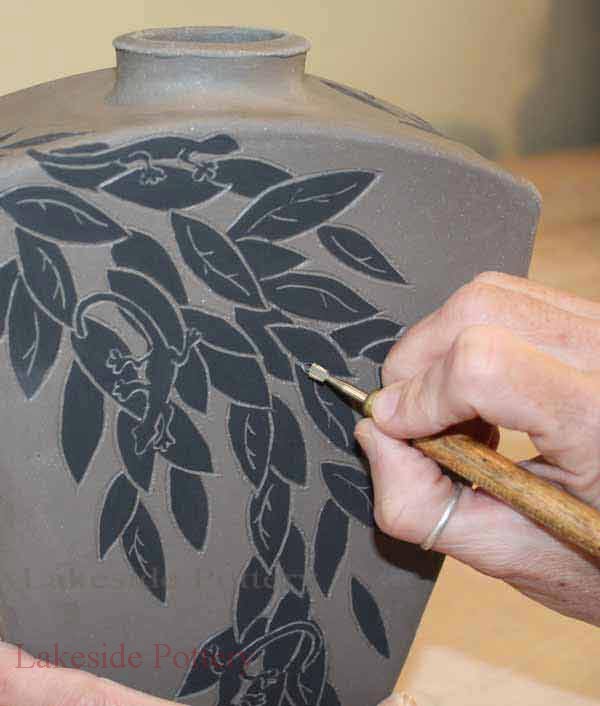
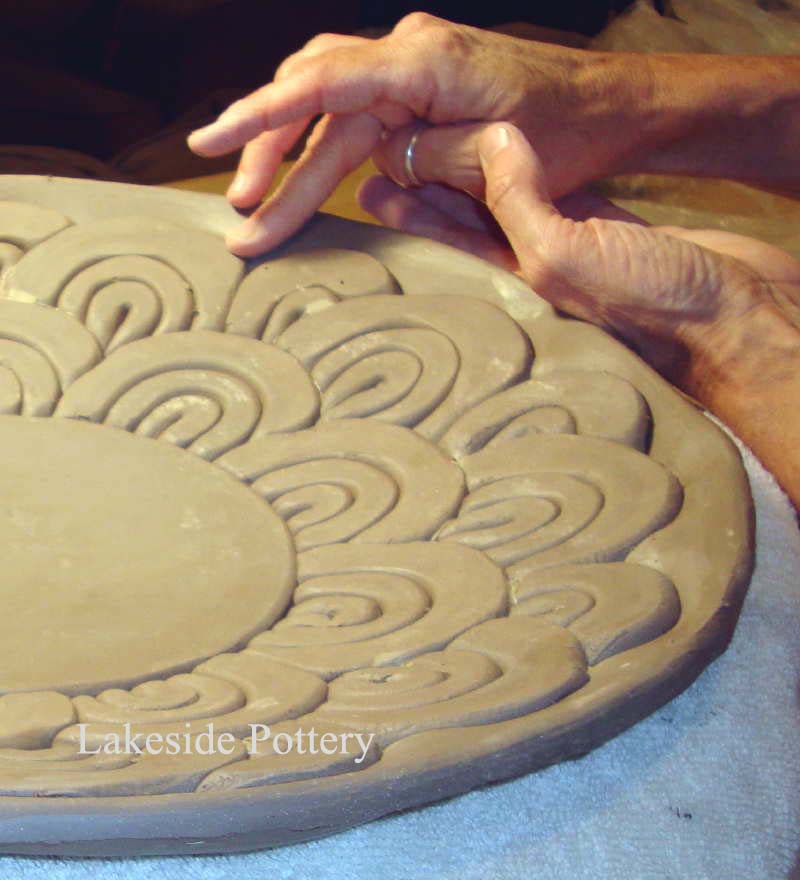
Slab vase design |
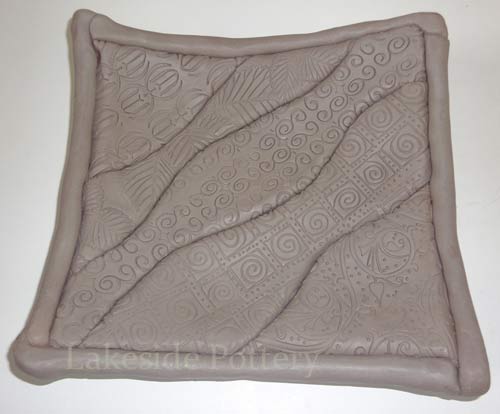
Quilting with clay |
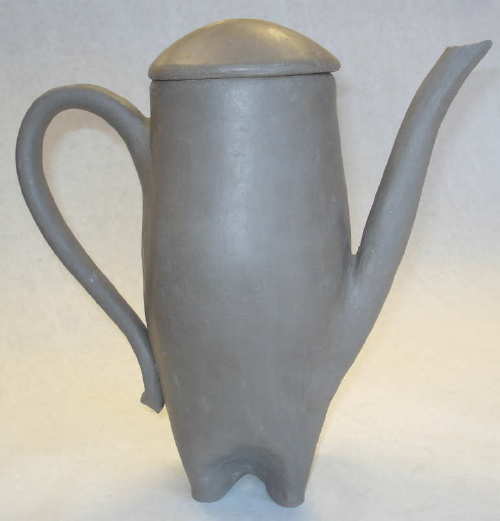
pitcher slab construction |
Tile cutting (more) |
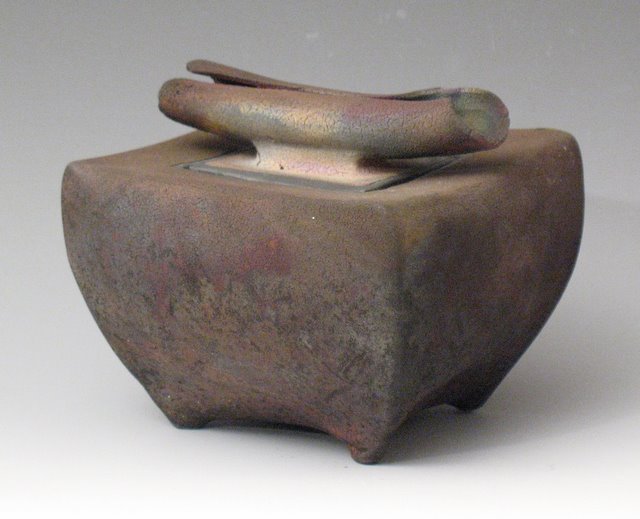
Slab construction box |
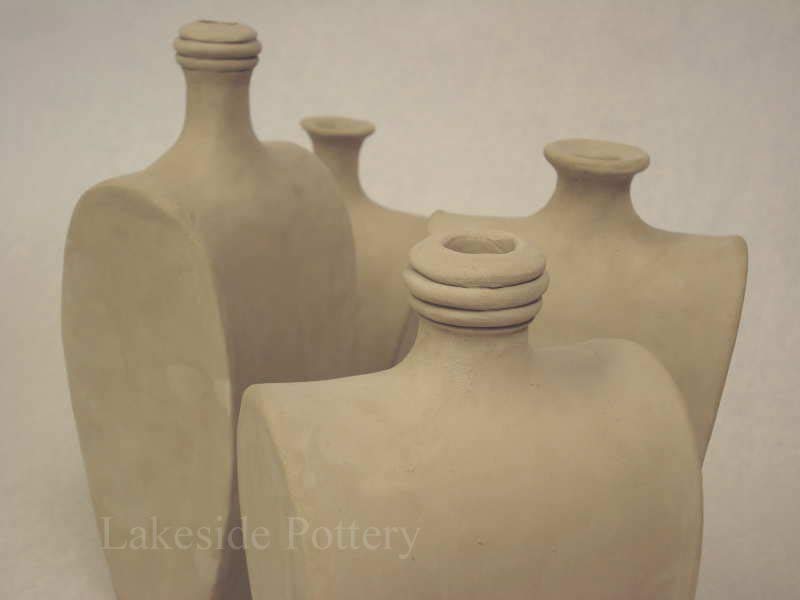
Slay bottles - slab |
Sof humb - slab |
|
|
Choosing The Right Clay