|
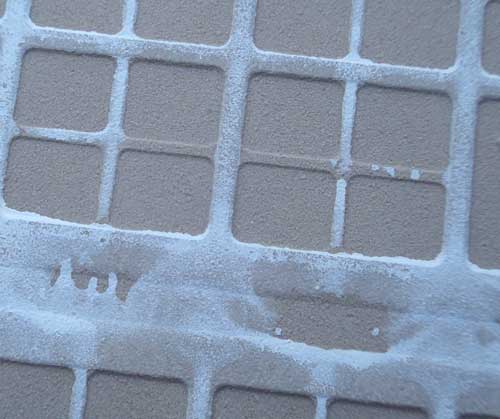
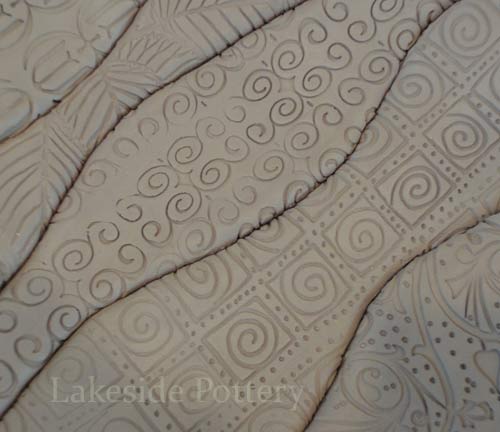
Large tile reverse side for more even cooling

If a tile or any flat form is cooled too fast, it can crack as shown in the example above
|
Making ceramic tiles or flat slab forms without the right equipment and process knowledge can be very disappointing mostly due to warpage. The following tutorial could help you in making tiles successfully.
Clay Bodies
The first thing is to start with a good clay body for tiles. Generally this means tiles that have a high amount of grog. Clays designated for sculpture and Raku are usually good clays for making tiles. Some people swear by clay bodies that have a mixture of large and small sized grog.
For durability and waterproofness, you want a clay body that matures at the temperature you will glaze fire at. This is especially critical for tiles which are outside or in bathrooms. The absorption rate after firing should be 3% or less, otherwise water will seep in and cause the tiles to crack. If waterproofness is not a requirement, you can sometimes achieve flatness easier by under firing the clay. This is something to experiment with, as other times a tile that is warped after bisque firing will become flat after glaze firing if the clay is allowed to mature.
See APPENDIX A for making weatherproof tiles for outdoors use
Low fire, smooth, earthenware clay is generally the worst to use for tiles. Not only does it not fully vitrify, it's lack of grog can be very challenging. Since these are low fired (unvitrified) and unglazed they become easily soiled and must be sealed several times a year.
Working with the Clay
Once you have chosen a clay, it is best to work with it rather dry. This reduces warpage problems.
Make sure your tiles are thick enough. If tiles are too thin, they will tend to warp. An 8" square tile should be at least one half inch thick. This is thicker than commercial tiles you buy, but those are made with a special dry pressing process that allows them to be thinner.
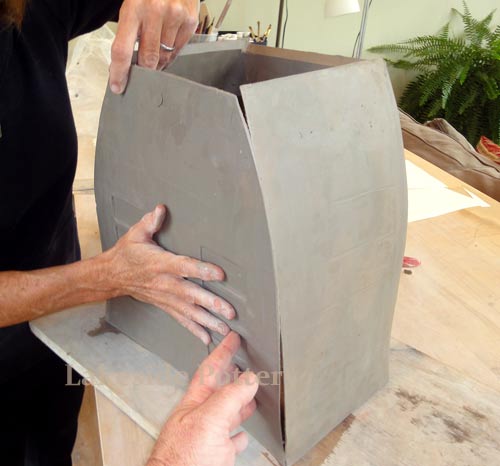
It is important not to bend your slabs while they are wet. If you do, the clay will have a tendency to warp once it is dry. So find a way to handle the slab without bending them. How? For starters, if you have rolled the slab onto fabric, do not peel the slab off the fabric. Instead, put a hard board (plywood, drywall, etc.) on top of the slab, flip the whole thing, then peel the fabric off the clay. Or simply slide the slab onto a drying board without bending it.
Alternatively, you can roll the slabs directly onto a board and keep them there, flat, until they can be slid off. This works with slab rollers like the Brent where the clay stays stationary and the roller moves across it.
To prevent warpage, some people roll out the slab, flip it over, and roll it again. Especially if using a slab roller that has a single roller. Since the North Star type has two rollers that the slab runs through, it is thought to compress the clay equally on both sides so this step isn't needed.
You can use various materials over your canvas to eliminate the canvas texture on the tile, as well as keep your canvas from becoming wet and the clay sticking. Heavy Pellon is sometimes used. It is an interfacing material found in fabric stores that doesn't stretch or bunch up. Vinyl flooring, and old lithographic printer's mats are also used for rolling slabs onto.
Alternatives to Rolling Slab
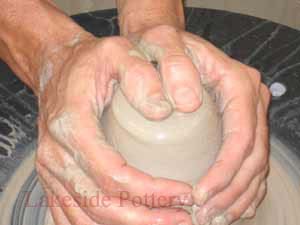
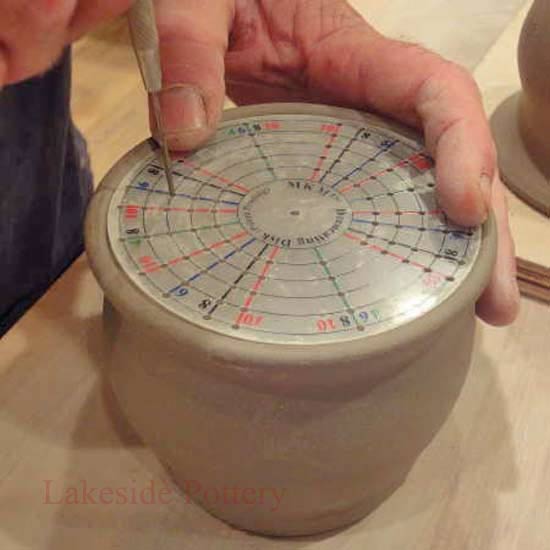
Some people wheel throw their tiles. Just figure the diameter you need to reach corner to corner on your finished tile including shrinkage, mark that size with a magic marker on your bat, and throw to the mark. Weigh out the clay balls so the tiles are always the same thickness when thrown to the mark.
Some people press their tiles. You can make a bottomless frame out of wood, pound the clay into this form, use your cut off wire to cut off excess clay, then push the clay out the bottom. To avoid bending, use a piece of wood the size of the clay to push it through. You will have to let the clay dry to the point where it doesn't stick to the wood, or use something like WD40 or cooking oil to coat the wood.
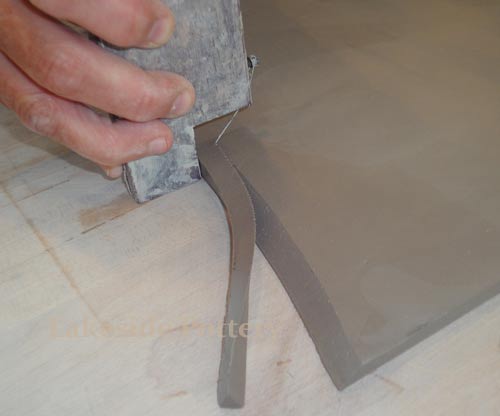
Some people cut their tiles directly off the block of pugged clay. You can buy devices that act like cheese slicers to cut the clay off at a certain thickness. Or, to make your own, take two wood dowels (or wood strips) and make notches at even intervals (one half inch apart for half inch thick tiles.) Wrap a piece of wire between and around the wood dowels, starting at the top notch. Grab onto one piece of wood with each hand, pull the wire tight, and sliding the wood pieces toward, pull the wire evenly through the clay. Make sure you hold the wood pieces vertical as you pull. Then move the wire to the next lower notch and repeat.
Cutting the Tiles
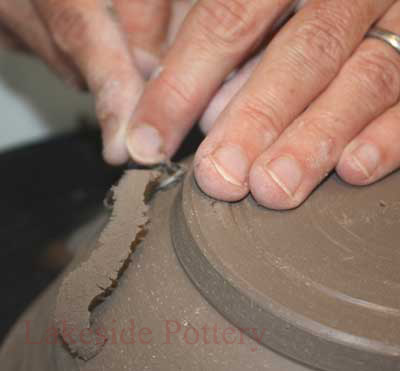
Wait until the clay is leather hard before cutting the actual tiles out. Also, if you are impressing designs make sure you do this before cutting the tiles out, or the pressing action will deform the shape.
Make a template from metal or wood to make it easy to cut out same size tiles.
Drying
Drying flat forms is very critical. You want to make sure the tiles dry evenly on both sides, or they will warp. Keep them away from drafts, and dry them slowly by covering with plastic. There are two main techniques used to dry tiles.
1. Place each tile between two pieces of drywall (also called sheetrock.) This is the stuff used to build walls. You can sandwich many tiles between layers of sheetrock and stack them up. The moisture is pulled evenly out of both sides. A variation on this is to dry between layers of three quarter inch thick plywood, or layers of calcium silicate board (often used as a non-asbestos fire proofing board).
2. Place the tiles on a wire rack to dry. This allows good air circulation. A variation on this is drying on plastic grids that are often used in fluorescent light fixtures.
Other slab and tile making tips:
- Use drywall method for the first day or two, then transfer to wire racks.
- Wax the edges before they dry. This prevents them from drying much faster than the center. Or wrap dry-cleaning plastic over the edges.
- Weight the corners with kiln posts overnight -- each stilt laid across the adjacent corners of two tiles.
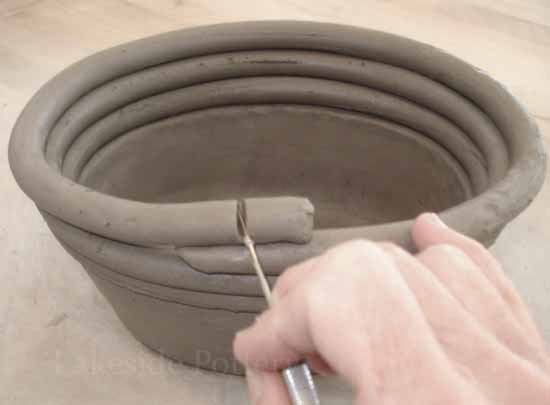
Grooves:
For functional tiles, people often cut grooves in the back of the tiles. This allows more surface area for adhesion; they dig into the mortar bed better. An interesting way to get the grooves is to roll the tiles out onto corrugated, grooved cardboard. Grooves do not seem to affect warpage.
Firing Tiles
For bisque firing, you can stack tiles on top of each other, or put them into a tile setter.
For glaze firing at low temperatures, tiles can be put into many types of tile setters. But if you are using high fire clay and firing it to maturity, the tiles will slump at high temperatures. In these cases you have to fire the tiles on a flat surface.
Fire tiles on a kiln shelf dusted with silica sand.
Make a moat around your tiles by putting bars of clay around their edges. This helps them heat from above and below rather than the edges heating faster.
Remember that clay will shrink, and you have to adjust for this when making your tiles. To determine shrinkage, take a slab of clay and incise a line 100 millimeters long. Re-measure this line at the bisque and high fire state. If the line ends up 90 mm's long then your shrinkage rate is 10%. If your ending number is 87mm's then your shrinkage rate is 13%, etc. Remember to make the first line at the same dryness stage as you will be cutting your tiles, as there will be shrinkage between wet and leather hard as well.
Considerations For making Large Tile (over 12" x 12")
Warping and cracking are a more likely to occur when making larger tiles. Below are some thoughts that will make you more successful.
1) Use clay body with higher grog content (10% +)
2) Make the tile much thicker
3) Make all the edges a bit round and smooth to prevent weaknesses
4) Use higher cone clay (e.g., cone 6 and firing lower). This will make the final product more porous but less likely to crack during firing / cooling)
5) Kiln firing cooling cracks for large and flat items are hard to solve. When you attempt to solve the cooling cracks, you increase the chances of warping. For example, the kiln shelf stores high temperature during kiln cooling due to it's large mass. If the tile seats flat on the shelf, the bottom of the tile will cool slower than the tile's top and therefore create different expansion / shrinkage (coefficient rate) between the lower part and the top part. This will stress the tile and could cause cracks. If you take close look at the bottom of a commercial tile, you'll see that the tile mold included "risers" to enable air to pass between the kiln shelf and the bottom of the tile and therefore cool more evenly. These "risers" will also help with better bonding during installation. When you do create these riser / lifters, you have to distribute them in such a way that will reduce sagging at high temperature.
6) Dry tiles slowly without moving air (fan, wind or people traffic)
7) Dry tiles uniformly (e.g., wire rack)
8) Use electric computerized kiln for better temperature heating and cooling control with firing
9) When bisque firing, preheat to about 180 degrees for 7-12 hours and using the “slow” mode. If your kiln is capable for “slow controlled cooling” (see Skutt's KilnMaster Operating Manuel - page 19), use it for bisque and glaze firing. If your kiln is not capable to use controlled cooling, make sure the kiln is very loaded to increase cooling time (bisque and glaze firings).
Note: To identify cooling crack, if the tile cracks and the glaze edge is sharp - it is a cooling crack. It indicates that the crack occurred after the cooling passed the glaze melting point.
APPENDIX A - Making Tiles For Outdoors Use
Clay absorption rate of 3% or lower is required for tile to withstand frost. The absorption test typically used is established by the American Society for Testing and Materials. First, a fired tile is weighed dry (Wd), then soaked for 24 hours in cold water. Immediately after being dried with a towel, the tile is weighed again (Ws). The absorption rate is then calculated from the two measurements using the formula below:

In other words, to find the absorption rate, subtract the saturated weight from the dry weight. Divide the difference by the dry weight. For example, let's say a pot weighed 0.75 pounds after it was fired to maturity. After getting it wet, it weighed 0.8 pounds. The difference is 0.05. Dividing 0.05 by 0.75, we get 0.067, or an absorption rate of 6.7%.
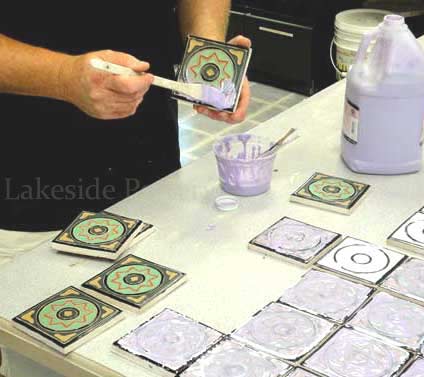
To test the fit between the glaze and the clay body. Put glazed tiles through a hot dishwasher cycle, then into the freezer for a day or two, then back into the dishwasher, and again returning it to the freezer. Repeat this process several times (7-10), then check for crazing.
See example specification of a good low fire clay for outdoors use:
Standard 417 Red Earthenware - Cone 06-02
Low fire body containing fire clay & small amount of fine grog.
Good for Majolica technique. Superior throwing body.
C/06: Shrinkage 6%, Absorption 5.3%
C/02: Shrinkage 11 %, Absorption 1%
|
Making Ceramic Tiles
|
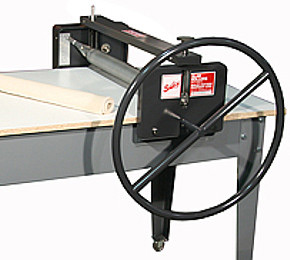
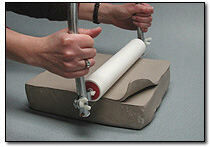
Baily's Slab Roller - we have two of them for years being used almost every day flawlessly
|
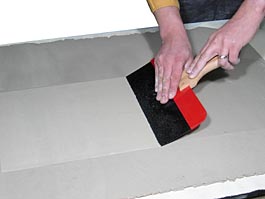
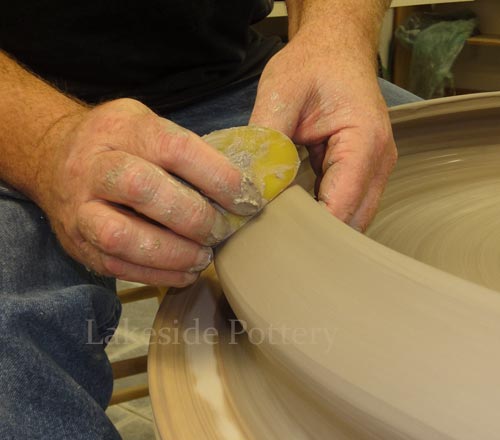
The spatula is a very useful tool for smoothing
|
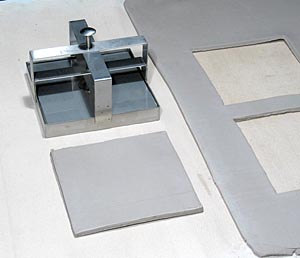
stainless cutters come in 2x2", 4x4", 6x6" and 8x8". Each cutter has a spring loaded plunger/release button which pushes a release plate to eject the finished clay tile. The size takes in account shrinkage
|
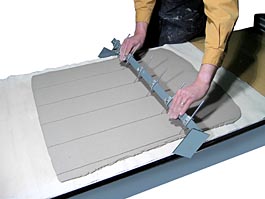
Adjustable clay divider with 6 adjustable cutter - Bailey's
|
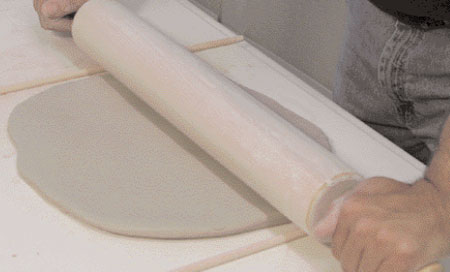
Roll out slab by hand using a rolling pin and two wooden slates
|
Clay Slicer
|
|
|
|
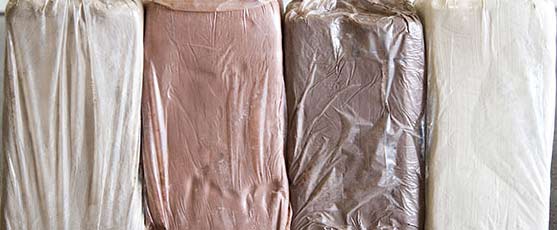
Choosing The Right Clay
|
Firing to bisque. Take into account clay shrinkage
|
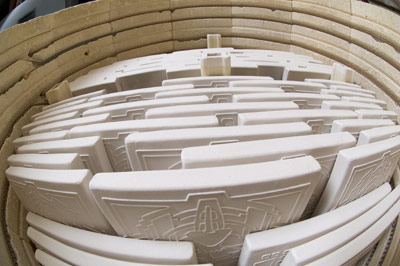
Glaze firing in a tile rack shelves
|
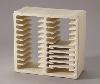
6" tile rack |
|
|
|