Pottery made to order | repair and restoration studio in Southern Delaware
Clay Quilting | Handbuilding Clay Slab Project Lesson

bisqued clay quilt wall hang art lesson

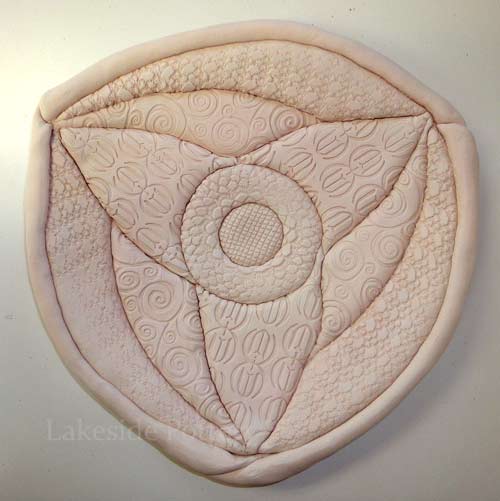
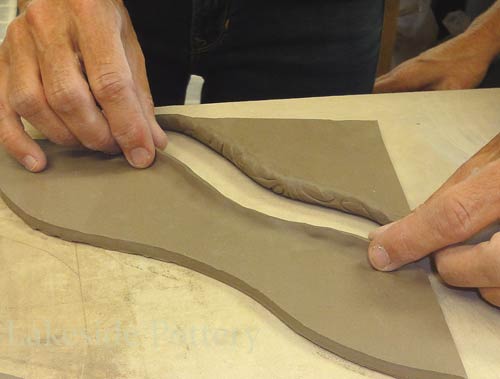
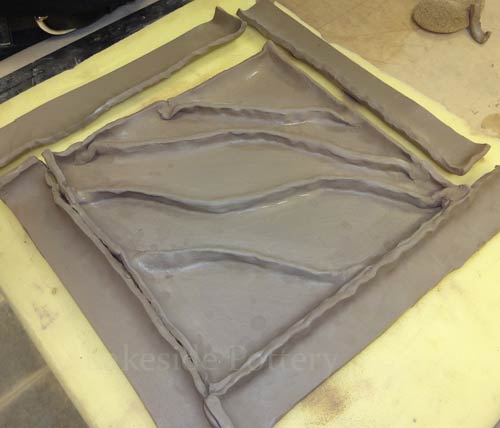
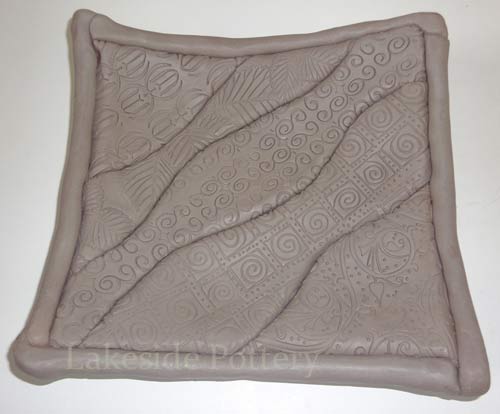
Hand Building Clay Quilting Lesson

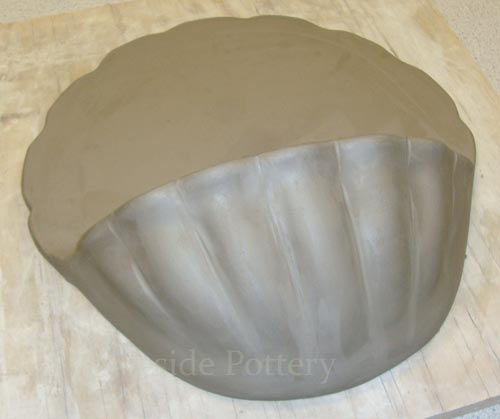
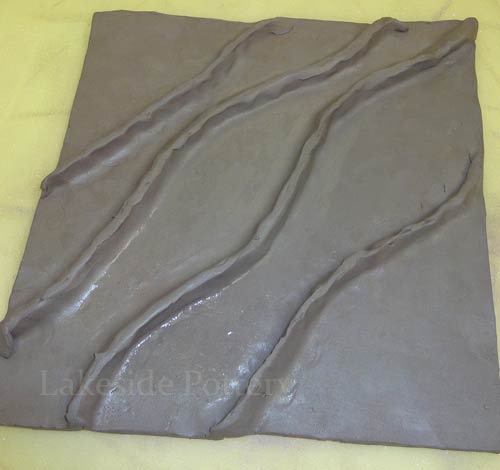
Ceramic clay quilt art can be designed and used for wall mount display or designed as a functional serving platter or tray. In either case, it has the appearance of soft quilted fabric and through our experience, is a great centerpiece that generates conversations and wonder. The pattern can be designed to mean something for each customer (e.g., initials, hobby, company logo, family crest, favorite sports, etc.). We can design it to order and glaze to numerous color options. If the order is for hanging art, we build in provisions for hanging or can shape it to a bowl, platter or a tray with or without feet. The tutorial for this hand building pottery lesson is below and will walk you through the process of "Quilting With Clay" step by step.

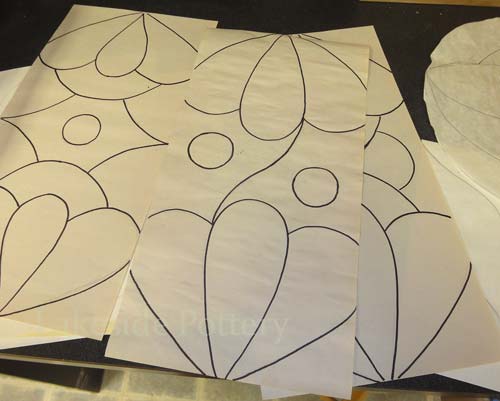
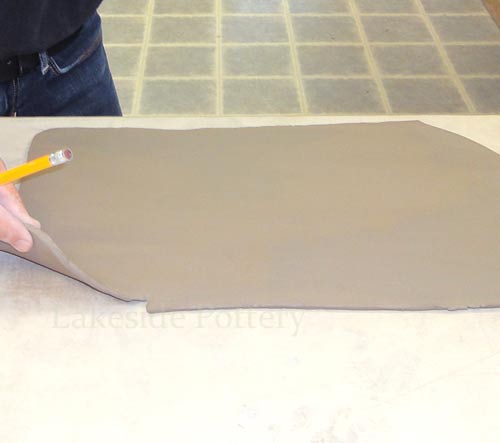
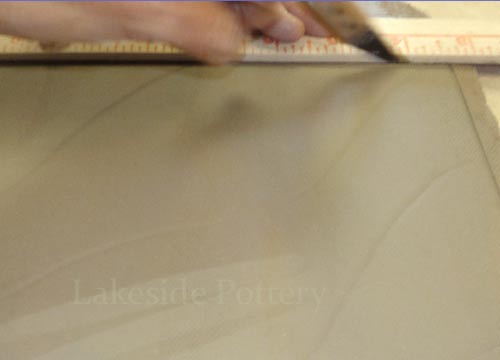
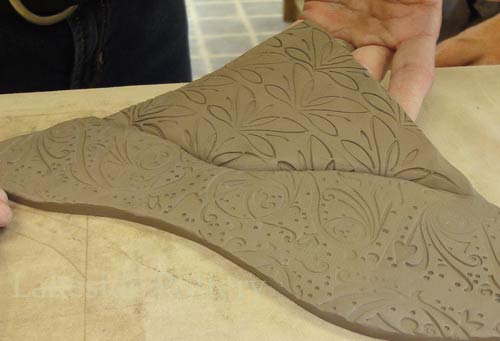
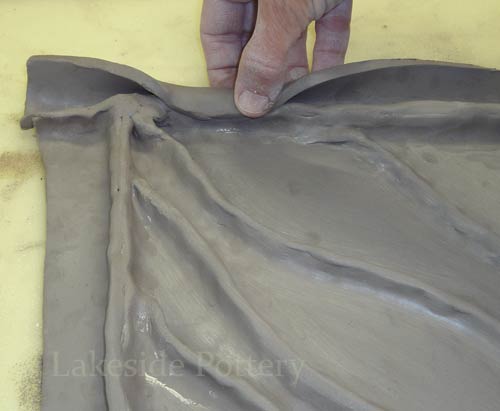
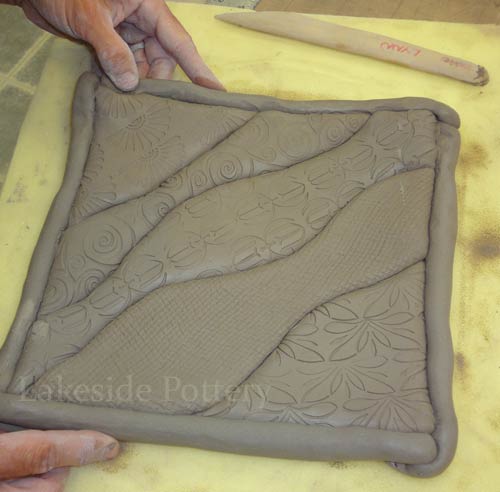
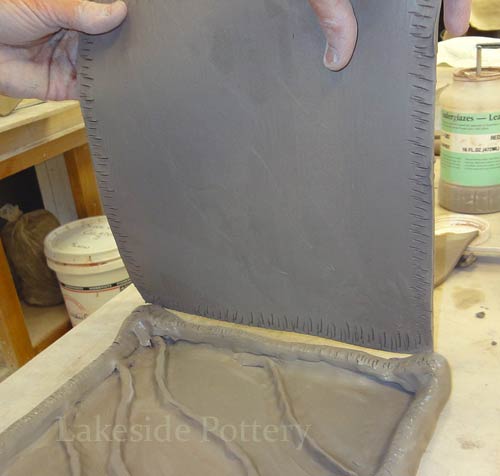
Design options are infinite and can be placed on a thin paper like "newsprint". Prepare a slab slightly thinner that the typical 1/4" (see Making Tiles tutorial).

Design your quilt pattern
Prepare / smooth 3/16" slab


Transfer to slab template pattern
Template guidelines marking

We prefer to use a knife (instead of a pintool) for a cleaner and thinner cut. Make sure you hold the knife at 90 degrees at all time while cutting to ensure square cut.
Cut edges to marked dimensions
Cut quilt pattern


Separate clay sections
Choose texture mats or objects
ceremic texture mats

Because pieces are already cut out and thin, when making impressions in clay with texture, be careful not to push so hard that shapes become distorted. You may want to used an extra piece of clay for texture as a dry run to practice the required pressure for perfect image transfer. After folding up the edges that are to be joined, gently pinch them together just enough to insure adhesion. Too much of a pinch make the joint thin and it may rip.
Push texture into clay segments
Fold the joint edges
Pinch folded joints together
Fold joint ends in

Once all pieces are joined, to ensure the joints stay sealed, smooth with sponge and fingers to make sure there are no air gaps or unjointed areas. Now fold up all outside edges.
Flip over to inspect pattern
Repeat with all clay segments


Squeeze /smooth joints w/sponge
Fold quilt edges all around

In order to fold entire exterior edge you will have to fold down some ends of the pieces joints. Cut frame to desired width. Leave plenty of extra length and cut to desired size as you go. Fold up frame edges and join in the same manor as before.
Fold ends (for frame segments)
Cut frame pieces and fold edges


Frame is ready for assembly
Pinch / connect frame to quilt

Fold frame slab over
Connect / pinch together


Fold the corners as shown
Cut off extra clay

Note that throughout the above process, we did not use the "slip and score" technique. "Pinching" the clay together makes a sufficient connection as long as the clay is still soft. You may have to spray the clay every so often to keep it from drying. Placing the back piece as illustrated below requires slip and scoring or scoring with "Magic Water". See Magic Water Recipe.

Connect and shape frame
Flip over to inspect


Optional: Slip & score back cover
Attach back cover slab

IMPORTANT: If you decide to place a back cover you will be creating hollow spaces with air pockets. It is very important that you make sure to poke holes with a pin tool in each cavity to let air escape during drying and firing. Without the holes, it will most likely crack or break. The holes can be hidden in between seams or can be done on the reverse side.

Paddle for better attachment
Smooth all edges


Poke a hole for air escape
Make a pin hole for air escape to avoide breaking or explotion in the kiln
Optional: Attach feet & curve shape

To avoid warping and possible cracking, dry very slowly - cover with plastic and wait a week or so before exposing to room air.

Finished clay quilt sample
Quilt sample closeup


Wall hang clay quilt sample


Tray clay quilt sample


quilted clay teapot clay purse / pocket book quilted


COPYRIGHT Lakeside Pottery LLC ; COPYRIGHT details and linking policy; Protected by Copyscape including reporting to search engines

.