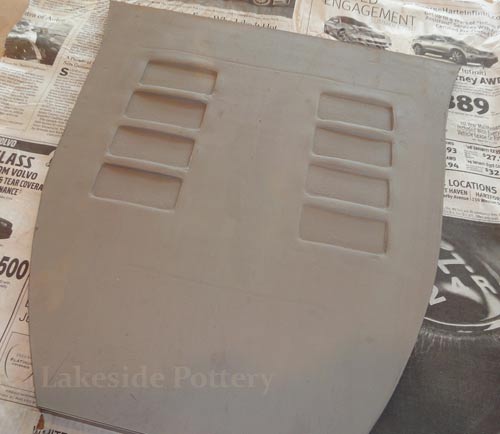
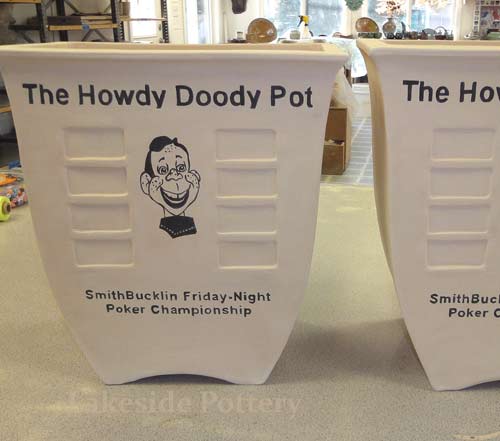
| The slab project below is a sample of our commission work requiring large slab construction using cone 6 high firing stoneware to ensure durability and longevity. The "high firing" challenge is to eliminate or minimize warping and cracking that typically occurs due to stoneware clay's high shrinkage rate (12% +). We took the opportunity to illustrate how to work effectively with large flat forms without cracking while minimizing warping.
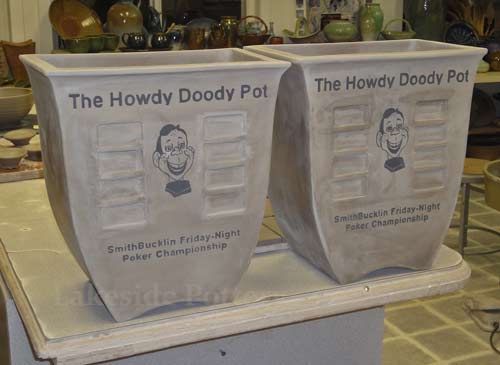
Large square-shaped slab construction can be frustrating. The key elements to success are: clay type (high grog content), how soft / hard the slab is in each stage of construction, slab is not too thin, use of miter cutting (45 degrees), using coil to round all slab connection points, use of magic water instead of slip, avoiding clay bending throughout the process, proper drying and firing schedule and kiln programming. This project consists of two trophies that are ready to accept 16 winning plaques on each side with Sgraffito drawings and writing.
|
Step by Step Construction
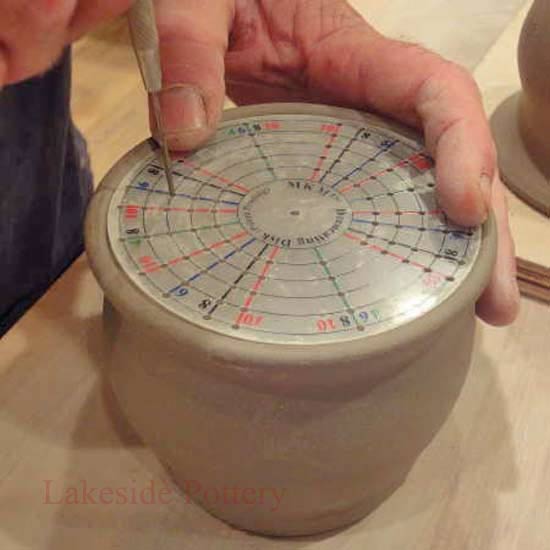
Working back and forth with customer to agree on project requirements. Once agreed, create a template and repeatability tools to produce the item accurately and consistant
Create template
 |
Create stamp (bisque)
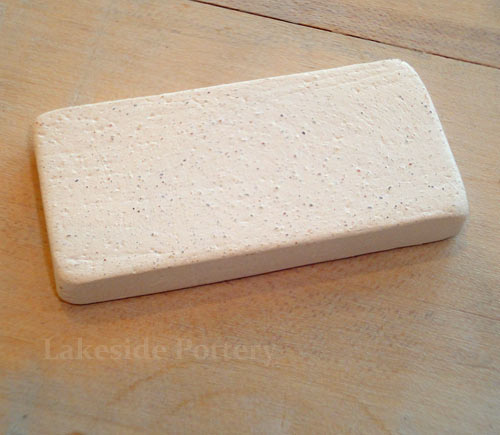 |
|
Clay needs to be soft for stamping and leather hard for assembling
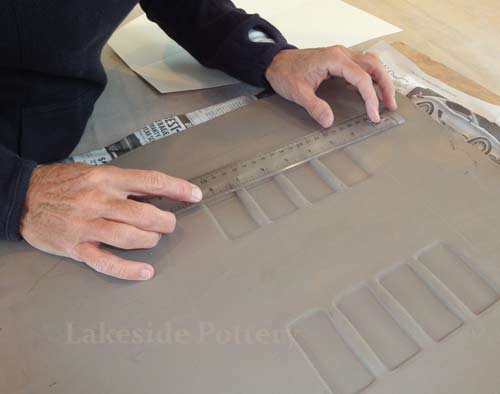
Stamp for name plate - soft clay
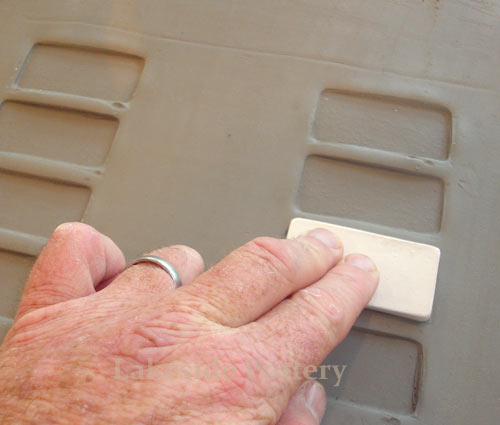 |
Cover clay to harden a bit
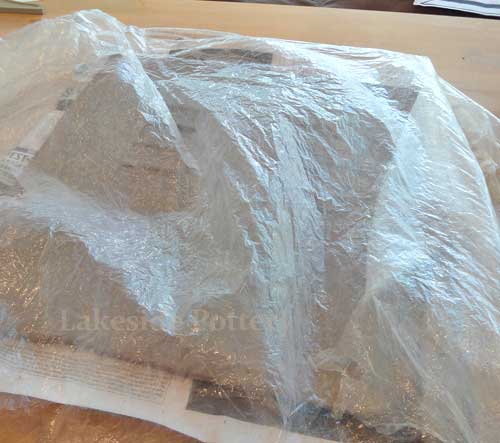 |
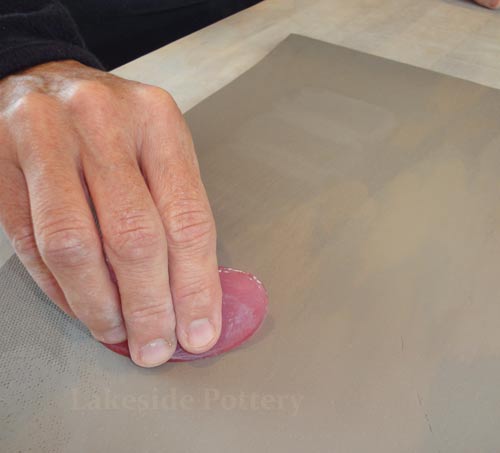
Smooth other side
 |
Plan for template location
 |
|
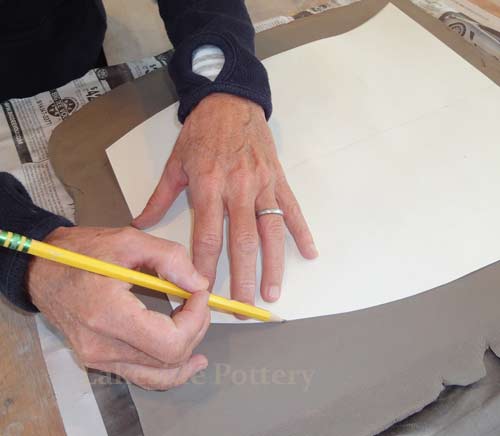
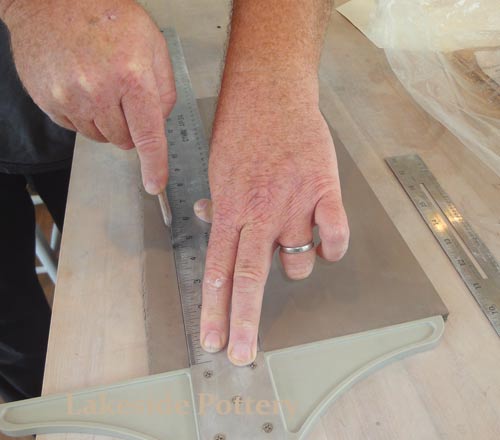
Cut pieces using the templates made earlier
Mark template outline
 |
Cut slab
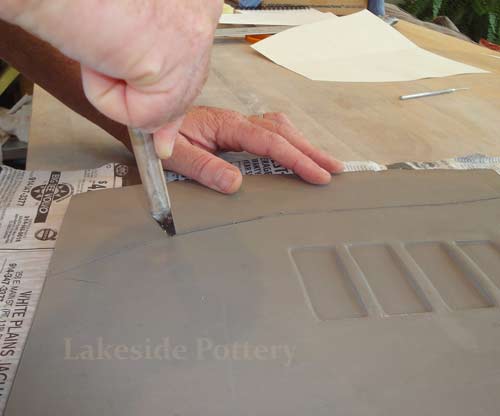 |
One of four is cut
 |
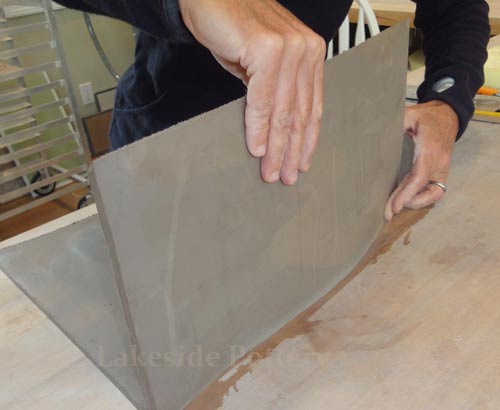
Measure and cut sides
 |
|
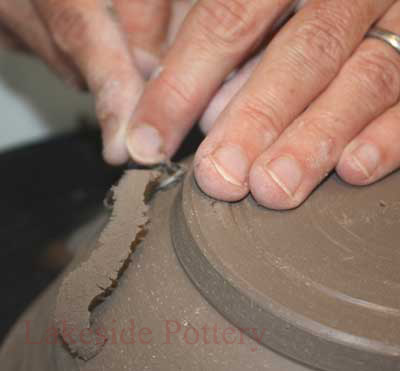
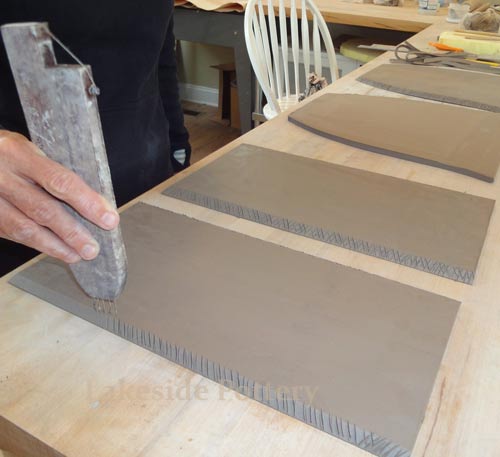
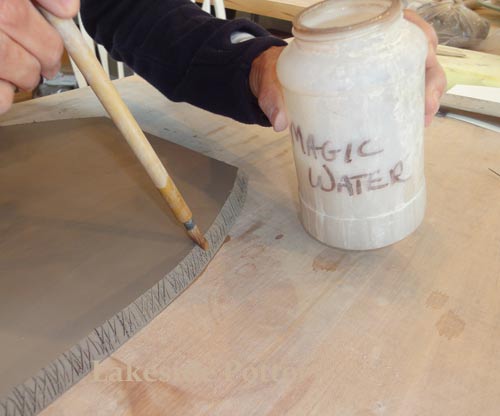
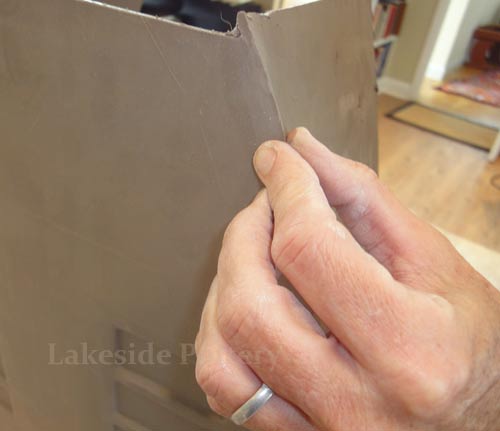
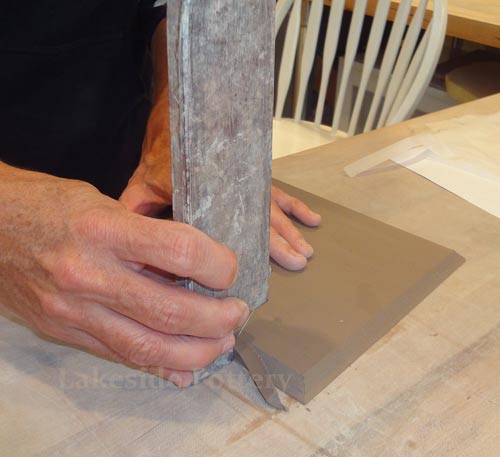
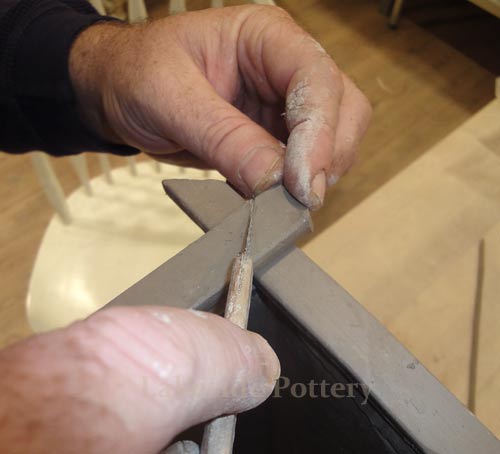
All connection points are required to be mitered at 45 degrees, scored and applied with magic Water (see link for magic Water recipe). Using slip only may not be good enough for large forms and the seam might separate during drying or firing.
Use miter to bevel edges (3 of 4)
 |
Score mitered edges
 |
Used magic water (not slip)
 |
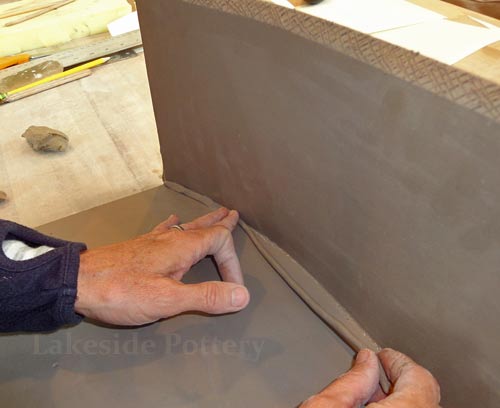
Attached front to side panel
 |
|
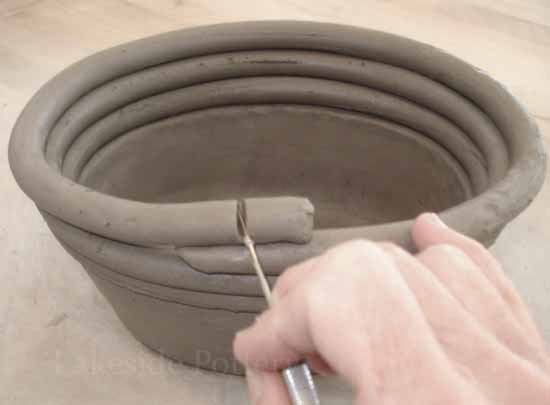
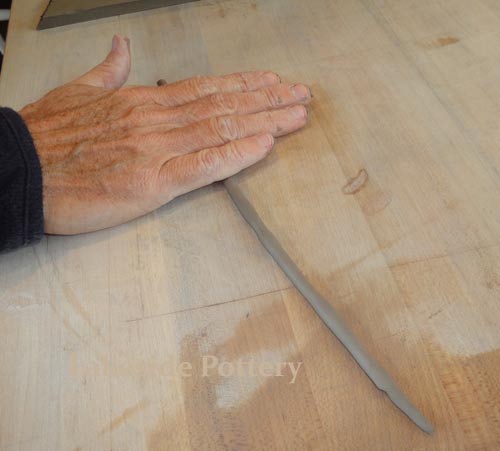
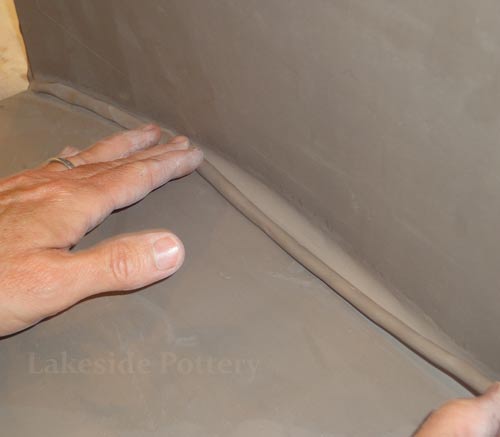
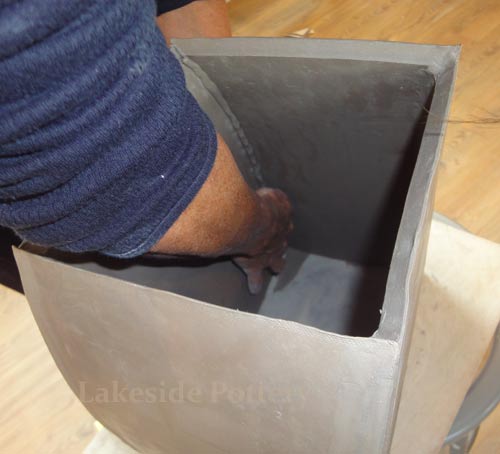
Thin coil is required to be applied first to all joints so that in can squeeze in all the smallest gaps. Second, thicker coils, are required to create a stronger bond between the pieces and create aesthetically pleasing curves
Make thin coil (soft clay)
 |
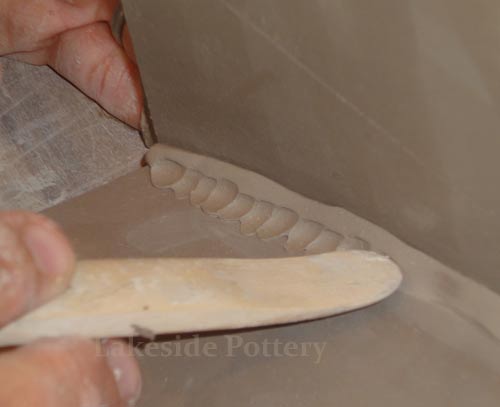
Place coil in seam
 |
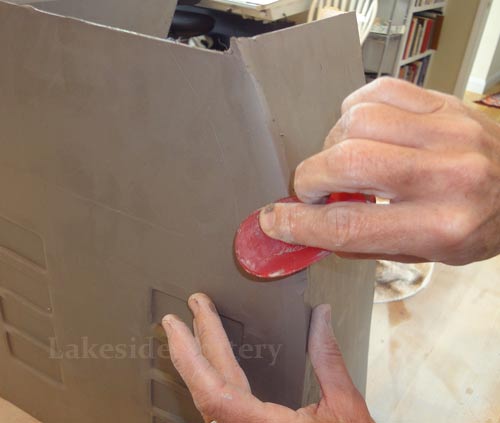
Blend with wooden tool
 |
Smooth and compress coil
 |
|
Repeat with thicker coil
 |
Blend coil in
 |
Flip as shown
 |
Compress corners
 |
|
Smooth and round corners
 |
Place back panel
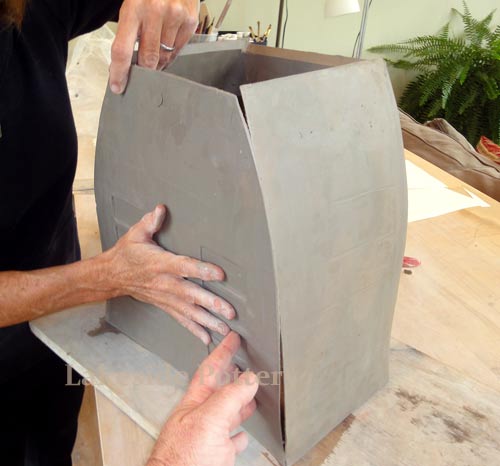 |
Repeat coils process
 |
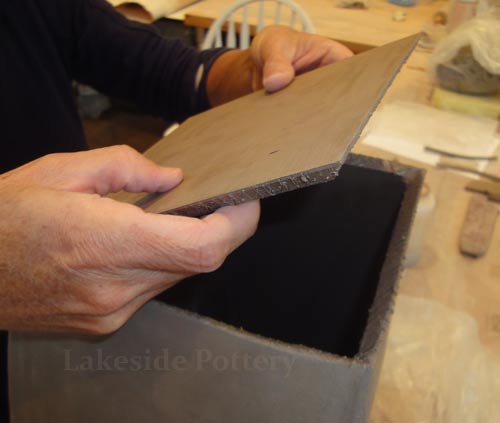
Measure and mark bottom slab
 |
|
Bevel bottom slab's edges
 |
Check for fitness
 |
Connect and paddle bottom
 |
Place coil on bottom and smooth
 |
|
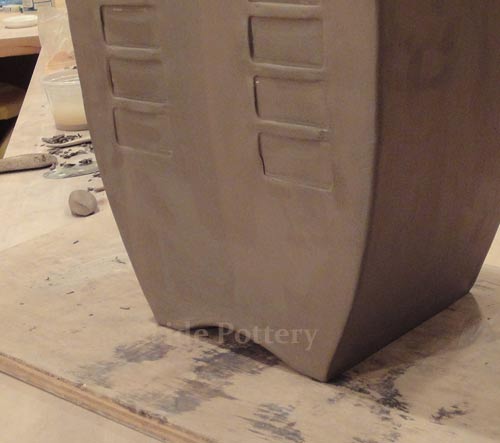
Paddle for foot shape
 |
Repeat in back side
 |
Cut strips for rim
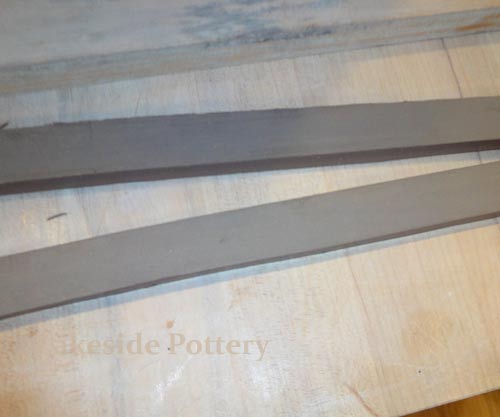 |
Measure, cut angles and connect
 |
|
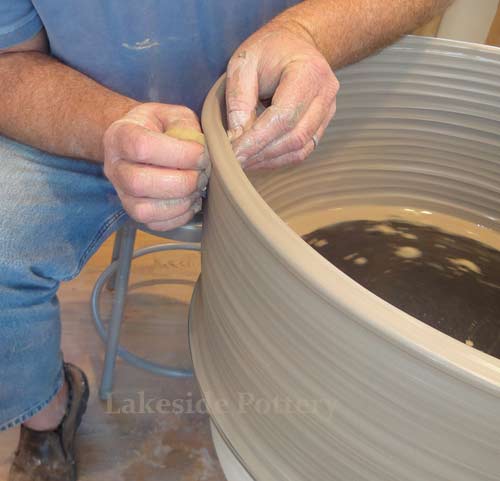
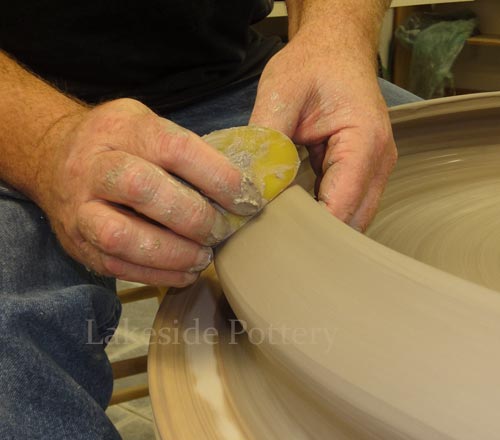
"beefing up" the rim is required to provide strength to minimize warping and to create a pleasing visual.
Use coil as shown
 |
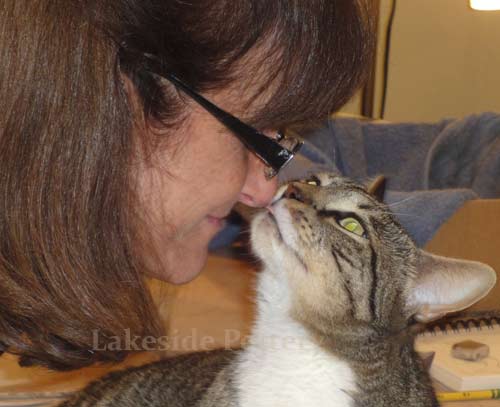
Take a "Cat break"
 |
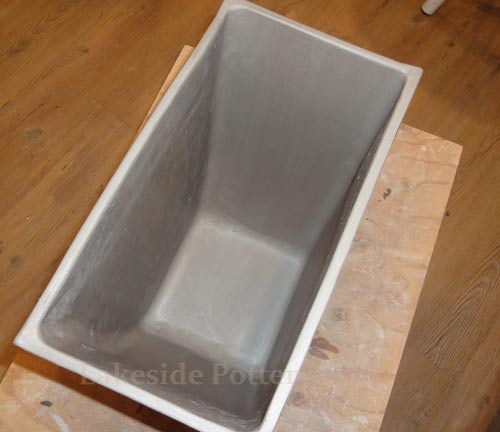
Completed construction effort
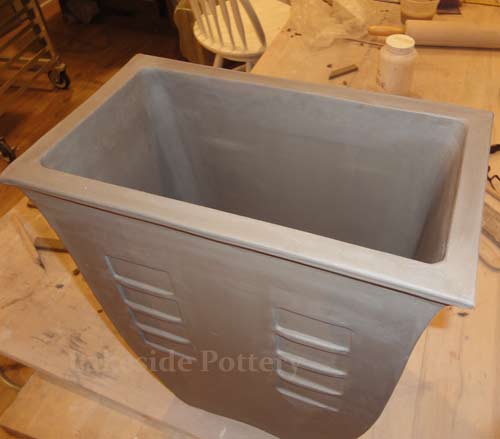 |
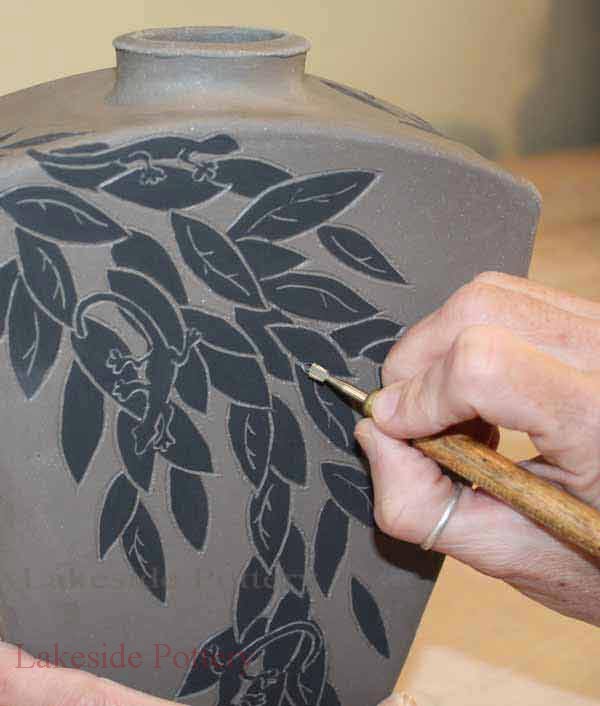
Underglaze Howdy Doody
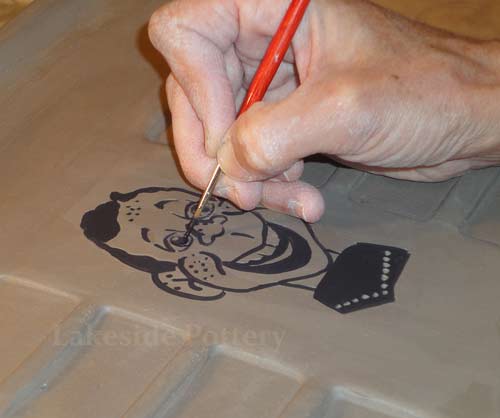 |
|
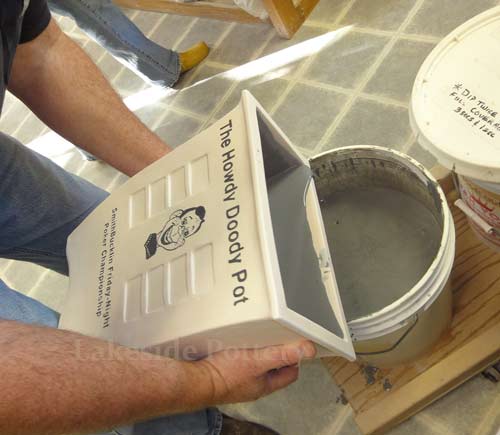
Drying slowly is very important. Cover the whole pot loosely for a week or two before letting it dry out. During the drying process, our clay will shrink by 6% in length. Meaning, a 12 inch clay length, will shrink by one inch (8% in surface area and 12% in volume). If the pot does not dry evenly and slowly, the one-inch movement will create a crack some place in the pot, most likely in one of the rim's top corner. More about drying and firing pottery.
|
Underglazing and Glazing
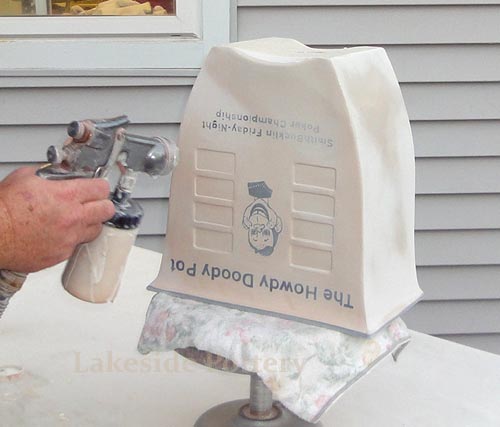
Kiln programming for bisque firing was set to 10 hours pre-heating (or candling) to 180 degree F and with a very slow ramping to cone 06 (1828 degree F). Glaze firing is set to cone 6 (2,232 degree F), medium firing speed and hold-up time of 15 minutes. Place in the middle of the kiln with some mass over the pot's rim. To avoid quick cooling, make sure the kiln is loaded with other pots or many kiln shelves. If your kiln has the capability, use the active computerized cooling feature. DO NOT open the kiln's lid even for a second until temperature drops to about 120 degrees F to avoid uneven cooling cracks. See FIRING ELECTRIC KILN tips
Underglaze lettering (with helpers)
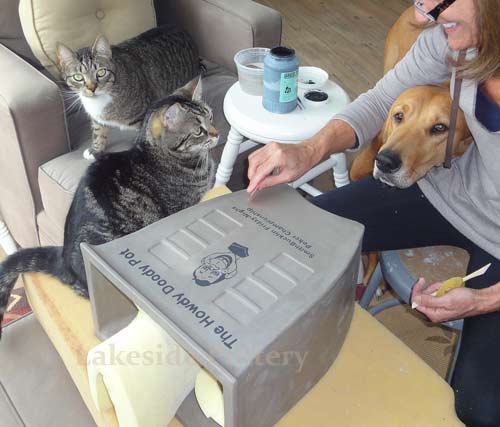 |
Dry covered VERY slowly
 |
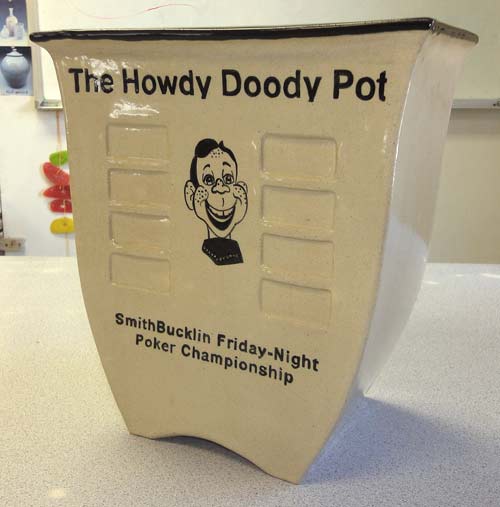
Bisque fired - ready for glazing)
 |
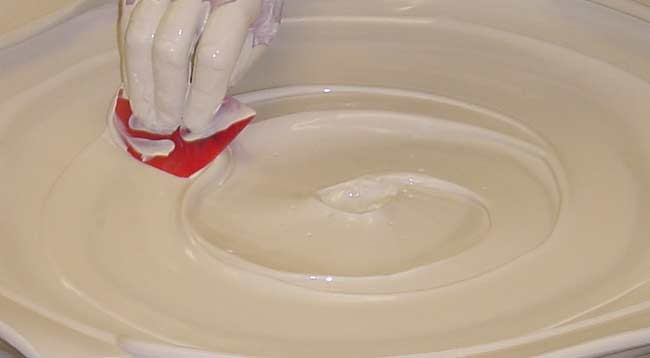
Pouring black glaze
 |
Spray glazing - clear glaze
 |
Finished and ready for shipping
 |
|