Many DIY guides treat super glue and epoxy as interchangeable, but the two adhesives behave very differently. Both can form strong bonds, yet their chemistry, working time, and gap-filling ability vary widely. Picking the one that matches your piece and repair goals is the key to strength, appearance, and long-term durability.
Before you reach for glue, run through this checklist:
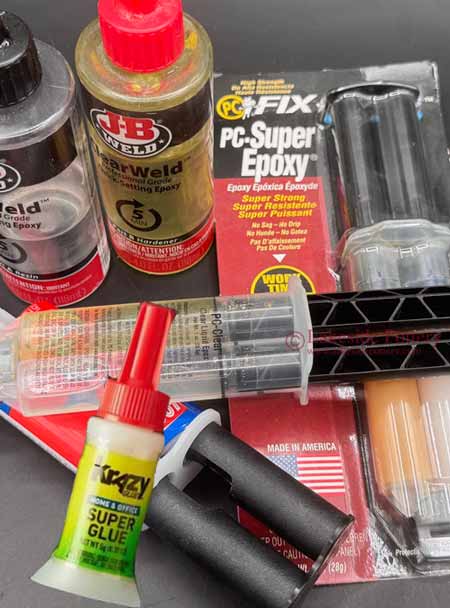
Which adhesive types could work, epoxy, cyanoacrylate (super glue), or a reversible conservation-grade glue such as B-72?
How do they compare in bond strength, working time, clarity, gap-filling ability, and compatibility with your material (porcelain, stoneware, terra-cotta, resin, etc.)?
What long-term risks might each pose? Think yellowing, brittleness, toxicity, heat intolerance, or difficulty removing the join later.
Do you know the correct application method and cure conditions, mix ratio, clamp time, temperature, humidity, for the product you choose?
Taking a moment to answer these questions, especially whether a reversible mending adhesive is the wiser first step, helps protect both the structural integrity and the value of your piece.
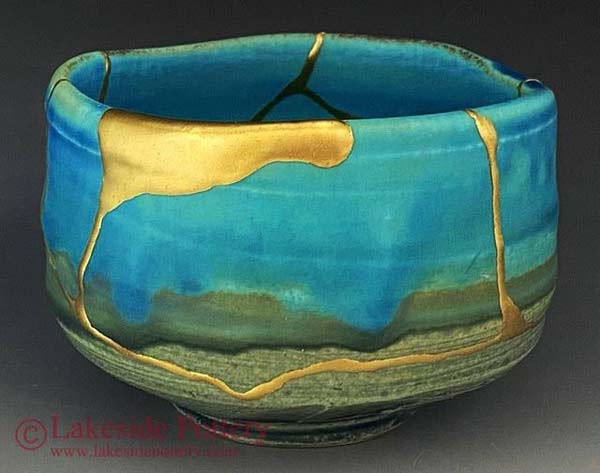
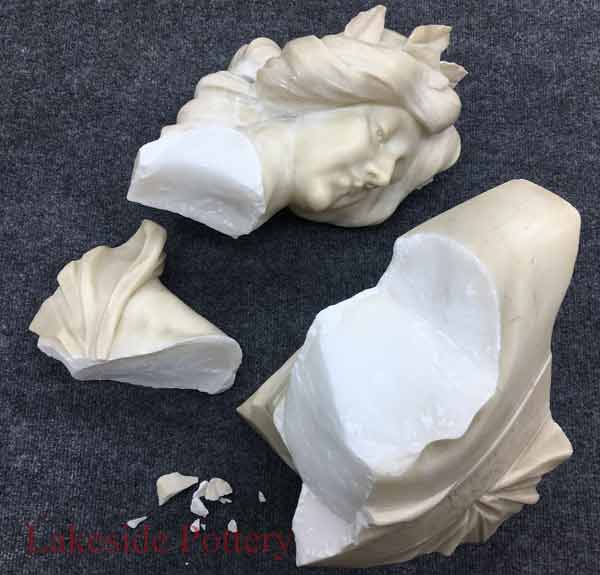
Epoxy remains the most reliable choice for irreversible ceramic, porcelain, and modern Kintsugi repairs. Unlike super glues, which rely on a thin bond line, a two-part epoxy creates a structural mend that can endure stress, temperature changes, and long-term use. When mixed correctly, epoxy chemically cures into a solid, engineering-grade bond that becomes part of the object rather than just a surface fix.
Gap filling and cementing: Epoxy is viscous and self-supporting, allowing it to bridge small chips, voids, and uneven fracture lines.
Structural strength: Our studio epoxy cures to an impressive 3,600 PSI, providing true load-bearing integrity. For heavy vessels, sculptures, or functional ceramic objects, this strength is critical.
Reliable mixing ratio: Epoxy works by combining resin and hardener, typically at a 1:1 ratio. Many professional brands tint the two components so you see a distinct “third” color when blending, your visual confirmation that the adhesive chemistry is activated.
Flexible working times: From 5-minute syringes to slow-curing 24-hour sets, epoxy is available in formulas suited to quick fixes, complex assemblies, or large multi-break projects. Matching the work time to your repair prevents rushed alignment and ensures durability.
Specialized formulations: Modern epoxies come tailored for specific needs, high clarity, strong gap-filling, or protective coatings. In restoration, we focus on mending epoxies designed for strength and visual subtlety rather than coatings or laminates.
Long-term yellowing: Clear epoxies are not completely color-stable. Over time, most will shift toward a yellow or amber tone, especially with UV exposure, heat, and oxidation. This is an important limitation when meding and filler epoxies are used. See detailed appendix below of why final coloring should no rely on them.
Difficult to reverse: Unlike conservation adhesives such as Paraloid B-72, epoxy forms a permanent structural bond that is not designed to be safely undone. For removal methods, see our guide on removing old adhesives
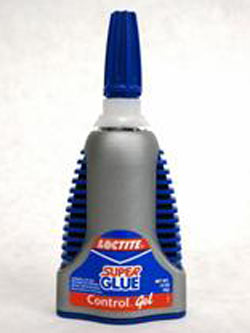
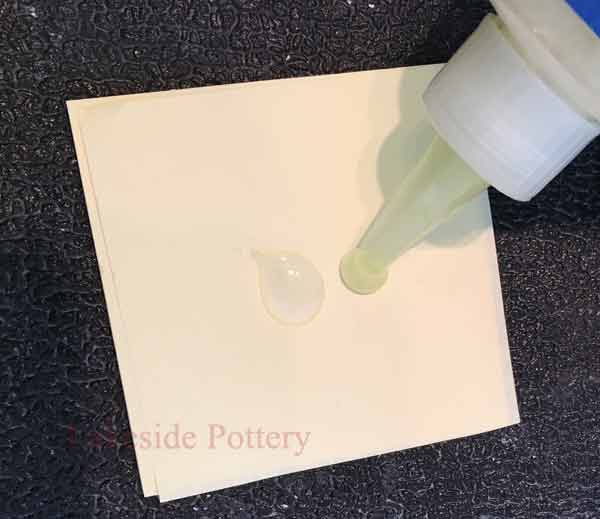
Cyanoacrylate (CA) is a single-component, water-thin adhesive that polymerizes in seconds when exposed to air moisture. While it’s convenient and widely available, it has significant limitations in professional ceramic and sculpture restoration.
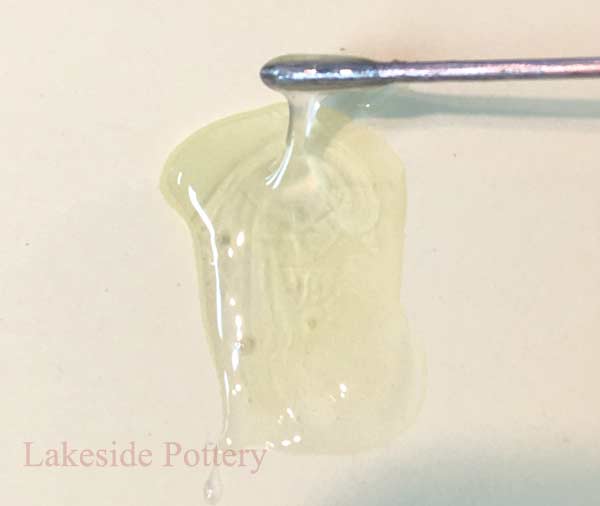
High tensile, low shear strength: It resists direct pulling but is brittle and snaps under sideways stress. For items that may be handled or stressed, this weakness makes it unreliable.
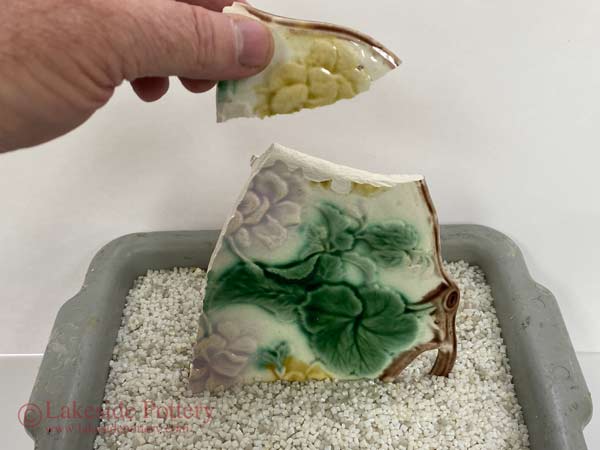
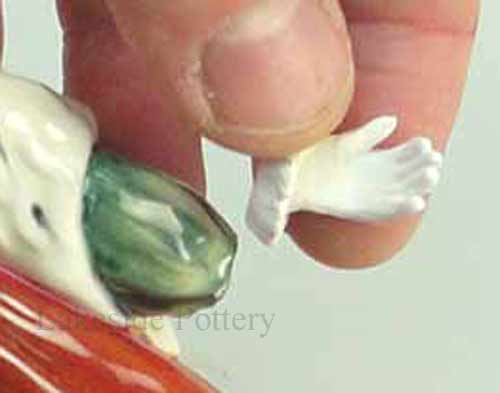
Requires a perfect fit: CA forms only a microscopic glue line, so shards must meet with absolute precision. It cannot bridge gaps or voids.
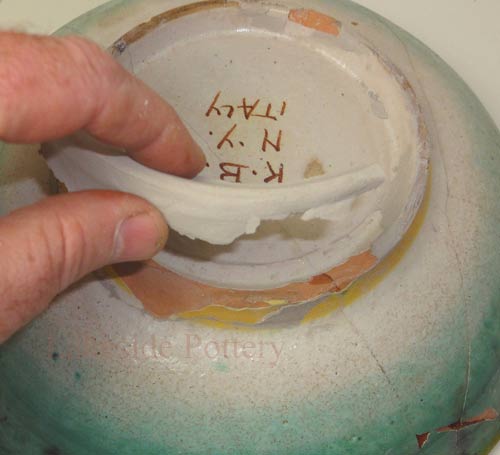
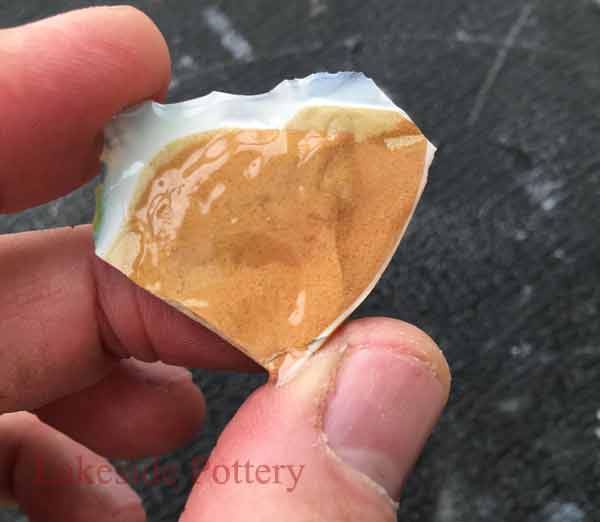
Porous material challenges: Porous clay bodies like Terracotta or bisque pottery absorb CA, leaving the bond weak or incomplete.
Aging issues: Over time, CA tends to yellow, migrate into surrounding materials, and brittle. This can permanently stain or compromise later restoration layers such as paints, fillers, or glazes.
Difficult to reverse: Unlike conservation adhesives (e.g., Paraloid B-72), CA forms a permanent structural bond that is not designed to be safely undone. For removal methods, see our guide on removing old adhesives
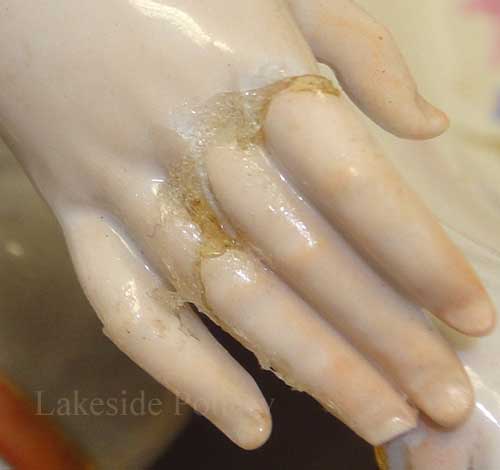
Super glue
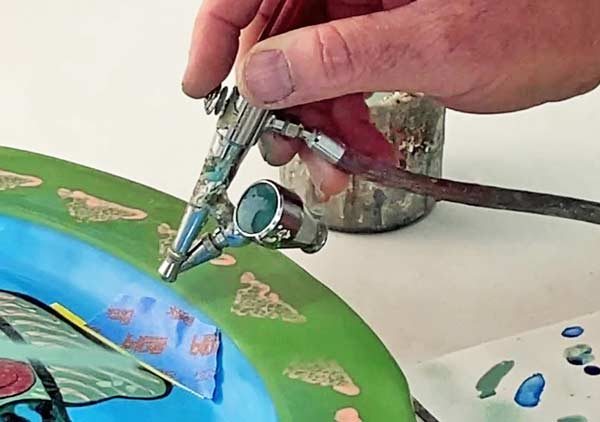
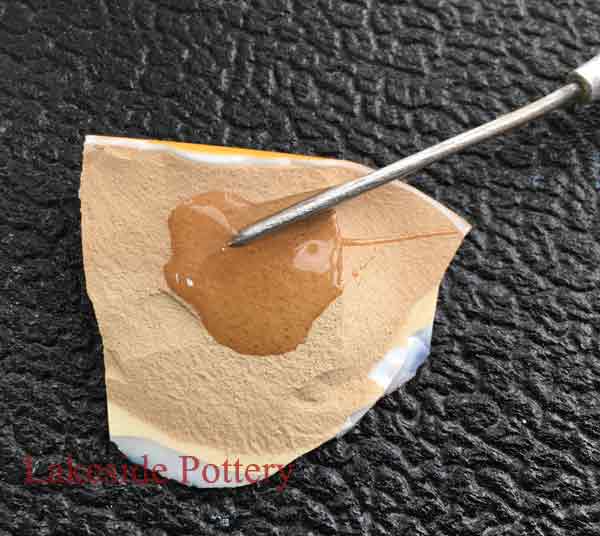
Super glue interacting with repair layers (e.g., paint)
For heirlooms, artwork, or valuable pieces, professional conservators generally avoid cyanoacrylate. It may be suitable only for temporary fixes or non-critical items that won’t undergo additional restoration or heavy handling.
Reversible Repairs: Why They Matter
In ceramic and sculpture restoration, reversibility is a key consideration. A reversible repair uses adhesives or methods that can be undone later without harming the original piece. This is especially important for valuable or historic items, allowing future restorers to remove or redo repairs if needed.
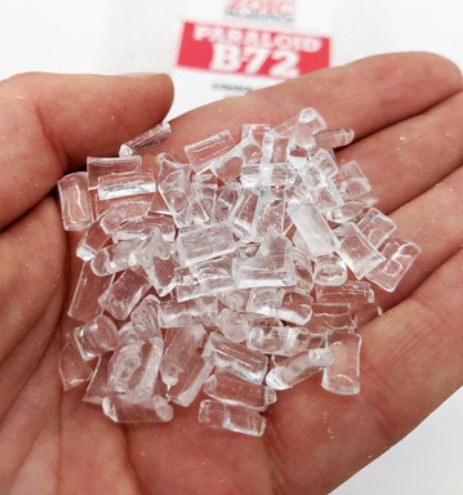
One of the most widely used museum-grade adhesives is Paraloid B-72, an acrylic resin valued for its stability, transparency, and ability to be safely reversed with common solvents such as acetone or ethanol. It is typically applied in solution by dissolving the resin pellets in acetone, ethanol, or a mixture of both, with acetone providing quicker set times and ethanol allowing more working time. If needed, the adhesive can later be safely softened and removed using the same solvents without harming the original piece.
Note: This article, focusing on super glues (cyanoacrylates) and epoxies, addresses non-reversible repair options. Both create strong, permanent bonds that are difficult or impossible to reverse without damage.
At Lakeside Pottery Studio, we carefully assess each project to balance strength with the potential need for reversibility, preserving your piece’s integrity and future conservation options.
For a deeper dive into reversible versus non-reversible repair methods, see our detailed guide here:
Mending epoxies don’t just bond, they bridge gaps. Their higher viscosity lets them fill small chips or uneven fracture lines that super glue cannot, creating both contact and structural bulk in a single step.
2-part even ratio mix
2. Epoxy Working Time: Quick-Set vs. Slow-Set
Epoxies come with a range of working and curing times, from just a few minutes to several hours, depending on the formula and hardener chemistry. Choosing between a fast-setting or slow-setting epoxy depends on your project's complexity and the time needed for precise alignment.
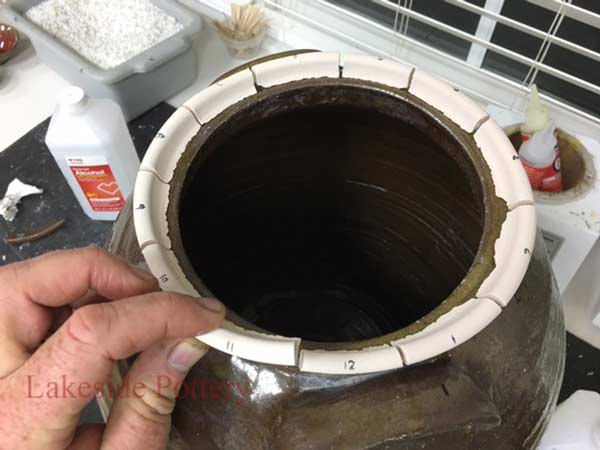
Important: Holding pieces by hand while the epoxy cures is neither practical nor accurate. Even fast-set epoxies can drift out of place.
To help, we’ve created a tutorial showing simple techniques and tools for keeping broken segments securely in position during curing. Click here or on the image on the right to view
Mixing 2-part epoxy
Holding in place while curing
3. When to Use Slow-setting Epoxy?
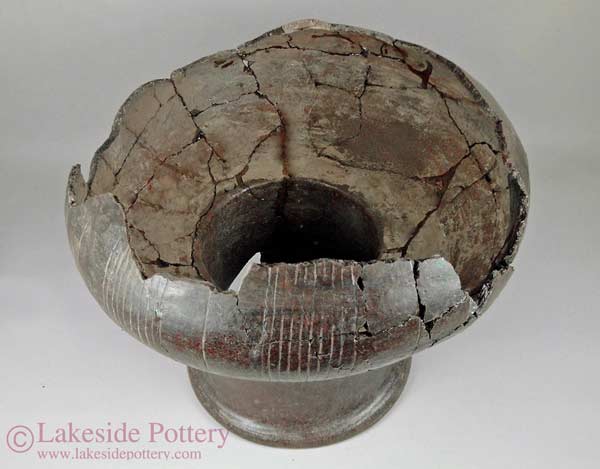
For small repairs where parts can be quickly aligned and clamped, a 5-minute epoxy may be sufficient. However, for larger items, or repairs involving multiple breaks or wide surface areas, a slow-setting epoxy is recommended. These give you more time to spread the adhesive evenly and make accurate adjustments before it begins to harden.
In most cases, slow-curing epoxies provide a stronger, more durable bond, though some modern fast-set formulas now offer comparable strength for small-scale repairs.
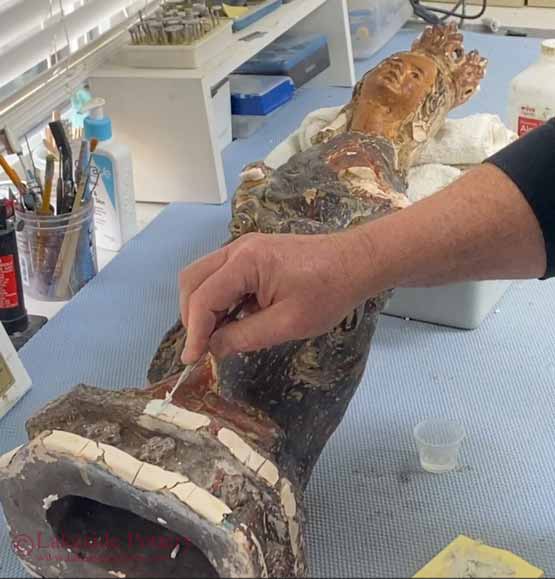
Applying 2-part epoxy
4. Heat Resistance and High-Temperature Failure
Super glue works up to about 175-195°F (80–90°C) before weakening. Some high-temp versions reach 250°F (120°C).
Standard epoxies handle 250-300°F (120–150°C) but soften above that.
High-temp epoxies withstand 400-500°F (200–260°C) continuously, with short bursts up to 550°F (288°C).
Cover full surface
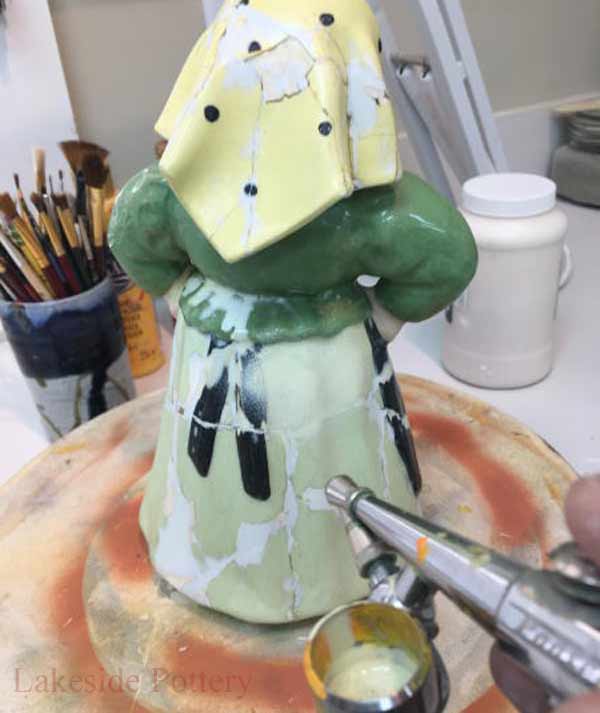
5. Repair Line Thickness and Color
Super glues create very thin, almost invisible repair lines. Epoxies, on the other hand, leave thicker lines and can vary in color, some are clear, while others yellow over time. When choosing an epoxy, consider the appearance carefully. If you plan to hide the repair with fillers, paints, or glazes, prioritize strength over color, since the repair line will be concealed.
Note: Lakeside Pottery Studio uses a clear epoxy with 3,600 PSI strength mending PC-Clear Epoxy for most repairs. Keep in mind that most clear epoxies will yellow over time when exposed to UV light, heat, and oxidation, which can affect the appearance of any exposed repair line, filler, or over-painted restoration.
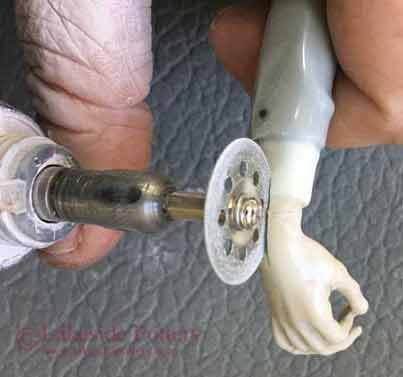
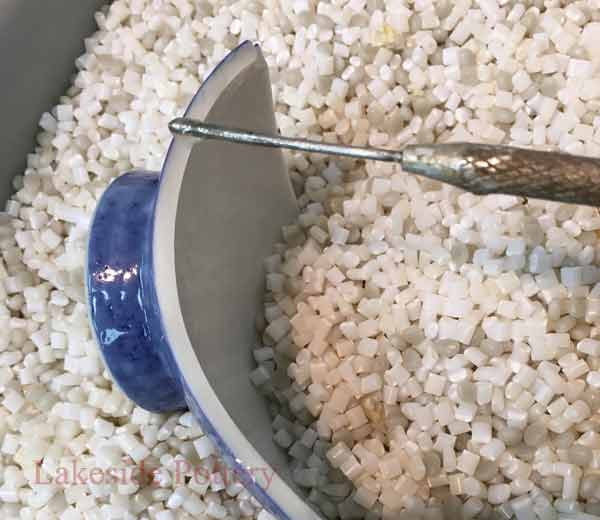
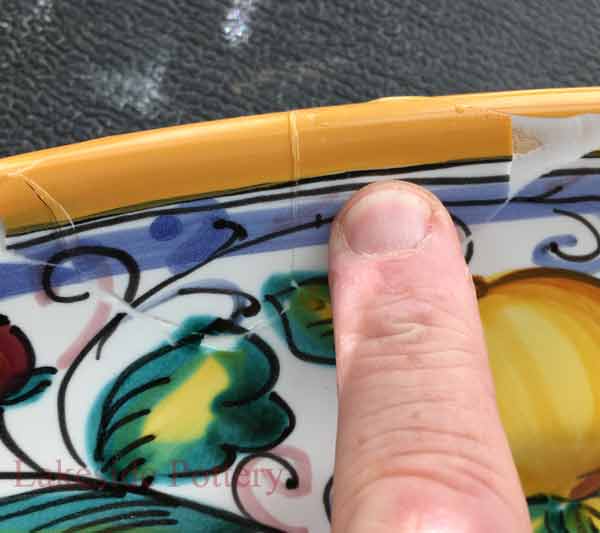
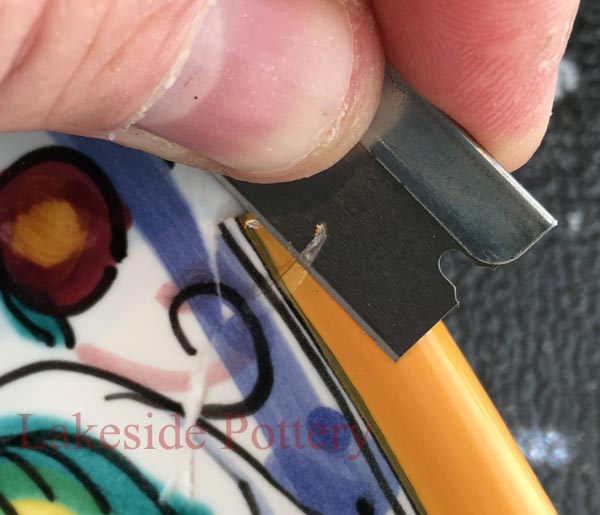
Avoid wiping excess epoxy while it’s still wet, as this can cause the repair to shift and smear over a larger area. Instead, allow the epoxy to partially cure to ensure a stable bond, then carefully remove the excess with a sharp blade (see tutorial). Be especially cautious on soft ceramics like Terra Cotta or stone, removing cured epoxy can easily scratch or damage these surfaces.
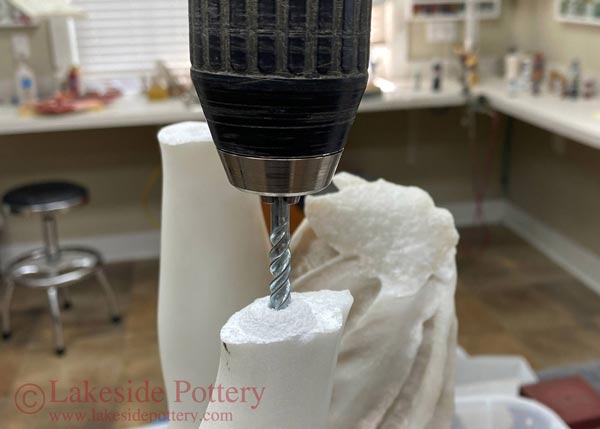
Removing epoxy later
Outdoor Use of Epoxy or Cyanoacrylate (Super Glue)
Can epoxy or super glue be used for outdoor repairs of pottery, ceramic, stone, cement or resin vessels or art objects?
Epoxy and cyanoacrylate (super glue) are strong and versatile, but their performance outdoors is limited by environmental factors. Unlike metals or plastics, ceramic and stone are porous to different extents, which means they naturally absorb moisture over time. When exposed to rain, humidity, or freeze–thaw cycles, this trapped moisture can slowly undermine even the strongest adhesive bond.
Additional challenges include:
UV sensitivity: Both clear epoxies and cyanoacrylates yellow, chalk, and lose strength when exposed to direct sunlight.
Temperature shifts: Adhesives expand and contract differently than ceramic or stone, creating stress on the join.
Load-bearing concerns: Repairs under pressure (like planters holding soil and water) may fail sooner because moisture and weight combine to weaken the mend.
Brittleness of cyanoacrylate: Super glue is especially brittle under shear stress and, combined with moisture exposure, tends to break down even faster than epoxy in outdoor conditions.
Recommendations
For decorative pieces in sheltered outdoor locations (porches, covered patios), a marine-grade or UV-resistant epoxy may extend the repairs lifespan, though not indefinitely.
For functional or exposed items, neither epoxy nor cyanoacrylate should be expected to last long-term. Such repairs are generally only temporary, lasting a season or two at best.
While epoxy remains the gold standard for indoor ceramic repairs, and cyanoacrylate can be useful for quick fixes, both adhesives will always be vulnerable outdoors to moisture, UV, and stress. Understanding the porosity of your material helps set realistic expectations for the repair’s longevity.
Lakeside Pottery Studio does not engage with restoring outdoor items. This applies to all materials, in addition to stone and ceramic.
Conclusion At Lakeside Pottery Studio, we focus on repairs that combine strength, longevity, and visual quality. While cyanoacrylates such as super glues may be convenient for quick, low-value fixes, they lack the durability, stability, and compatibility required for professional repair and restoration. In contrast, high-quality clear two-part epoxies provide superior bond strength, reliable gap filling, and long-term resilience, making them the preferred adhesive for pottery, porcelain, stoneware, and sculpture repairs.
It is important to note that no adhesive, whether epoxy or super glue, can withstand outdoor conditions indefinitely. Moisture absorption, UV exposure, and temperature shifts will eventually compromise even the strongest bond. For this reason, we recommend epoxy only for indoor repairs and do not restore outdoor ceramic, stone, or sculpture items.
By choosing the right adhesive and following correct application methods, you not only protect the structural integrity of your piece but also preserve its beauty and value for years to come.
Appendix:
Do Epoxies Yellow or Amber with TIme? Why?
Epoxy resins are not completely color-stable. Over time, clear epoxies gradually shift from clear to a yellow or amber tone. This is a known material behavior rather than a defect, and it is one reason color matching in ceramic and sculpture restoration must be approached carefully.
What causes the color change?
UV exposure: Sunlight and some indoor light sources can break down the cured polymer structure, a process often called photo-oxidation. This creates color-producing compounds that give the epoxy a yellow or amber cast.
Oxidation: Even without direct sunlight, oxygen slowly reacts with the cured resin, especially near the surface.
Heat: Higher temperatures accelerate chemical aging and can speed up discoloration.
Resin and hardener chemistry: Some epoxy systems, especially certain amine-cured formulas, are more prone to yellowing than others.
Thickness and mass: Thicker areas of epoxy can age differently because of heat generated during curing and different oxygen exposure.
Impurities and additives: Fillers, pigments, trace contaminants, or tool residue can influence long-term color stability.
Do all epoxies yellow?
Yes, clear epoxies will change color to some degree over time. UV-resistant or non-yellowing formulas can slow the process, but they do not make epoxy permanently color-stable under all conditions.
Practical note how not to use epoxies for color matching:
This is why you cannot rely on mending and filling materials alone to achieve a long-term color match in restoration by mixing in colorants, dyes, or pigments. Even if the repair blends well initially, the epoxy may shift over time and become more visible. Limiting sunlight and using tinted finishes or Kintsugi-style approaches can help manage or visually integrate this change.
How To Repair Broken Pottery - Video
This lesson shows only the highlights and is not a DIY lesson