Pottery made to order | repair and restoration studio in Southern Delaware

How to Sculpt and Add Missing Pottery Segment

How to Sculpt and Replace a Missing Pottery Rim Segment Using Resin Casting and Kintsugi

Step-by-Step Guide to Repairing Missing Pottery Rim

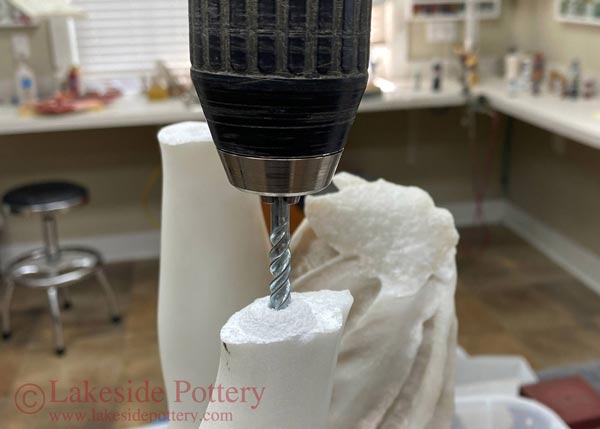
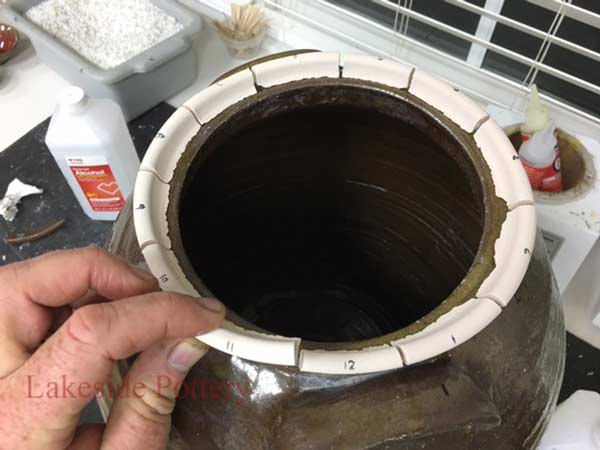
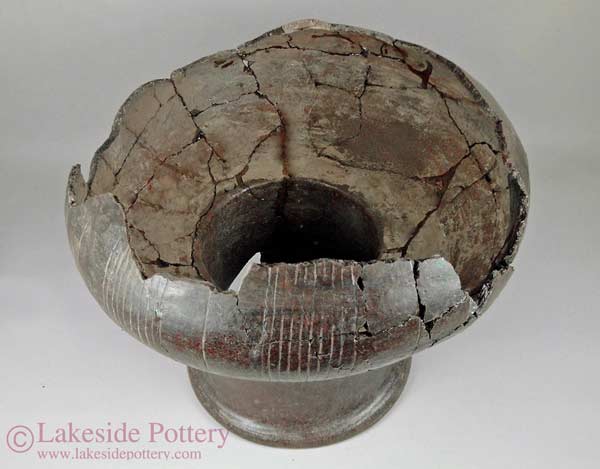
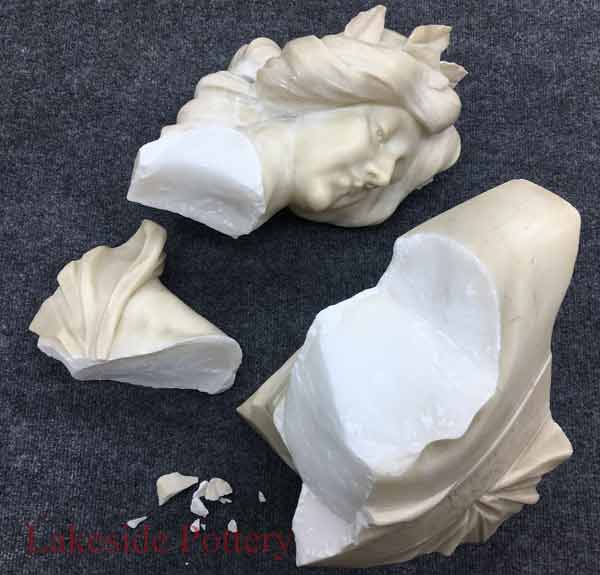
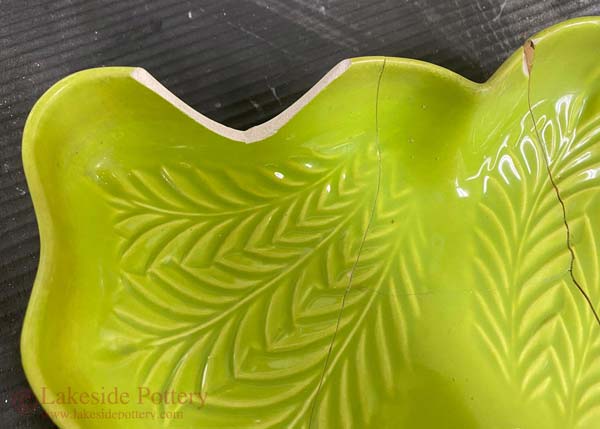
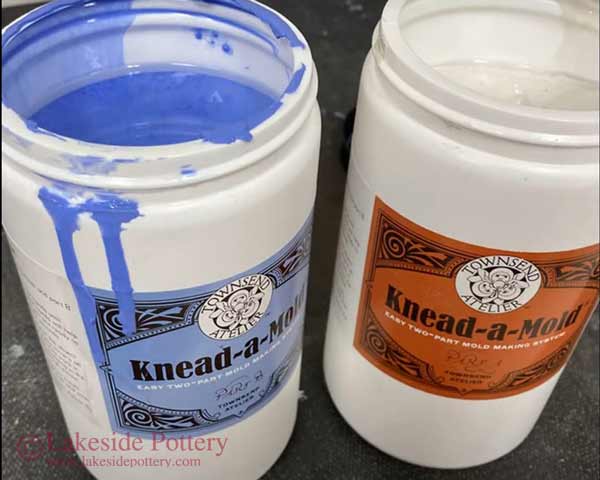
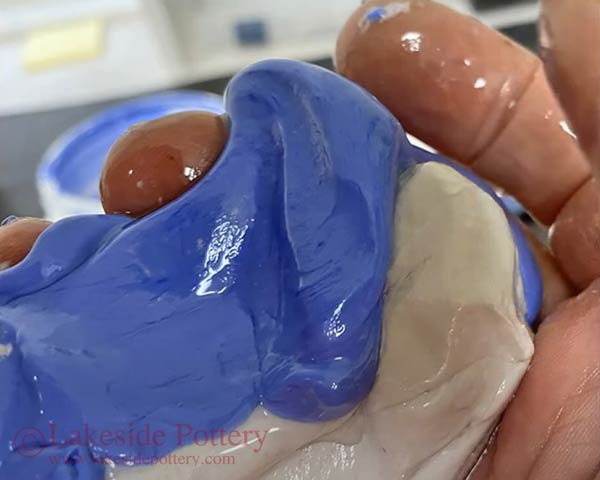
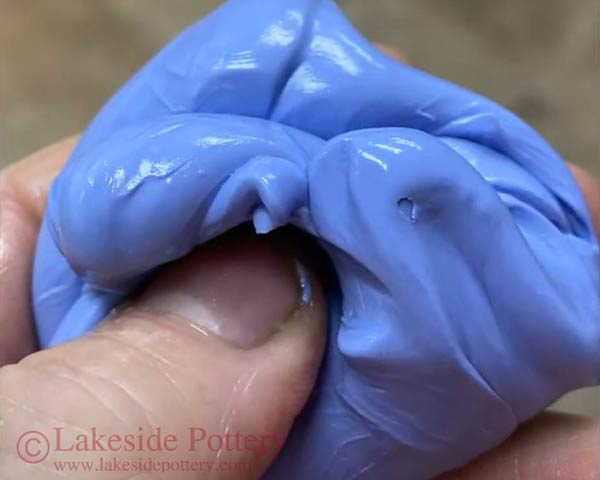
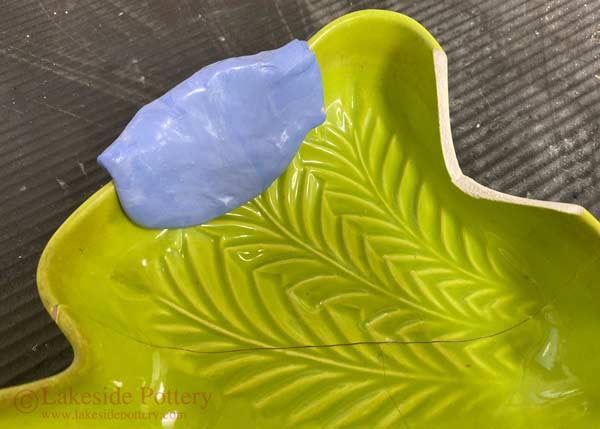
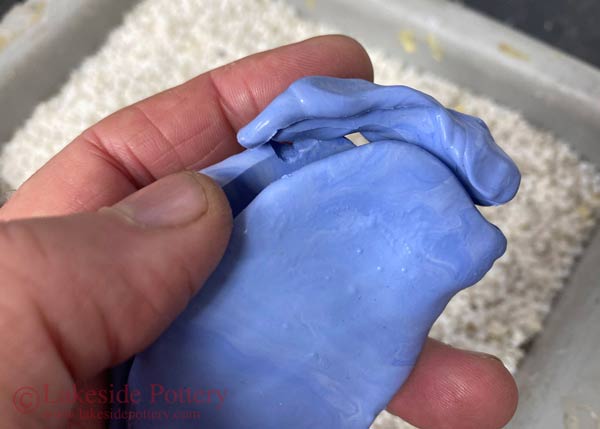
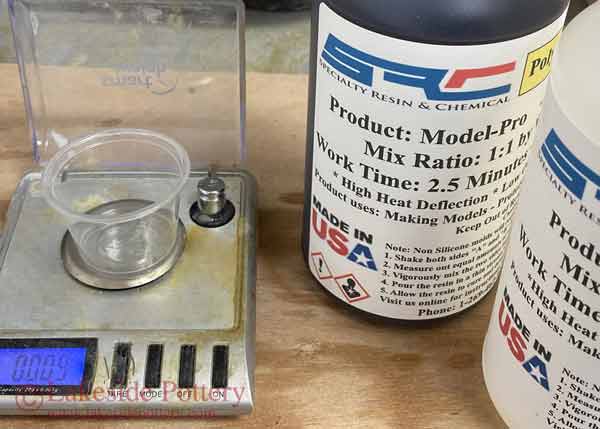
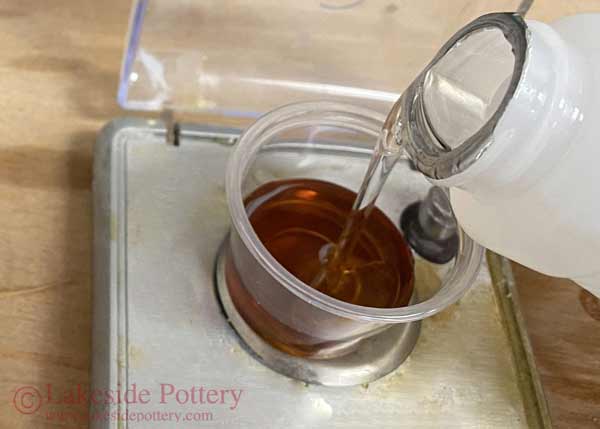
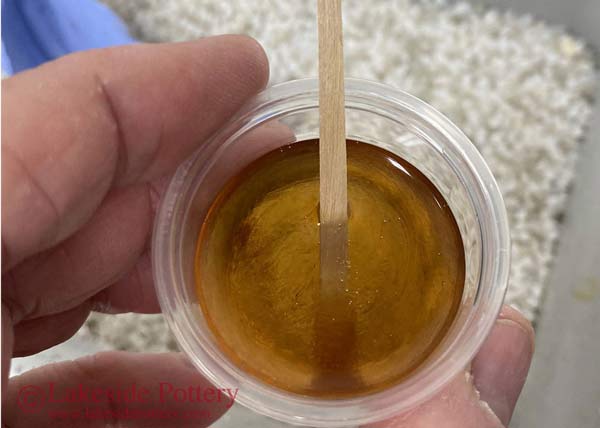
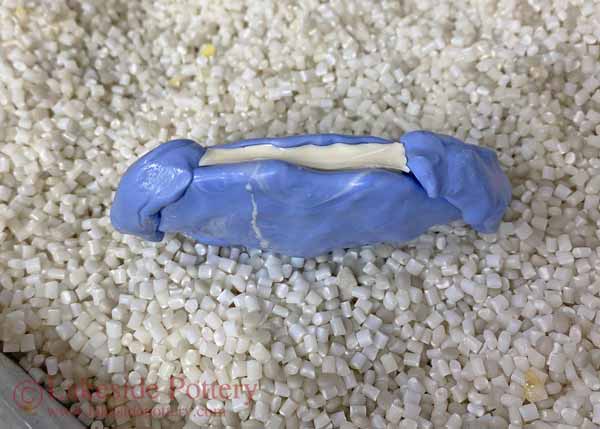
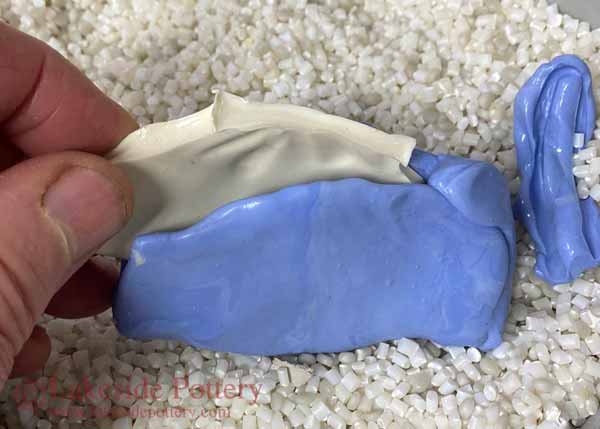
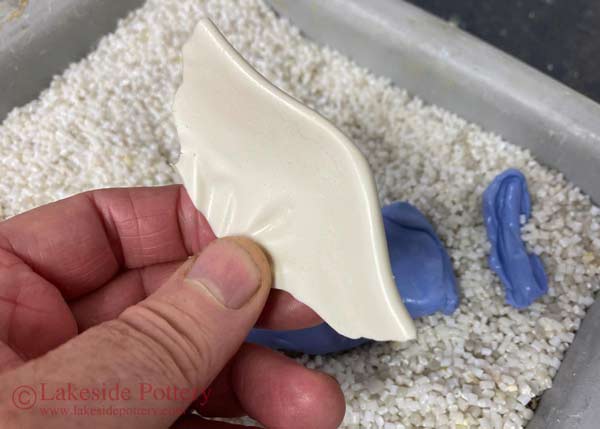
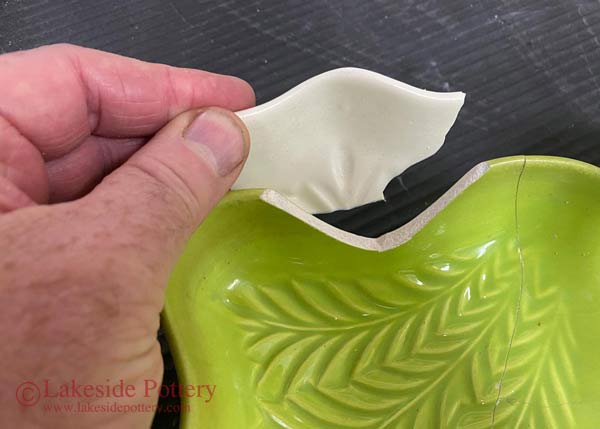
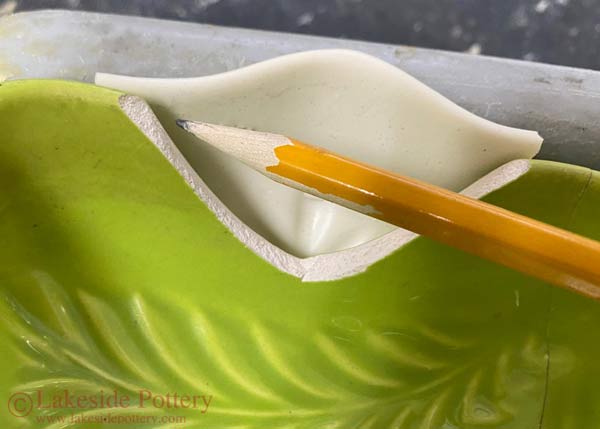
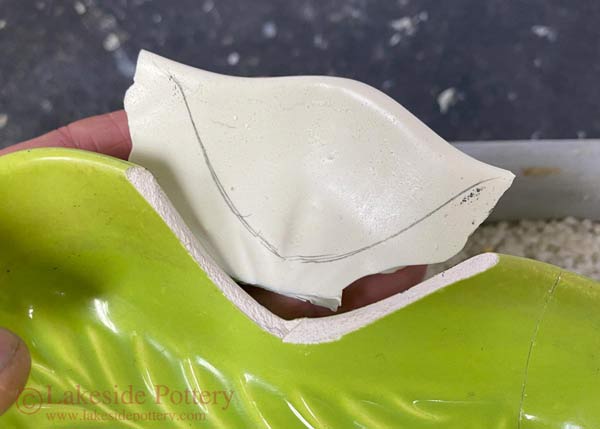
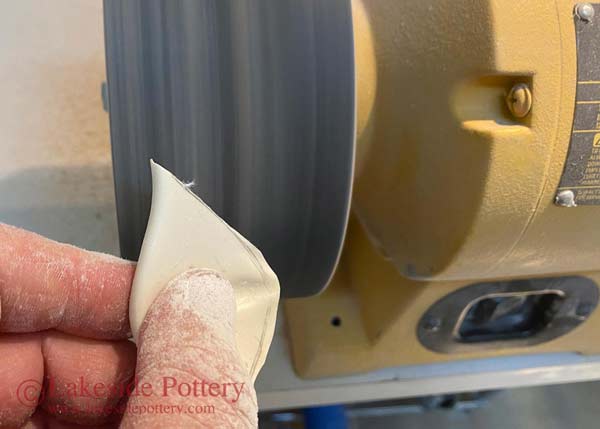
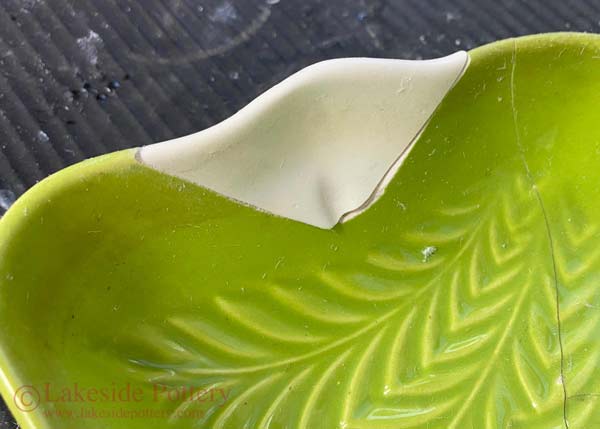
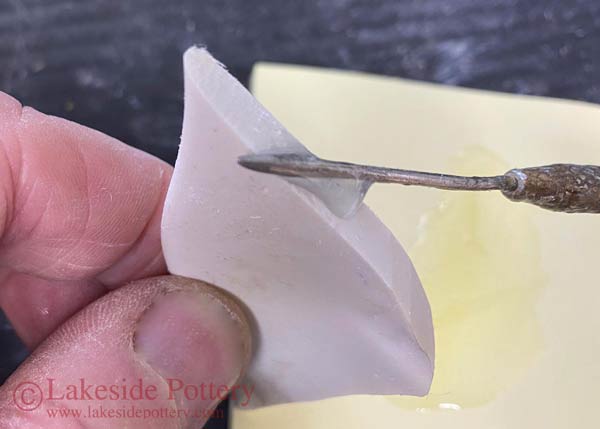
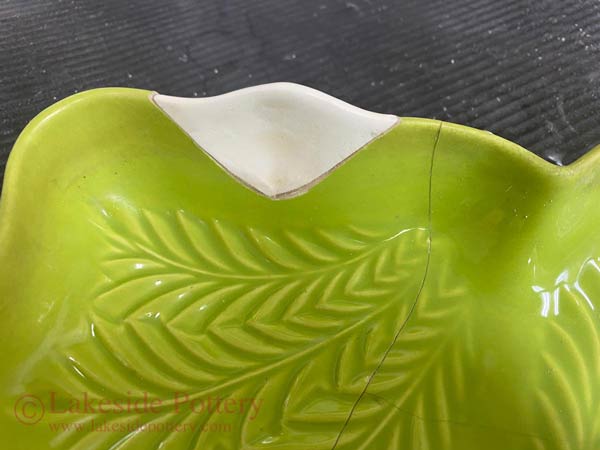
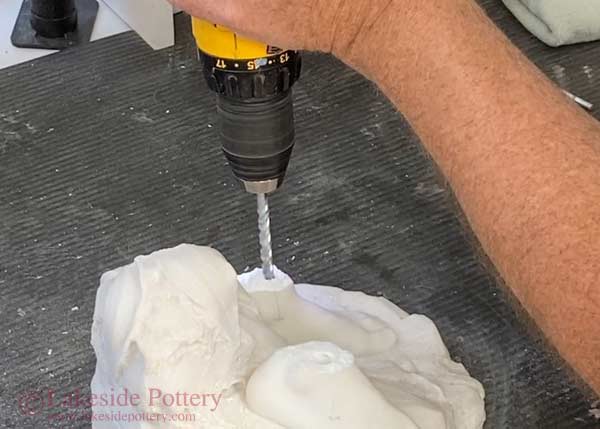
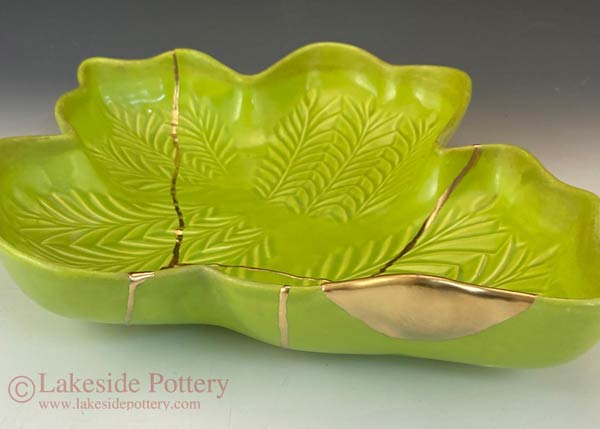
This tutorial demonstrates how to repair and replace a missing pottery rim segment using resin casting and sculpting techniques. The process involves creating a rubber mold from an intact part of the rim, then casting a resin replica that perfectly matches the original contour. After trimming and attaching the new segment, the surface is filled, blended, and finished to restore both form and strength.


Repair Process Overview:
  1. Create a rubber mold
  2. Cast missing rim
  3. Trim and attach
  4. Blend & finish
  5. Kintsugi option

How to Sculpt and Add Missing Pottery Segment

See This Lesson in a Video Format


More examples of projects with missing pieces


Step 1:
Create a Rubber Mold from the Intact Rim Segment

Platter with broken and missing segment

Casting mold
Casting mold

Where to get materials

Two even parts of casting mold to be mixed

Casting mold mixed
Casting mold mixed
Apply casting mold to an unbroken segment

When shaped casting mold cured, add more casting mold on the side opening


Step 2: Cast the Missing Segment in Resin

Grind off sharp edges
Scale and casting-resin-epoxy

Verify fit before cementing rod
Pour equal parts of resin-epoxy

Mix the two part resin epoxy well

Where to get materials

Fill the mold impression with casting-resin

Wait for casting-resin to cure

Remove newly made  segment when cured
Remove newly made segment when cured

Segment ready to be applied

Verify if size is sufficient


Step 3: Trim, Fit & Attach New Rim Segment

Mark cutting area
Mark cutting area


Marked casted segment ready for shaping

Cut close to the penciled line

Grind for final sizing

Verify proper fit
Verify proper fit

Mix two parts epoxy
Mix two parts epoxy

Apply epoxy
Apply epoxy

Place segment
Place segment

Segment applied and ready for a filler application


Step 4: Smooth, Blend & Finish Surface (Kintsugi)
Apply the Kintsugi process
Project Complete
Project Complete

See a seamless painting option - Example


Another Example of Making a Missing Segment


COPYRIGHT Lakeside Pottery LLC ; COPYRIGHT  policy; Protected by Copyscape including reporting to search engines