


 |
 |
 |
 |
 |
 |

#lakesidepottery
|
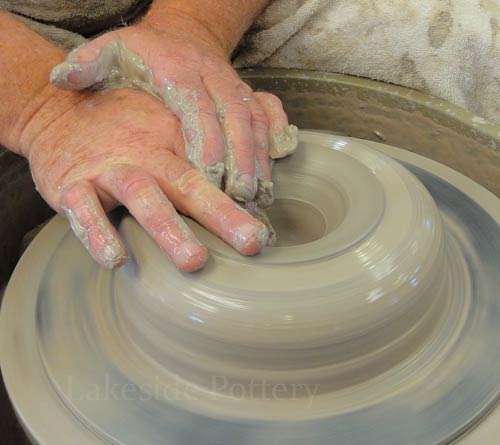
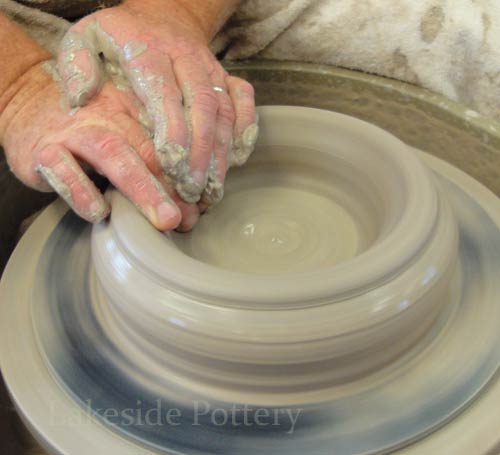
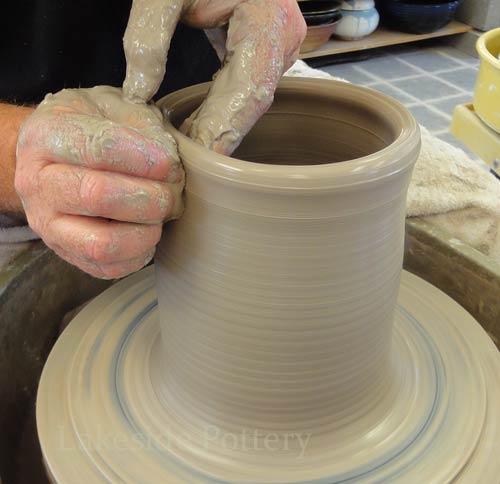
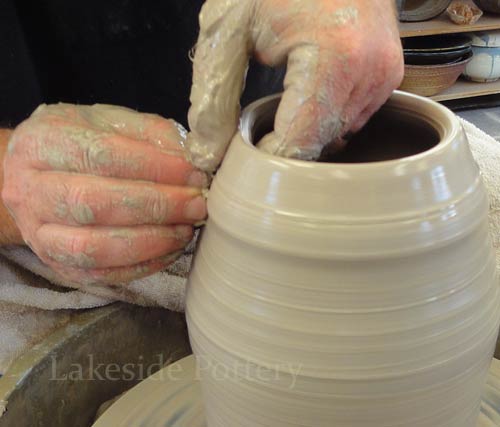
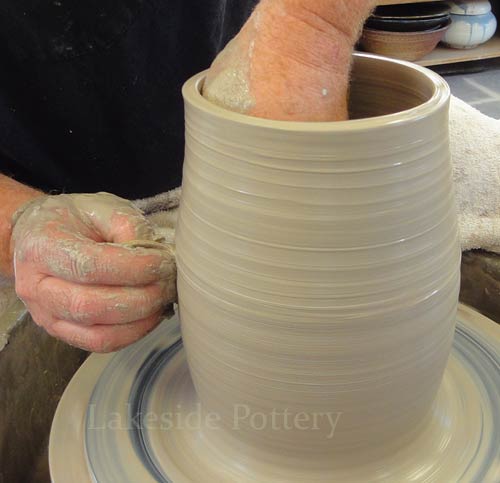
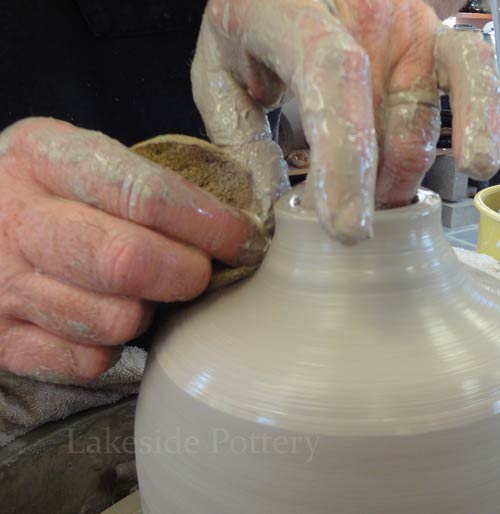
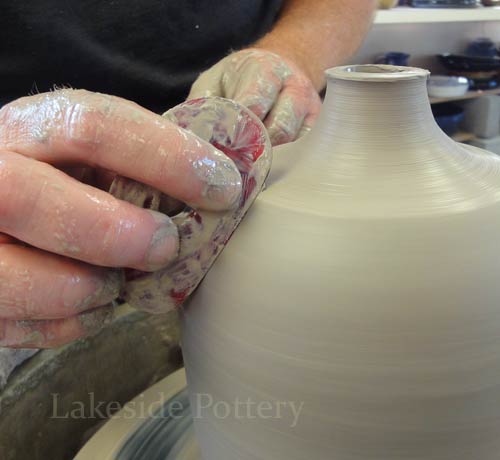
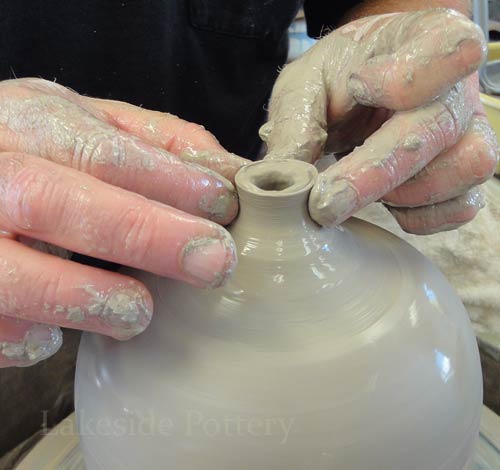
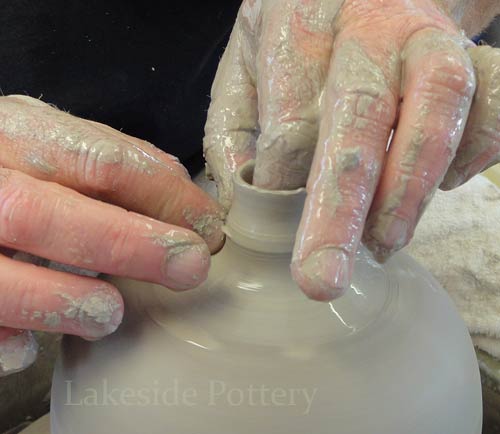
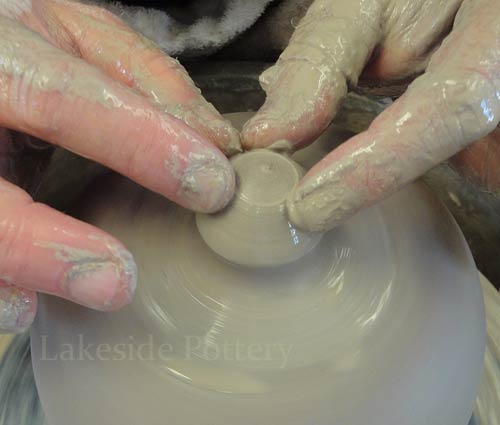
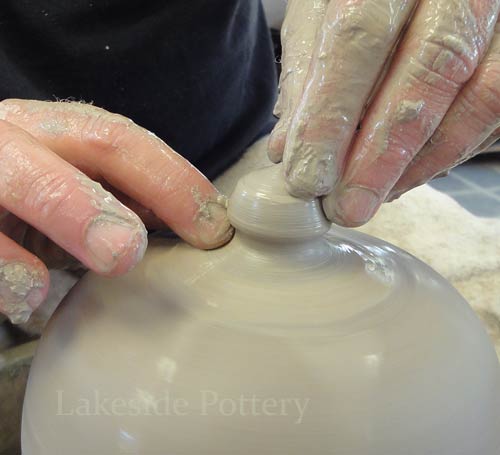
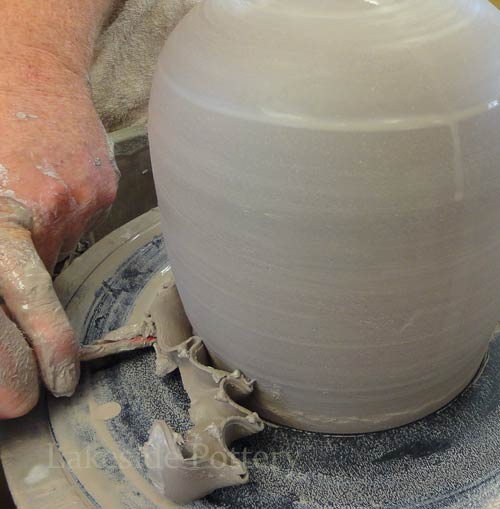
Wheel Tutorials
|
|
Handbuilding Tutorials
|