|
|
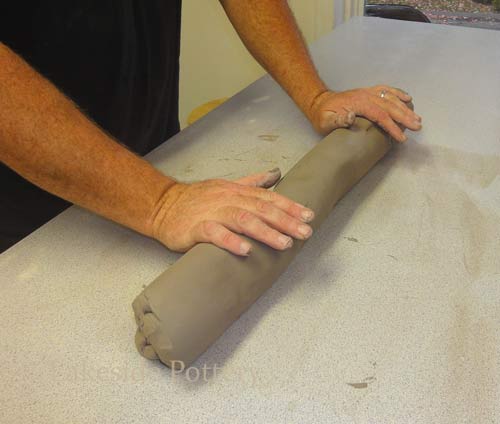
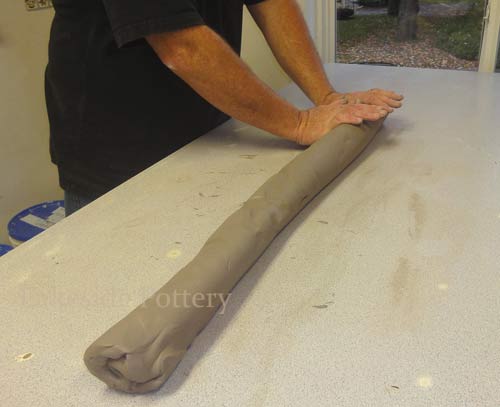
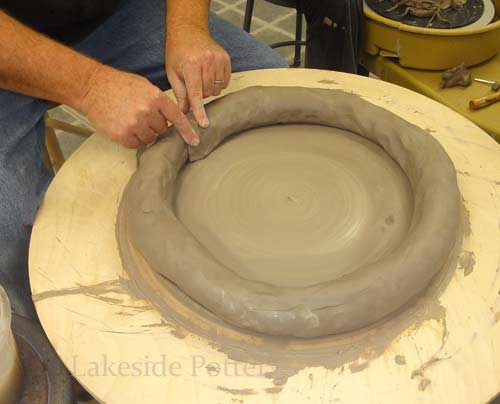
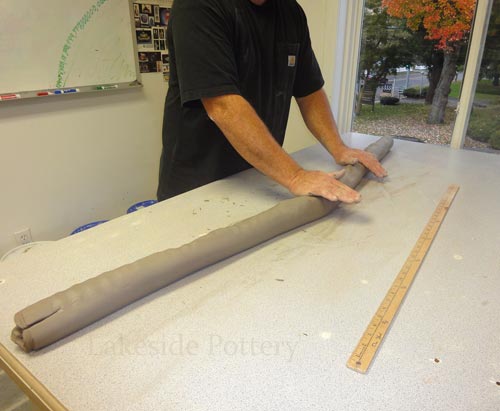
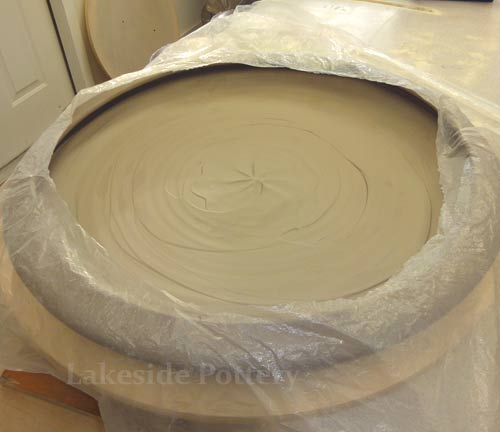
2) Roll the coil on a non-absorbent table to insure clay stays moist and soft. Make the coil as even as possible. Place coil on the tapered edge created on the first stage flat form.
Continue to extend coil
 |
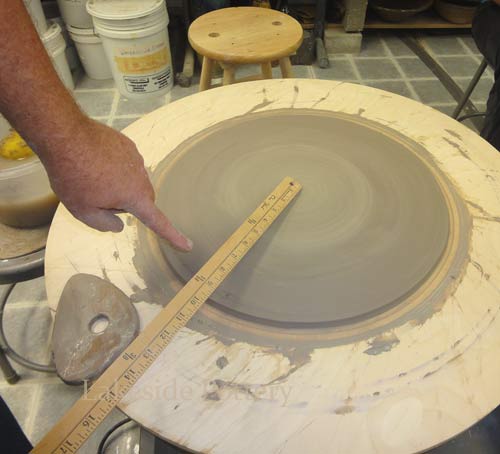
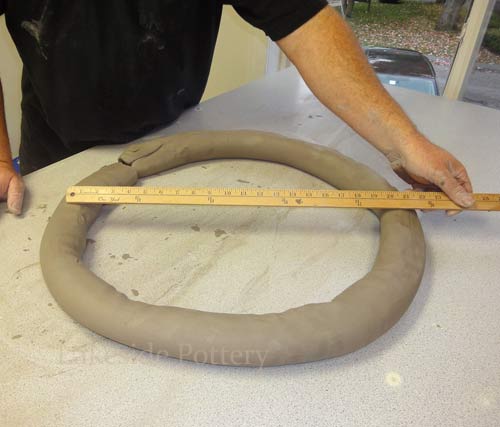
Verify needed coil size

|
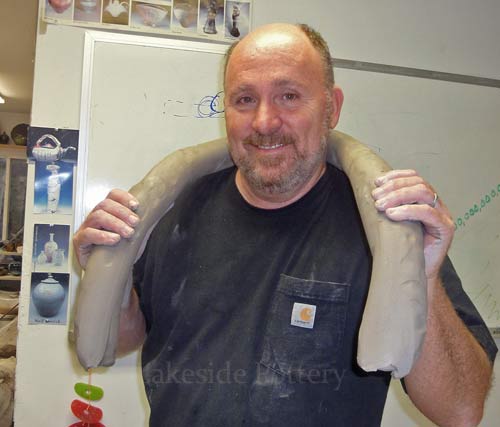
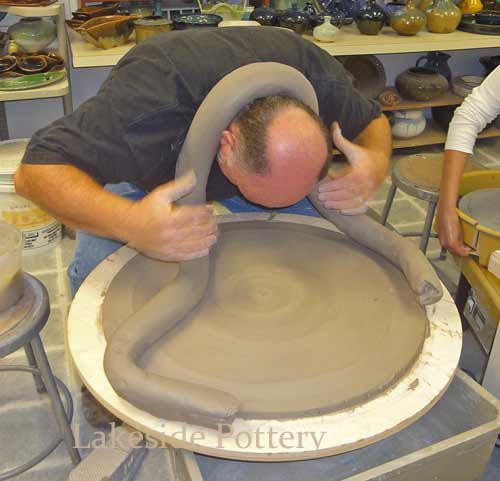
Carry coil on shoulders
 |
Choose texture mats or objects
 |
|
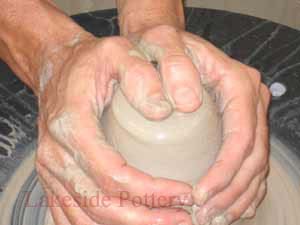
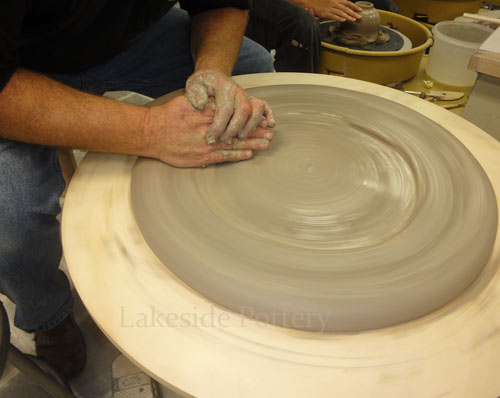
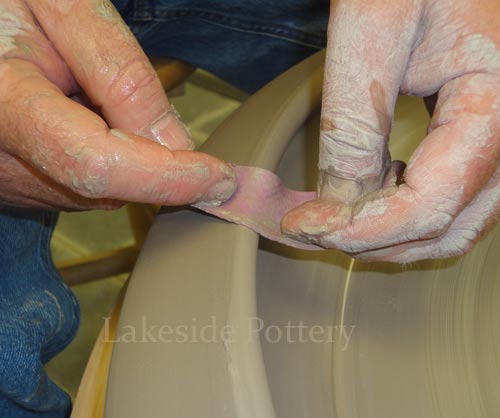
3) It is important that the coil is worked in and well blended in the flat form and the coiled ends are well connected. The coil / flat form contact surface is without water and it is not scored. After applying pressure on the coil without the wheel turning turn the wheel on slowly and add water. Apply pressure and squeeze tightly to even out the coil and center it.
Work the coil ends tightly
 |
Wet the coil

|
Push down while squeezing
 |
Keep thumb low -- better seam
 |
|
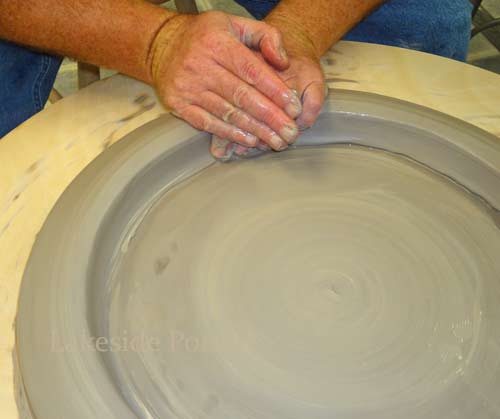
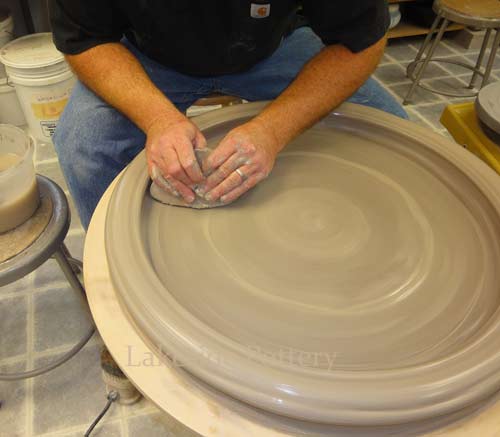
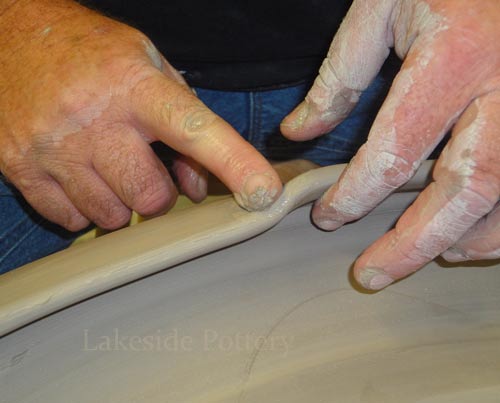
4) Once the coil is centered, is evenly distributes and is well connected to the flat form below, start expanding the attached coil out wards. Every so often use a wooden tool to compress the clay and remove slurry.
Use both hands the expand clay
 |
We love this wooden tool
 |
Compress and even top surface
 |
Expand further using both hands
 |
|
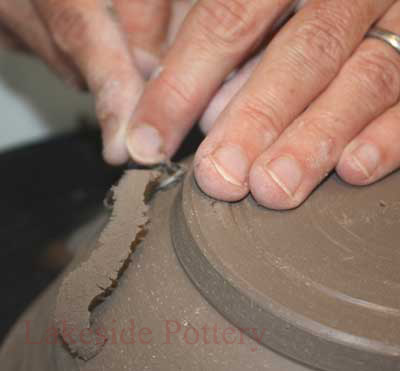
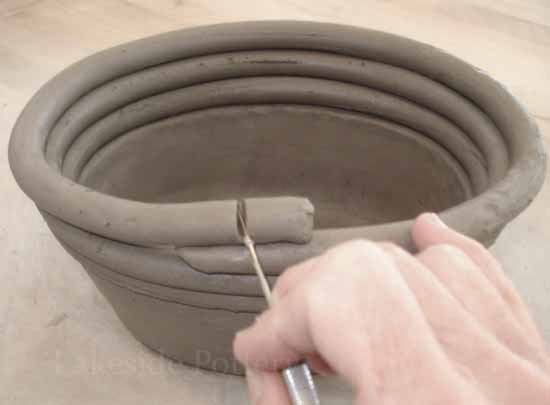
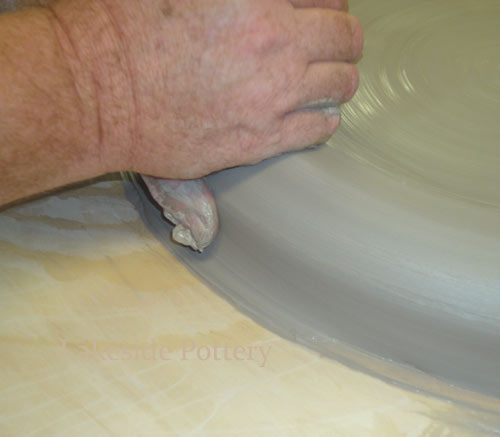
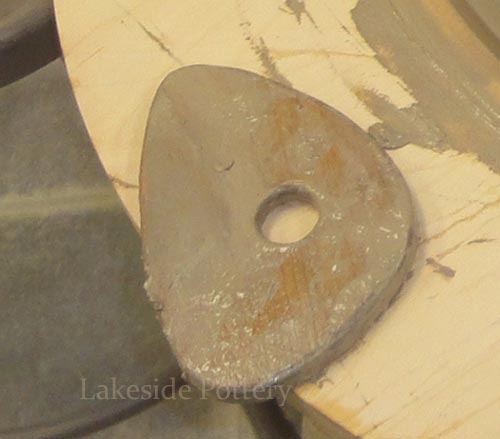
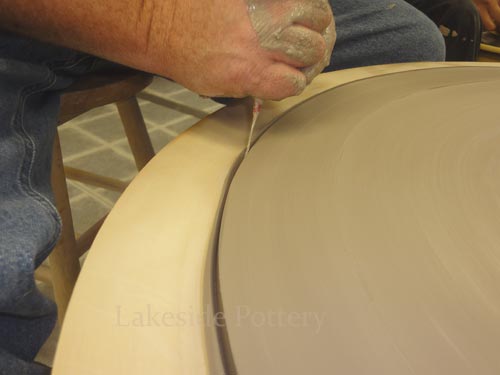
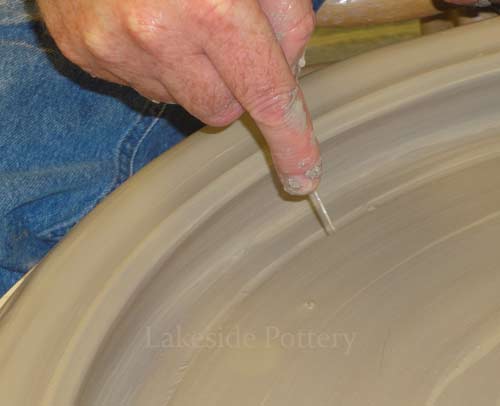
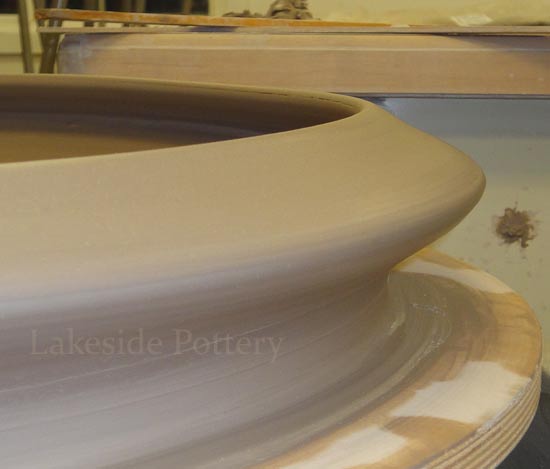
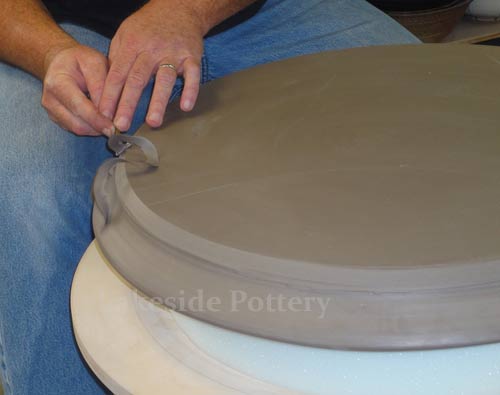
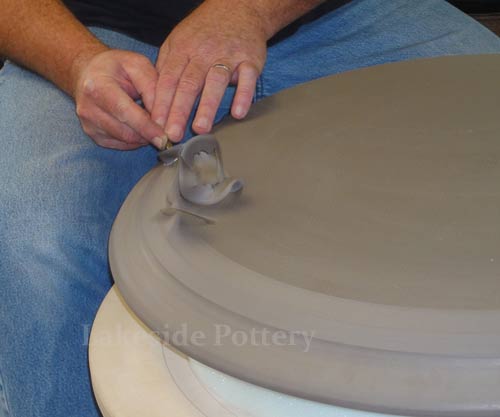
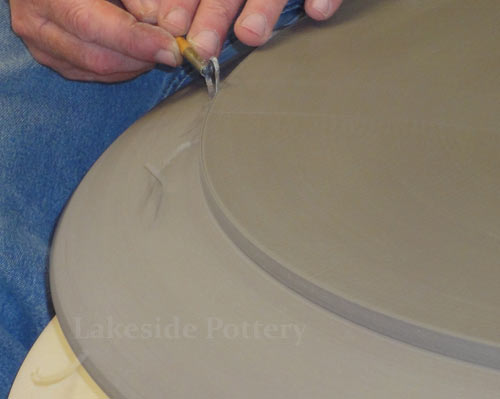
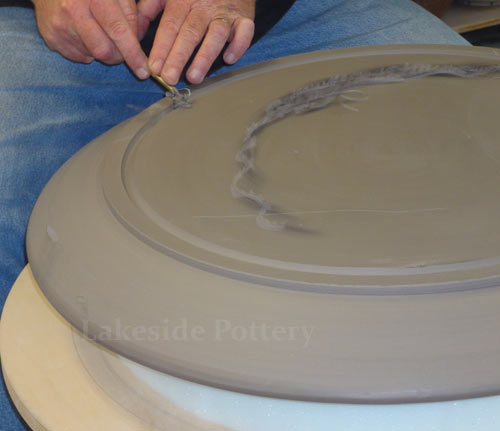
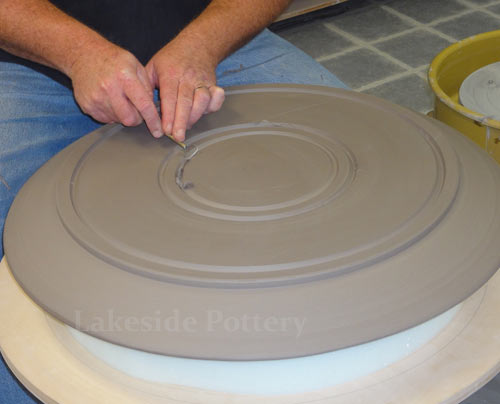
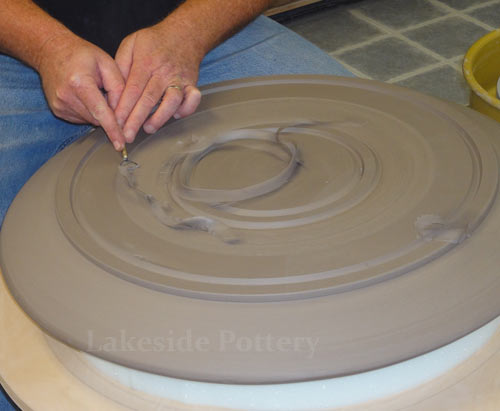
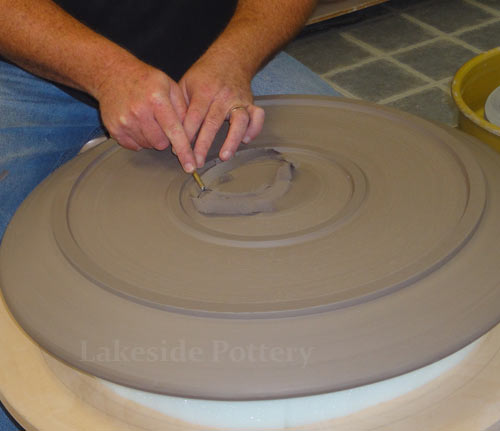
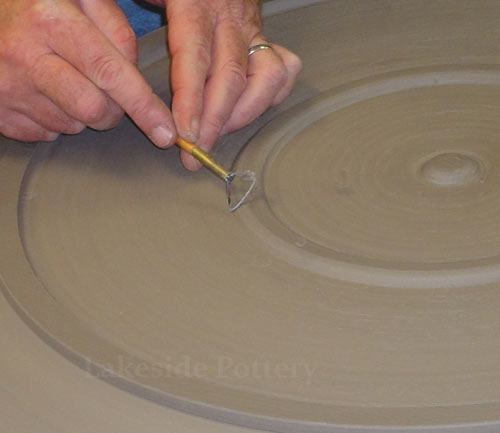
5) It is important that the end of the flat form is compressed, water / slurry free and tapered from 1" thickness to 1/3". This surface is used as a socket to accept the next coil. Being further from the center, the next coil needs be longer and therefore will require more clay. In this demo, the third and last amount of clay is about18 lbs. Because the coil is not 100% even, you might end up with uneven edge. Using extruded coil (as oppose to hand made coil), will eliminate wrestling with unevenness potential. Correct the end by removing the uneven part with a pintool as shown below.
Create a low profile edge
 |
Center by cutting off the end
|
Remove the cut-off end
 |
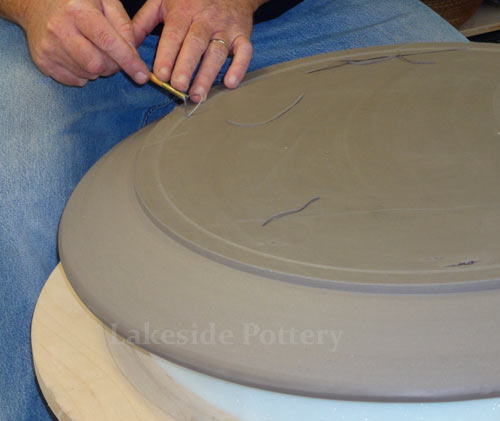
Make the next stage coil
 |
|
|
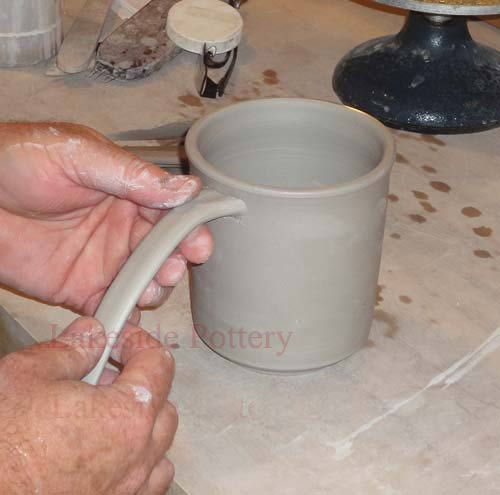
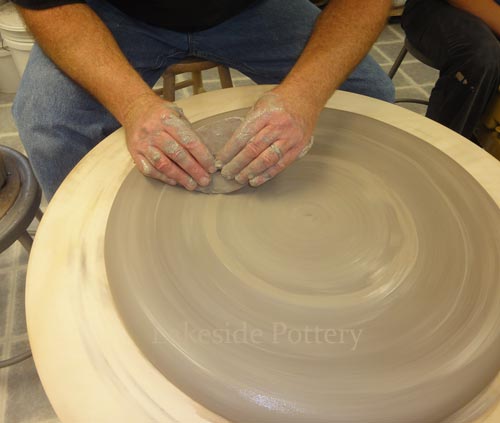
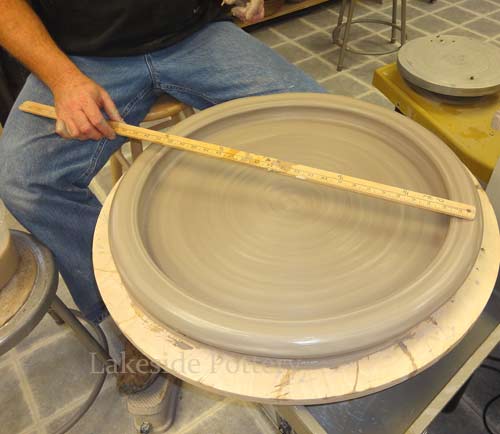
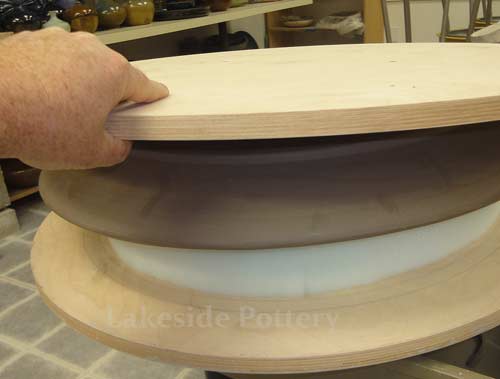
6) This next coil is larger that the previous one. Carrying it without stretching or breaking it may require a second person to help carrying it to the wheel or use your arms and shoulders. To attach this second coil properly, follow the same instructions as in previous coil. The clay in this second and last coil will be used the expand the bottom a bit more and for the pots wall.
Verify dimensions
 |
Place on tapered edge
|
Place tightly (without water)
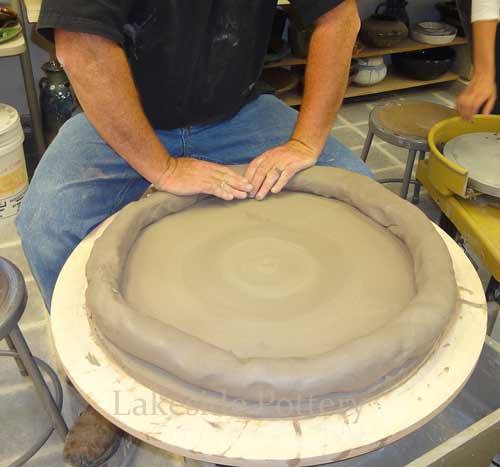 |
Center and even coil
 |
|
|
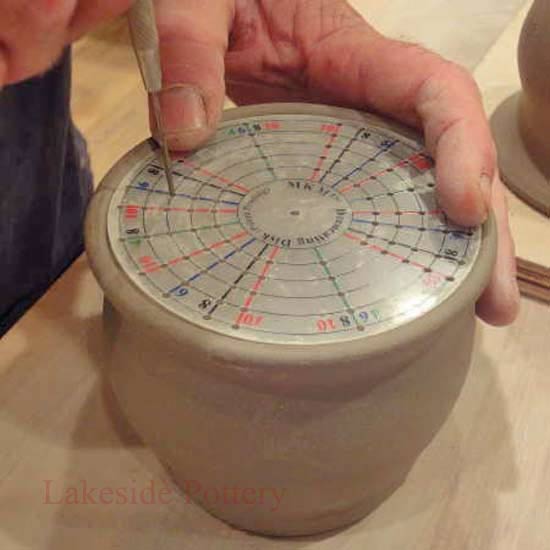
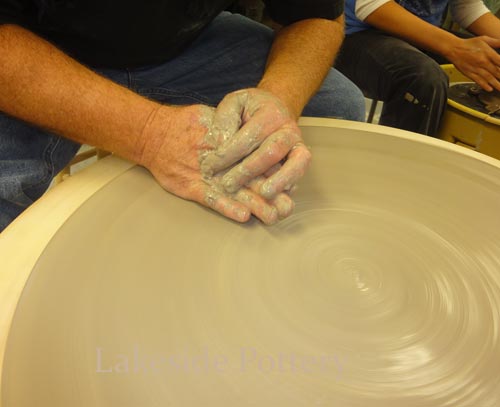
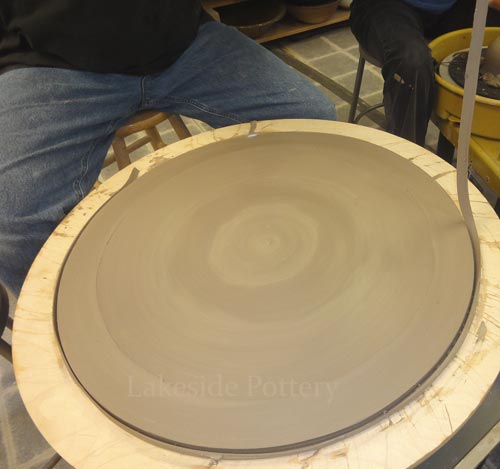
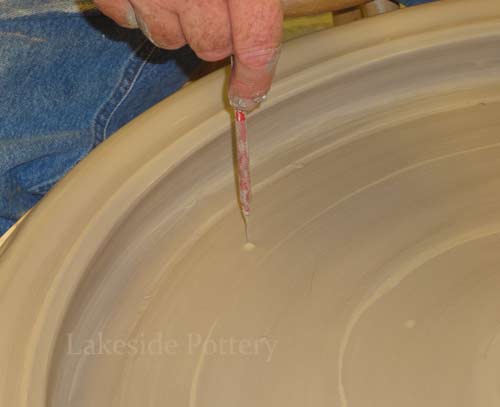
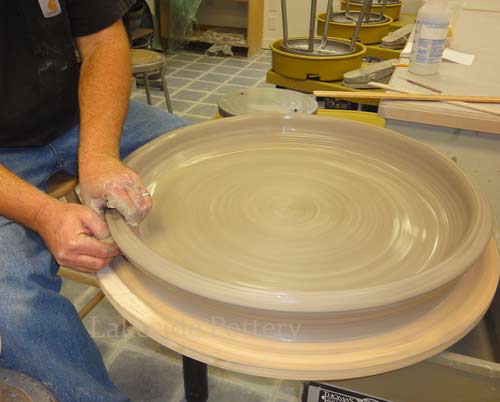
7) One inch thickness for the bottom is used to be able and trim 1/2 foot when leather hard. Verify with a pin tool for the correct thickness and test in a few spots to ensure consistency.
Use rib to integrate bottom to coil
 |
Verify thickness with a pintool
|
Should be around one inch
 |
Expand to desired diameter
 |
|
|
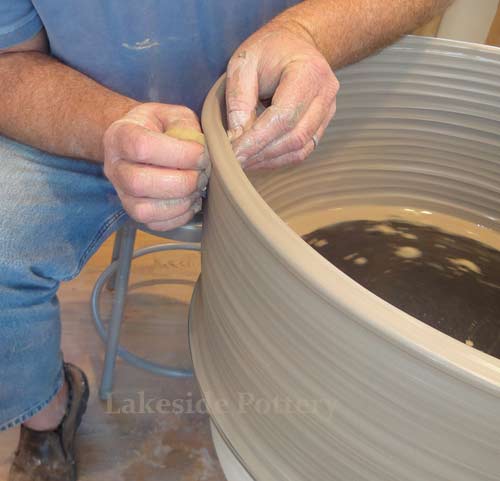
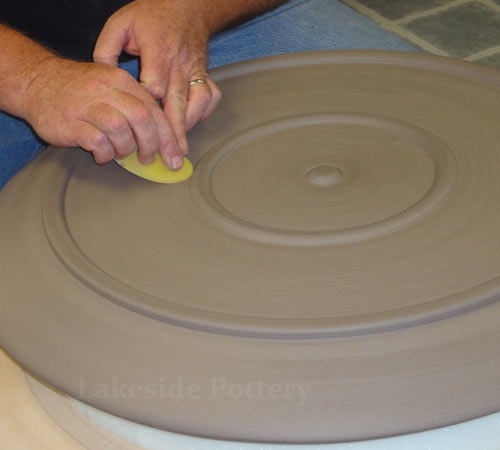
8) Do not turn the wheel too fast to pull the wall up. With larger forms, it is so much more important that the walls are compressed and have even thickness. Before curving the upper wall in for the wide rim effect, make sure the clay is not too wet. You can wait a few hours or use a torch to dry the clay a bit before "bending" the rim in.
Raising the wall
 |
Smooth wall
|
Wait or use torch to dry wall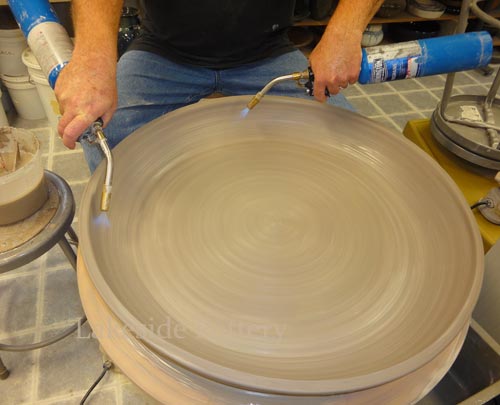 |
Start curving top wall in
 |
|
|
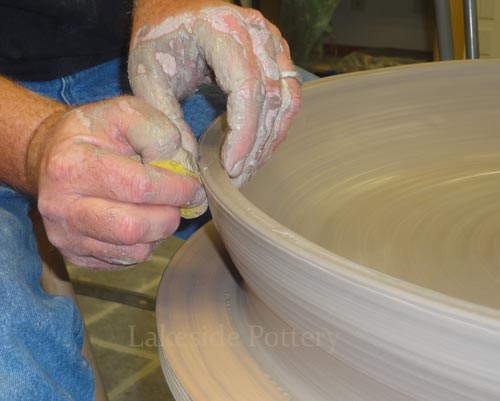
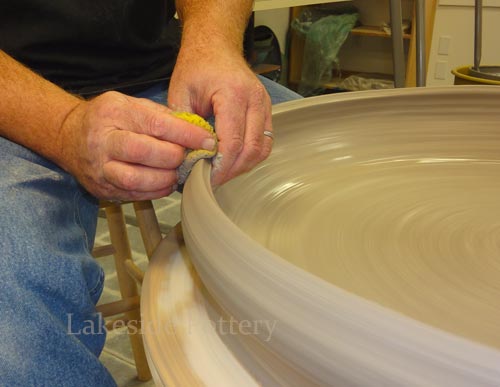
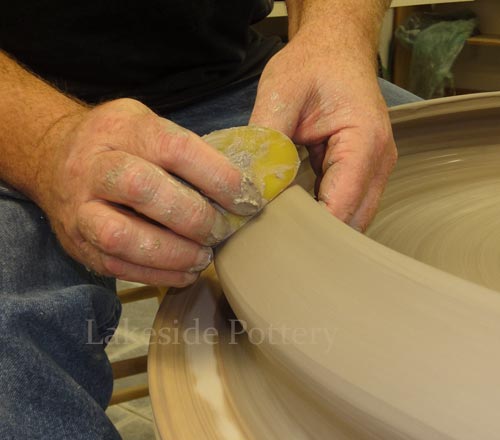
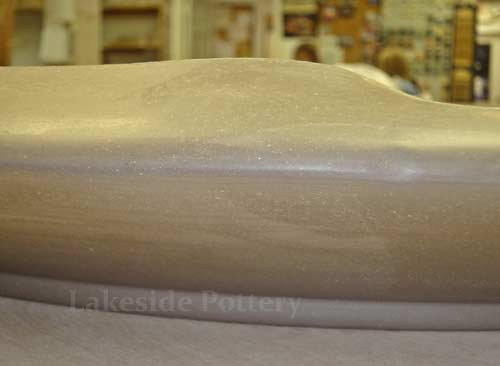
9) If the rim is too long (more than 2 inches), it weighs more and can collapse. Cutting the end with a pin tool will reduce the size as needed and will even the rim (using a coil which it is not perfect made by hand, might yield some unevenness). The end of the rim must be rounded to better resist stress cracks during the drying and the firing process.
Use a rib to refine shape
 |
Cut end off with pintool if uneven
|
Define shapes using 2 ribs
 |
Round the rim
 |
|
Smooth rim with Chamois
 |
Rim - profile view
|
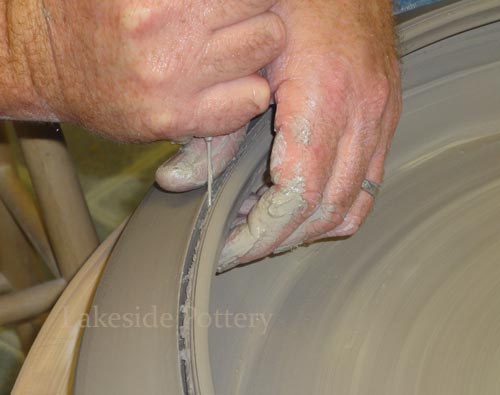
Altering the rim
 |
Altered rim top view
 |
|
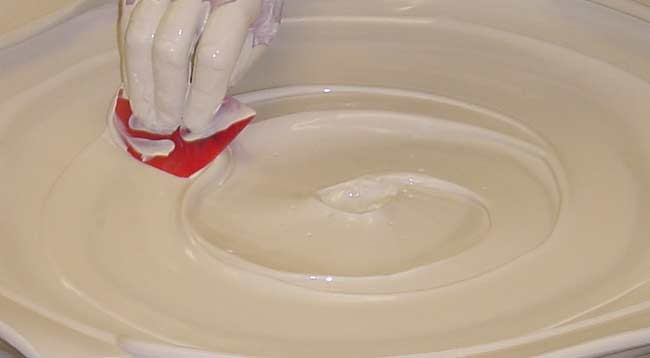
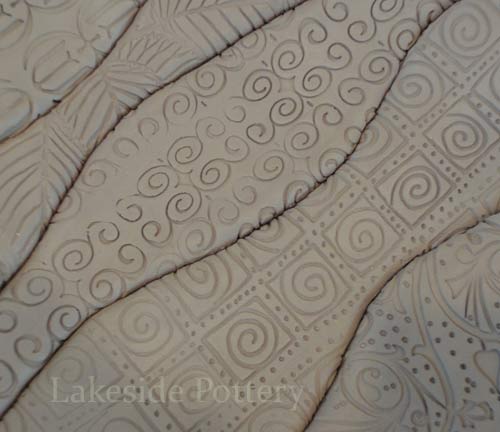
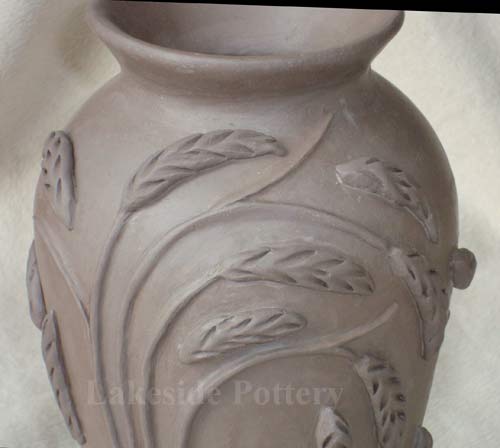
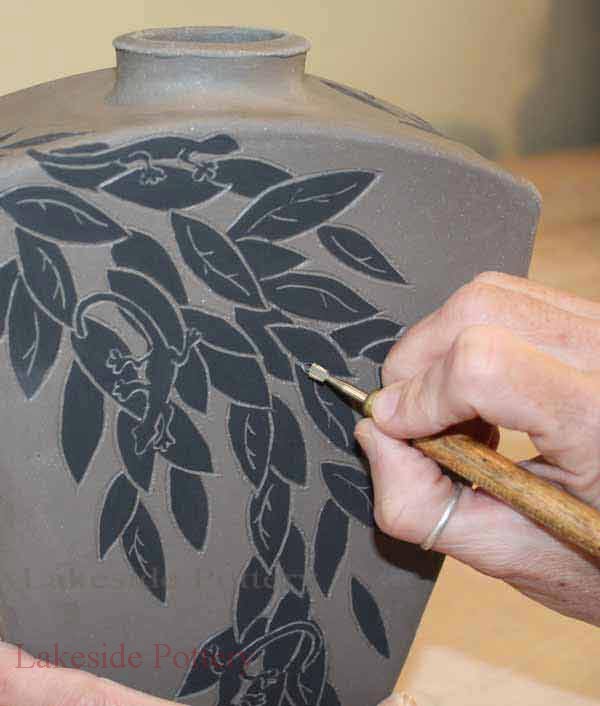
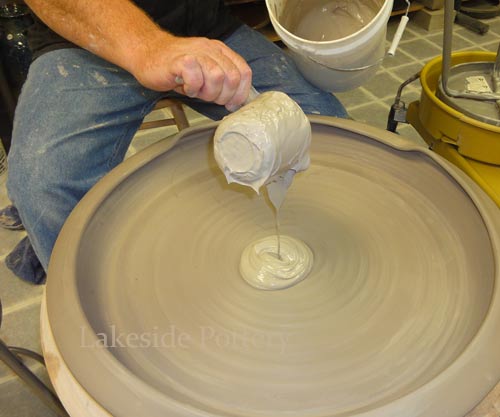
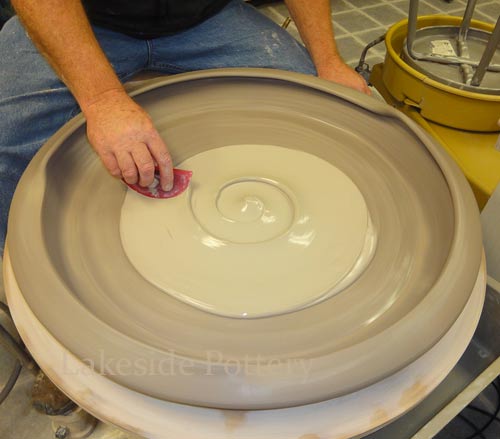
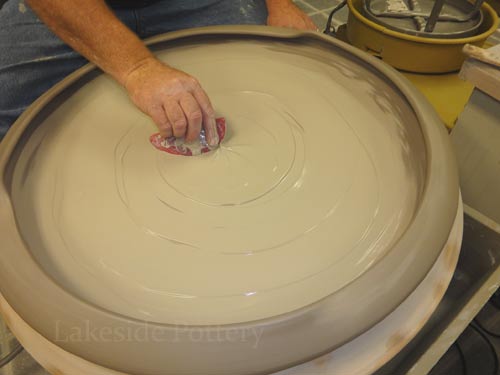
10) Slip need to be not too thin and not too thick. Thicker than yogurt and thinner than sour cream. We found out that Sherrill Mud tools red rib is excellent for slip distribution and patter creation.
See more about surface texture techniques on the pottery wheel
See how to make large amount of slip
Add slip for surface texture
 |
Distribute slip
|
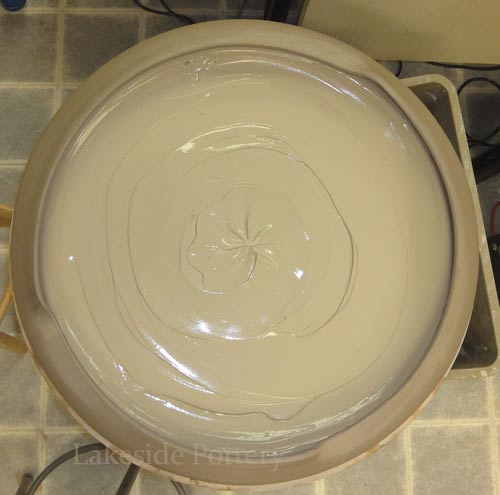
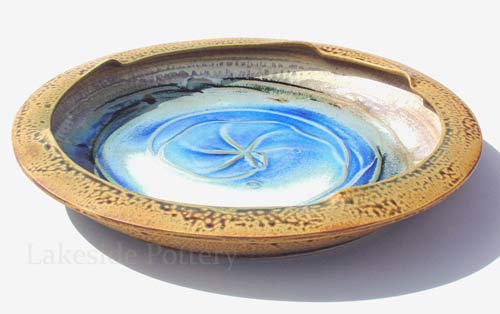
Create a seashell pattern
 |
Slip pattern top view
 |
|
|
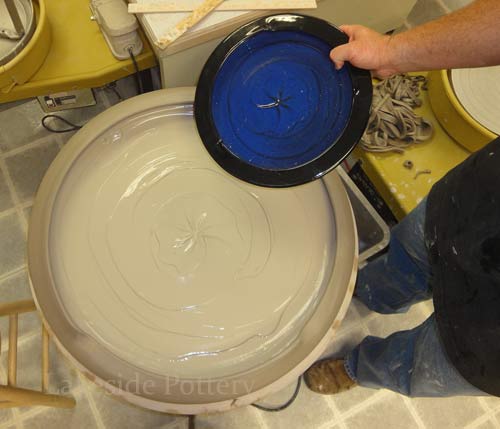
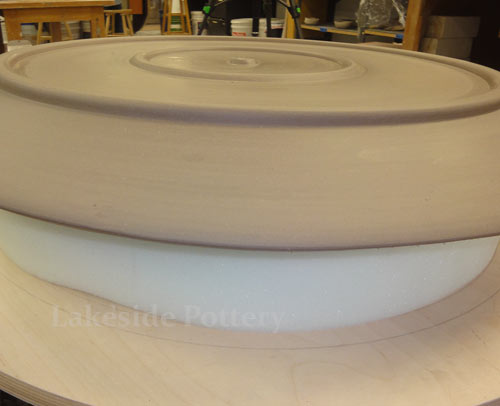
11) When finished, cover and let dry very very slowly (1-2 weeks) to avoid uneven drying and therefore possible cracking. If using slip for texture affect, cover rim only for a couple of days as shown below.
Average size finished platter next to this demo's platter
 |
Cut plastic for round opening

|
Cover rim for slow drying
 |
When slip not wet, cover pot
 |
|
Drying and Trimming The Above Large Platter
|
Drying
1) Cover tight and let the clay moisture content equalize for 2-3 days.
2) If using slip, cover the rim and let slip dry for a day or two before covering the whole pot
3) Cover the whole pot loosely for 1-2 weeks and make sure the rim does not dry first. If the rim drys first on such large platter, cracking at the rim's edge is almost certain. Drying Tip: Flip the plastic cover once a day while drying. The moisture that accumulates on the plastic surface will be facing up after flipping, thus, removing water a bit faster from the enclosed large pot.
4) Before trimming, make sure the pot is on the harder side of "leather hard" to insure the pot does not warps when it is flipped over for trimming.
|
Double sticky tape to hold foam
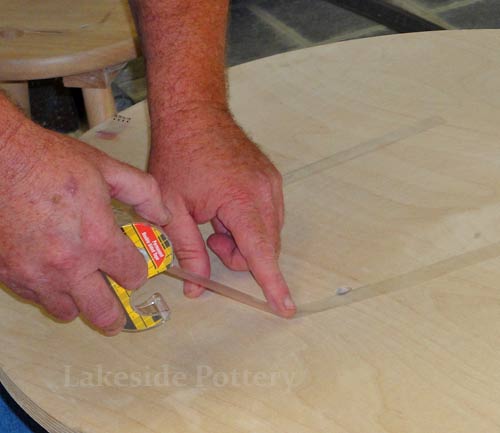 |
22" x 5" foam placed on tape / bat
|
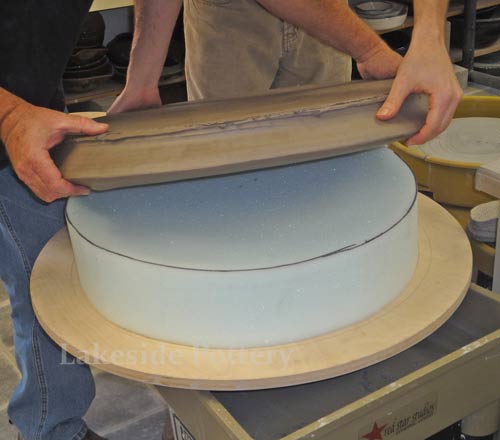
Use 4 hands to flip platter
 |
Start trimming with sharp tool
 |
|
| Trimming
1) DO NOT place the pot on the altered rim.
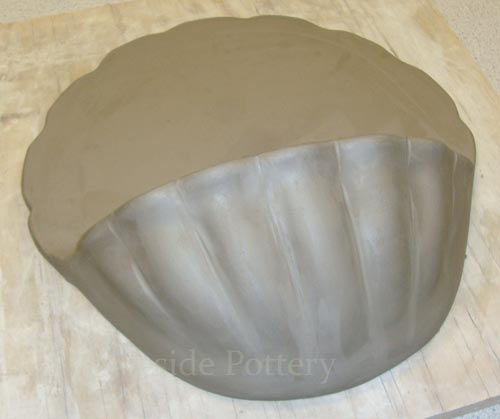
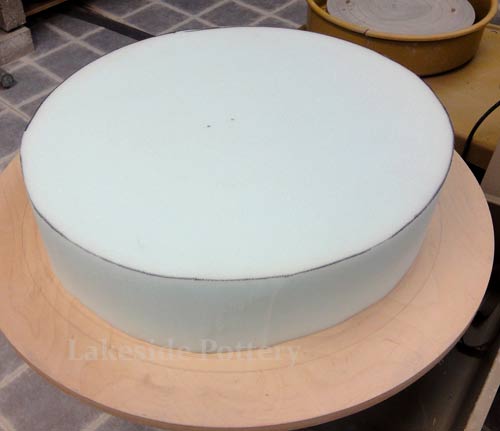
2) We use a 5" deep round dense foam that fits on the inside of the pot. Having the ability to access the inside of the pot when it is raised on the foam provide the extra benefit of checking for proper thickness through the trimming process without taking the pot off-center.
3) Place the foam on a wooden bat. Wood is better in terms of binding the foam to the bat so that it will stay in place during the trimming process.
4) Use two people to flip the pot over the foam.
5) Center the pot / foam.
6) Start trimming from the outside of the pot removing excess clay. Trim it using the same techniques as usual.
7 ) Use sharp trimming tools e.g., Kemper's Pro-line Family to minimize pressure downwards trimming close to the center.
8) For such large platter, a ring or two is required to avoid sagging in the firing.
|
The trimming tools used in this demo are Kemper's PT511 and PT 512 - Web site
 |
Define pot's wall
 |
Define foot
|
Determine foot width
 |
Dig in full depth
 |
|
Dig in full depth - inner ring
 |
Remove excess clay
|
Repeat in second section
 |
Round feet edges
 |
|
Burnish (Sherrill's yellow rib)
 |
Top view

|
Side view
 |
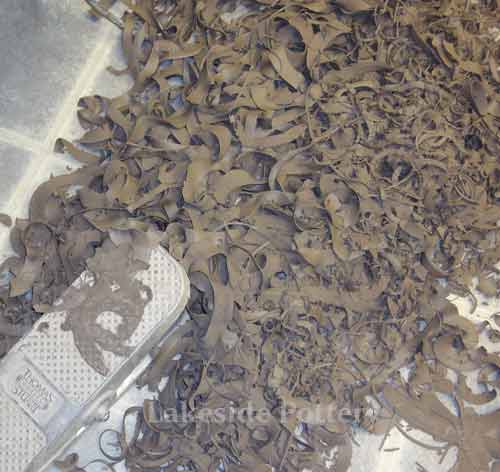
Trimming chips
 |
|
Use second bat to flip over (2 people)
 |
Cover and wait 1-2 weeks
|
Close up profile
 |
Making hanging holes
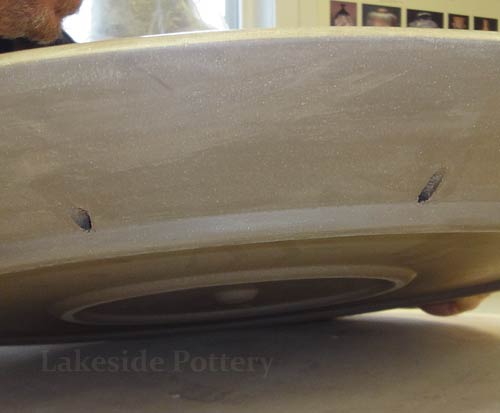
Use hole cutter |
|
|
Drying Tip: Flip the plastic cover once a day while drying. The moisture that accumulates on the plastic surface will be facing up after flipping, thus, removing water a bit faster from the enclosed large pot

|
Cover and wait 1-2 weeks
|
Ready for bisque firing
|
Spraying glaze
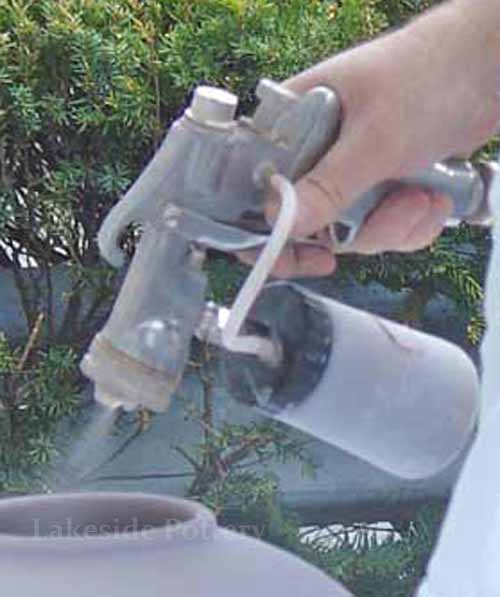 |
Finished pot - spray glazed
 |
|
|
|