To reduce chances of cracking, it can help if the rim does not dry faster than the center. To do this, cut a round hole in the plastic about 3-4 inches in diameter over the center of the plate. Once the center is dry enough, cover the whole pot loosely for 1-2 weeks. See illustrations below.
Some people use water based wax to coat the rims during drying, to prevent them from drying too quickly.
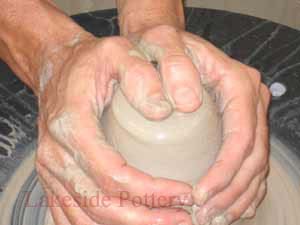
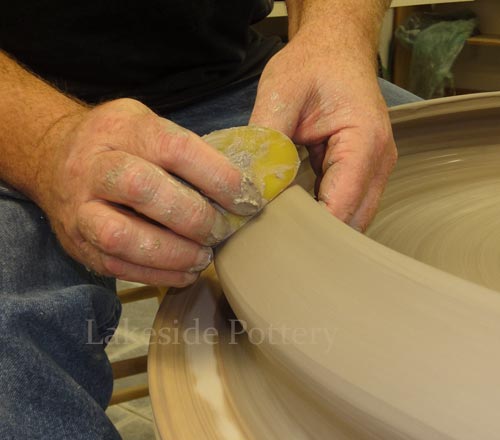
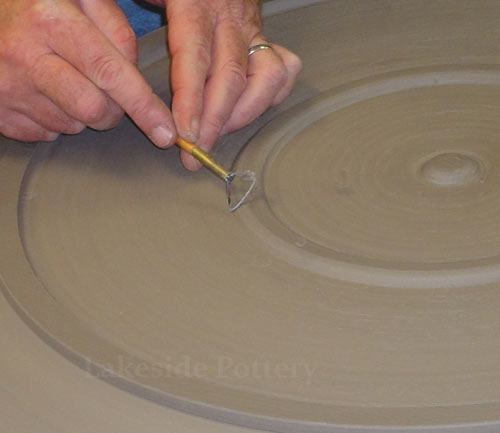
The general process is: Throw the plate, wire it free from the bat, and set on a shelf. (Note, running a wire through a large plate, it is bound to rise up in the middle even if you pull tightly, so make sure your plate is thrown very thick and plan to trim a lot. An alternative is using plaster bats which will release on their own.) Dry slowly and evenly, and don't let the rim dry out first. As soon as the bottom is hard enough to support itself, flip the platter over sandwiching a bat on top and flip. Take what was the throwing bat off. Let her dry open to trimming stage. After trimming, place on a shelf rim down, cover to dry.
Another innovative solution to the above problem, besides using plaster bats, is using oiled masonite bats, ½” thick (so they are completely inflexible). The clay releases itself from the oiled bat.
Use socks filled with rice as weights to make sure plates stay nice and flat when they are drying.
FOOT NOTCHES
Many people find firing goes much better when they notch the plates' foot rings. Warping, cracking, s-cracks, were all eliminated. The notches provided a way for air trapped under the foot to escape. Just make small, U-shaped notches at the bottom of your foot ring.
Instead of, or in addition to these notches, drill small holes in the foot ring. This also allows the gasses and heat to escape, and also allows for a wire to be used for hanging. This is especially nice for plates that are too large to fit into standard upper kitchen cabinets. Some people use a single hole, others two close together, others 3 spaced evenly around the platter.
MAKING THE PLATES
Make sure the clay is thick enough. Thinner plates are more likely to warp. Thickness should be even.
More talc and more grog in the clay can help with many problems.
Clay should be very uniform. Wedge well.
When rolling slabs, make sure you roll it out evenly in all directions, otherwise you could compress one side more than another.
When throwing, use soft clay but not too much water or the rim may get too floppy.
When you carry your wet clay slabs to a different place to form the platter, make sure you don't stretch it. Put it on a board, or roll it lightly into a sausage, then unroll directly on the mold that you will use.
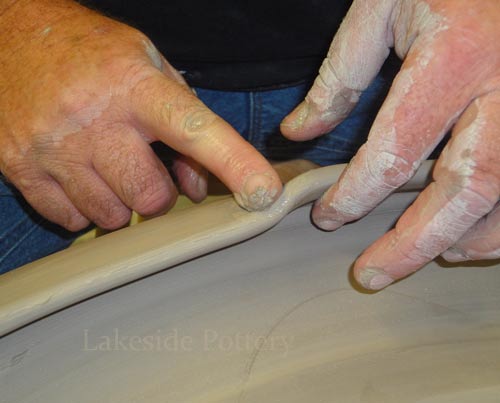
When throwing, one method is to leave a lot of clay at the outside to pull up as rims. Another method is to make a flat, circular base (trim if necessary to make perfectly circular), then attach a thick coil and throw the rim from that.
Do you struggle to get the clay flattened out into a smooth disk before continuing with your plate? Take a plastic cylinder, live PVC pipe or the leg from a plastic utility shelving unit. Cut it to fit inside the walls of your splash-pan. Center the lump of clay into a low mound with sloping sides, hold the pipe at both ends, press down gently, pausing to lubricate and to make sure the edges of the mound aren't mushrooming out and folding over to enclose air. Bingo, a perfect disk, of whatever thickness you require. Any small irregularities on the edges can be easily trimmed off with a needle tool or wooden knife.
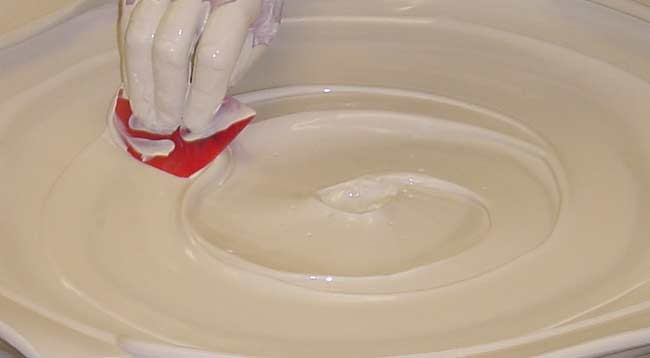
Make sure you compress the clay well while throwing, and don't let the bottom get too wet. Trimming further compresses the clay.
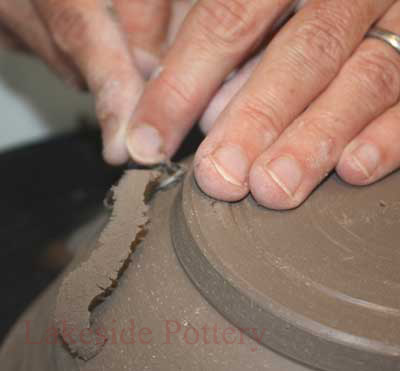
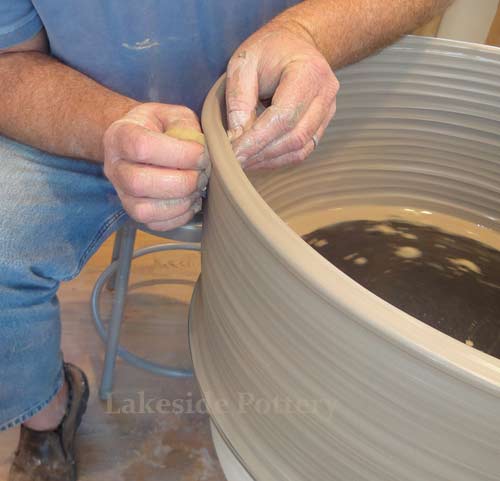
TRIMMING
For large platters, you probably need two foot rings, one around the outside and a smaller one left in the center. Otherwise the center of the plate may sag during firing.
When you place a platter on it's rim, place it on soft foam to protect the rim and keep it from getting stressed.
Two rings
 |
Soft foam
 |
Platter over foam to avoid sagging
 |
|
Trimming large platters can cause slumping of the bottom during the trimming process. You can put layers of foam rubber (maybe carpet pad?) into the center area before inverting (remember to place a board onto foam rubber or rim then invert the whole thing to turn over.) This “holds up” the center area and prevents it from sagging. It is not necessary to fill the whole center of the plate. If you fill the center only (i.e. a 6” circular piece of foam rubber), it will keep it from sagging.
Another thing to use in a similar way is socks or larger fabric sacks filled with rice. The rice is malleable so you can push it around until you get the right shape.
Or still another item to use is a sponge.
Sharp tools make it much easier to trim without causing deformation. (Remember, clay has memory and even if you smooth out any deformations, they will come back during firing.)
HANGING
Aside from holes in the foot ring, another method for hanging platters is to cut a groove in the foot during trimming that will accommodate a piece of picture wire. (Around the whole foot ring, a groove where a piece of wire can grab on.) After firing wrap a wire around the platter and twist the ends to a loop or onto a washer to hang. An advantage to this method is you can change what is the “top”, unlike a single or set of holes drilled into the foot ring.
Some people just glue their platters onto their walls/houses/porches/ceilings with epoxy, liquid nails, crazy glue.
Or, take a piece of wood or plywood that has had holes drilled or chiseled to the back for screws, and epoxy it on the back.
FIRING (see more about firing in electric kiln)
Be careful handling the dry clay. Even if you don't break it, it is possible to stress it and the stresses will increase at higher temperatures.
Don't let the edges of the plate get too close to the elements, or it may heat unevenly and cause warping.
Many people find that bisquing plates on their edge is the best method (yes, this is how I do it). As long as you don't bisque too hot, they won't warp, and they heat more evenly.
For plates and other items with large bases, make a clay “cookie” at the same time as your piece. This is a sheet of clay (the same type of clay), which you sit your piece during drying and firing. The cookie and the plate will shrink at the same rate.. This seems to keep the piece from “hanging up” on the kiln shelf during shrinkage, expansion and contraction . For extra assurance, put a wash of alumna hydrate on the feet and the cookie.
Another method is using bisque shards, placed under the platter in three places. Matching the placement of these shards, several platters can be stacked on top of each other.
Another method is to cover the shelves with grog or sand.
And yet another method is to fire the pieces on a piece of fiber. It allows the piece to shift as it wants, and reduces heating/cooling stresses any large piece goes through.
To prevent breakage, some people actually carry their large platters to the kiln on plywood, and put the whole thing including the plywood into the kiln. The wood burns out from under the piece. If you do this, make sure you vent well as the plywood will give off toxic fumes! I fired some pieces of that size in grad school, and always fired them on wood. This method does leave flash marks on the clay from the wood but they will burn out on a subsequent firing if you don't want them.
One of the major problems when firing large platters or other items which cover most of the area of your kiln is dunting. It is very difficult to maintain a uniform temperature across the area of a kiln as it cools. The least slight draft impinging on the pot can cause a catastrophe. One way to overcome this problem is by making shields of flat clay, made so they stand on their edge, almost like a removable saggar. These need to be fairly thick so that they have a reasonable heat mass which will delay cooling and help to keep the temperature gradient across your pot as even as possible.
In a simpler variation, some people place other pieces around the edges of their platters.
Or, use insulating fire brick. You can cut them up and split them lengthwise with a handsaw if you want different heights and thicknesses to match your platters. Ring the entire perimeter of the platter shelf with the brick. Stack a new tall layer on the next shelf layer above the platters. This causes them to be heated from both above and below at the same rate and slows both edge heating and cooling, the main reason large things crack.
If the foot has to span over two shelves it can cause problems, even if the shelves look level. You might want a whole shelf for firing platters, rather than two halves.
Do not fire your platters in the bottom half of the kiln because it cools too fast.
For large decorative plates, consider underfiring your clay somewhat. This will reduce warpage.
Bisque slowly - see more details
Make little round balls out of a kiln wash mixture. Place about eight of these around the bottom of the foot with one in the center of the bottom of the platter, so that it is supported equally at all points. This means the platter rests on these little "wads".
Use thin shims under the platter, in order to allow air circulation beneath during heating and cooling. For really large platters, roll out a supply of pencil-thin coils of clay, and arrange them in a sunburst pattern, and nestle the platter down gently on top. This supports the platter absolutely evenly, even if it has multiple foot rings.
Leave at least 2 - 4 inches above the plate before setting next shelf.
Fire the first 450 Celsius especially slowly, such as 60 degrees per hour. Fire down if you think it is cooling too quick.
HOW TO GET A LARGE PLATE INTO A DEEP KILN
Make a sling out of old sheeting or T-shirts. Lower into the kiln and just let the material burn out.
Put the platter on a shelf and lower the whole shelf into the kiln.